©2011,2005 BRUNO INDEPENDENT LIVING AIDS, INC.®
SRE-2750 INSTALL 05-17-2011
22
CONNECTING THE BATTERY CHARGER
1. Check that the circuit breaker is OFF.
2. Determine the location of the wall outlet for the
battery charger.
3. Position the battery charger in a suitable permanent
where it will not create a tripping hazard.
location near the top or bottom end of the rail,
depending on the location of the wall outlet.
NOTE: If the battery charger plug and wire will be
located in an area where the charger could be
accidentally unplugged, Bruno recommends the use
of a plug lock (available at hardware and home
improvement stores).
4. Place the pigtail harness end of the power cable near
the battery charger.
5. Route the power cable to the end of the rail opposite
the battery charger by threading it into the channel
under the rail.
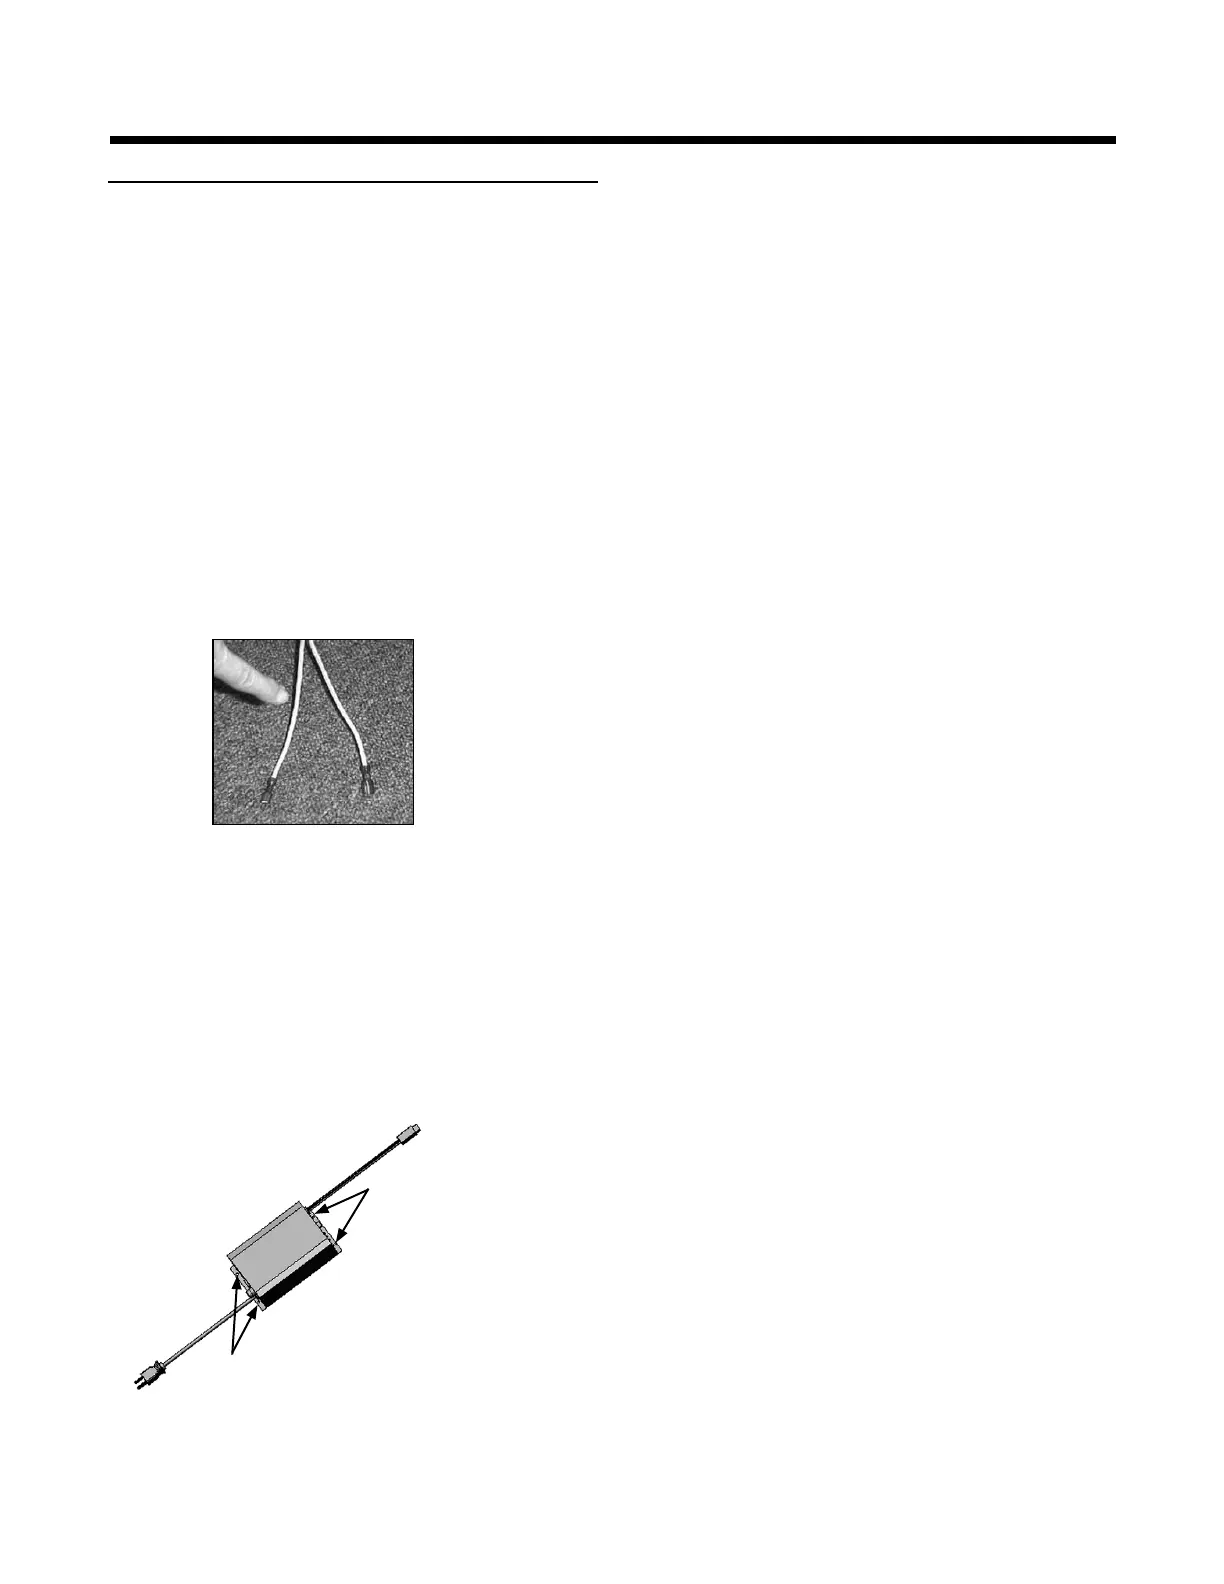
6. Notice that the end of the cable OPPOSITE THE
PIGTAIL HARNESS has been split slightly, and includes
one male and one female connector.
The sheathing of one lead is ribbed (in photo to left,
nger points to ribbed sheath). The other lead's
sheathing is smooth.
7. Now that the power cable has been routed to the end
of the rail opposite the battery charger (Step 8):
• increase the split
• cut off the excess lead
• remove and discard the existing connectors
• strip the freshly cut wire ends.
• install the new connectors (provided)
8. Connect the battery charger leads:
• ribbed wire to red jumper wire
• smooth wire to black jumper wire.
9. Tuck excess wire length into the channel.
10. Secure this harness to the rail clamps with wire ties.
Be sure that this wiring is mounted
securely to avoid damage.
11. Secure the battery charger in the chosen location
(Step 3) by inserting (2) screws (provided) through
the mounting holes in the charger base.
NOTE: There are (2) mounting holes on each side of
the charger base. Choose one of the two on each side.
ribbed to red
(+) (female)
smooth to black
(-) (male)
ELECTRICAL
Choose one
of these (2)
mounting
holes
Choose one
of these (2)
mounting
holes