BRUNSWICK INSTALLATION MANUALPAGE 3
CENTENNIAL
BASEFRAME AND PEDESTAL ASSEMBLY
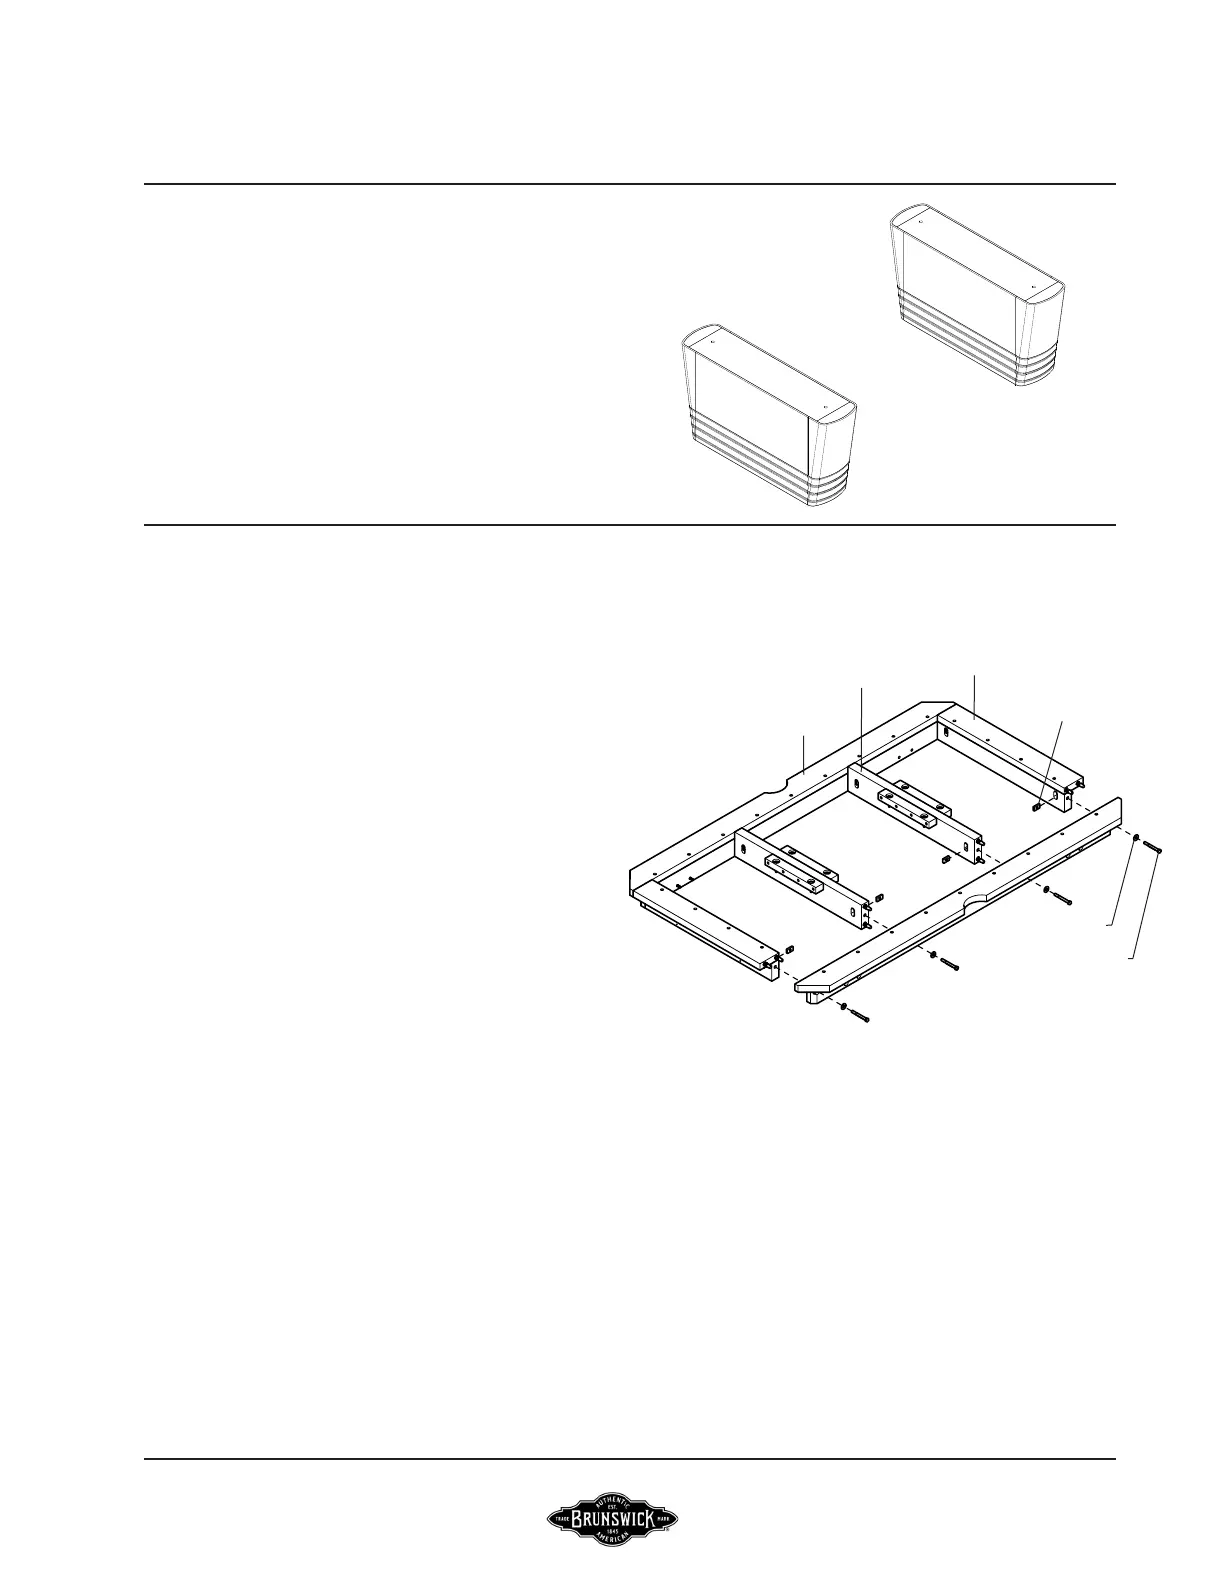
FIGURE ONE
FIGURE ONE
Step #1: Position two pedestal assemblies right side up as shown.
Approximate the required spacing between pedestals for base
frame attachment.
FIGURE TWO
FIGURE TWO
Step #2: Position two side sills, two end sills and two cross supports
on the oor. If there is not enough oor space, assemble the base
frame in position on top of the pedestal assemblies. Match
stamped numbers along one side sill with the corresponding
number stamped in the end of each end sill and cross support.
Step #3: Insert dowel pins at each end of end sills and cross supports
into corresponding holes in each of the two side sills. Dowel pins are
intended to be a friction t and may need added force to mate with
side sills. Use a rubber mallet as needed to persuade full engagement.
Step #4: Once full engagement has been achieved, fasten
components together using 1/2-13 x 4 1/2 hex head bolts,
1/2 at washers and 1/2-13 rectangular nuts. Tighten
each joint securely.
1/2-13 x 4-1/2”
HEX HEAD SCREW
1/2 FLAT WASHER
1/2-13
RECTANGULAR
NUT
SIDE SILL
CROSS SUPPORT
END SILL