APPENDIX J FIRMWARE UPLOAD INSTRUCTIONS
SP3 Software Upload Instructions Page 1 of 6
Instructions for uploading the SP3 software.
4-Jan-2013
1. You must have the SP3 connected via Ethernet cable to your local area network
and powered up, or connected directly to your laptop or PC with a network cable.
Make sure that a green light at the SP3 network socket (back panel) is lit. If not then
use a cross-over cable or verify that the network interface to which SP3 is connected,
is enabled.
2. Open a Browser on your computer (Explorer/Chrome/Safari etc)
3. Type:
http://sp3-serialnumber/upload
or
http://xx.xx.xx.xx/upload
where xx.xx.xx.xx is the actual IP address of the SP3
4. Optional - if the sp3-serialnumber method does not work then use the actual IP
address as above, for example:
http://169.254.1.1
The serial number of the SP3 as well as the actually used IP address (for example
169.254.1.1 ) are available to view by pushing the left hand navigation button on the
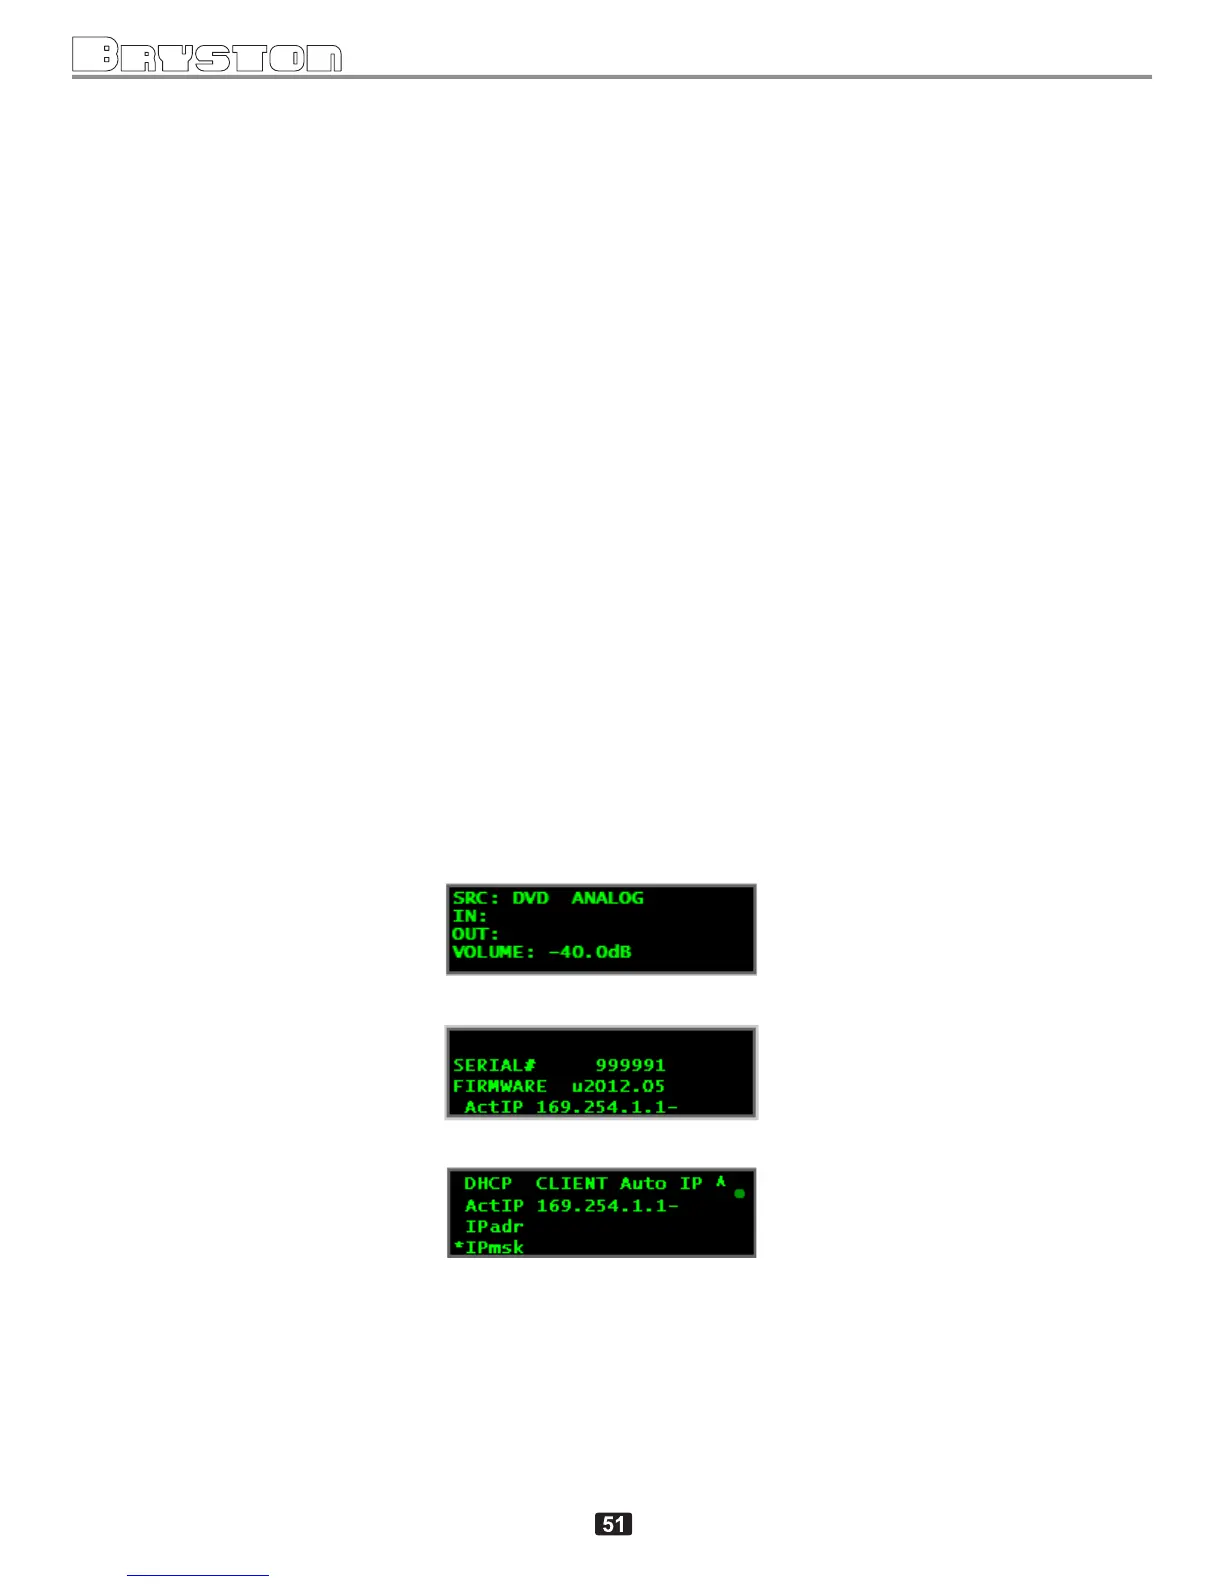
SP3 front panel, when the front panel shows the main (opening) screen:
SP3 display showing the main screen
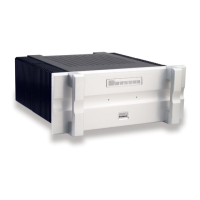
after pressing arrow key
SP3 display showing serial#, firmware rev# and ActIP
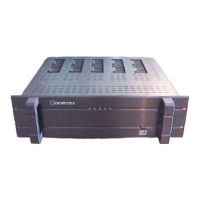
IP address shown in Miscellaneous sub menu
(“ActIP” stands for “Actual IP address”)
(Note: the serial number is also written on the name plate at the back of the unit)