Chapter1 Setup
LinkStation Setup Manual
4
3
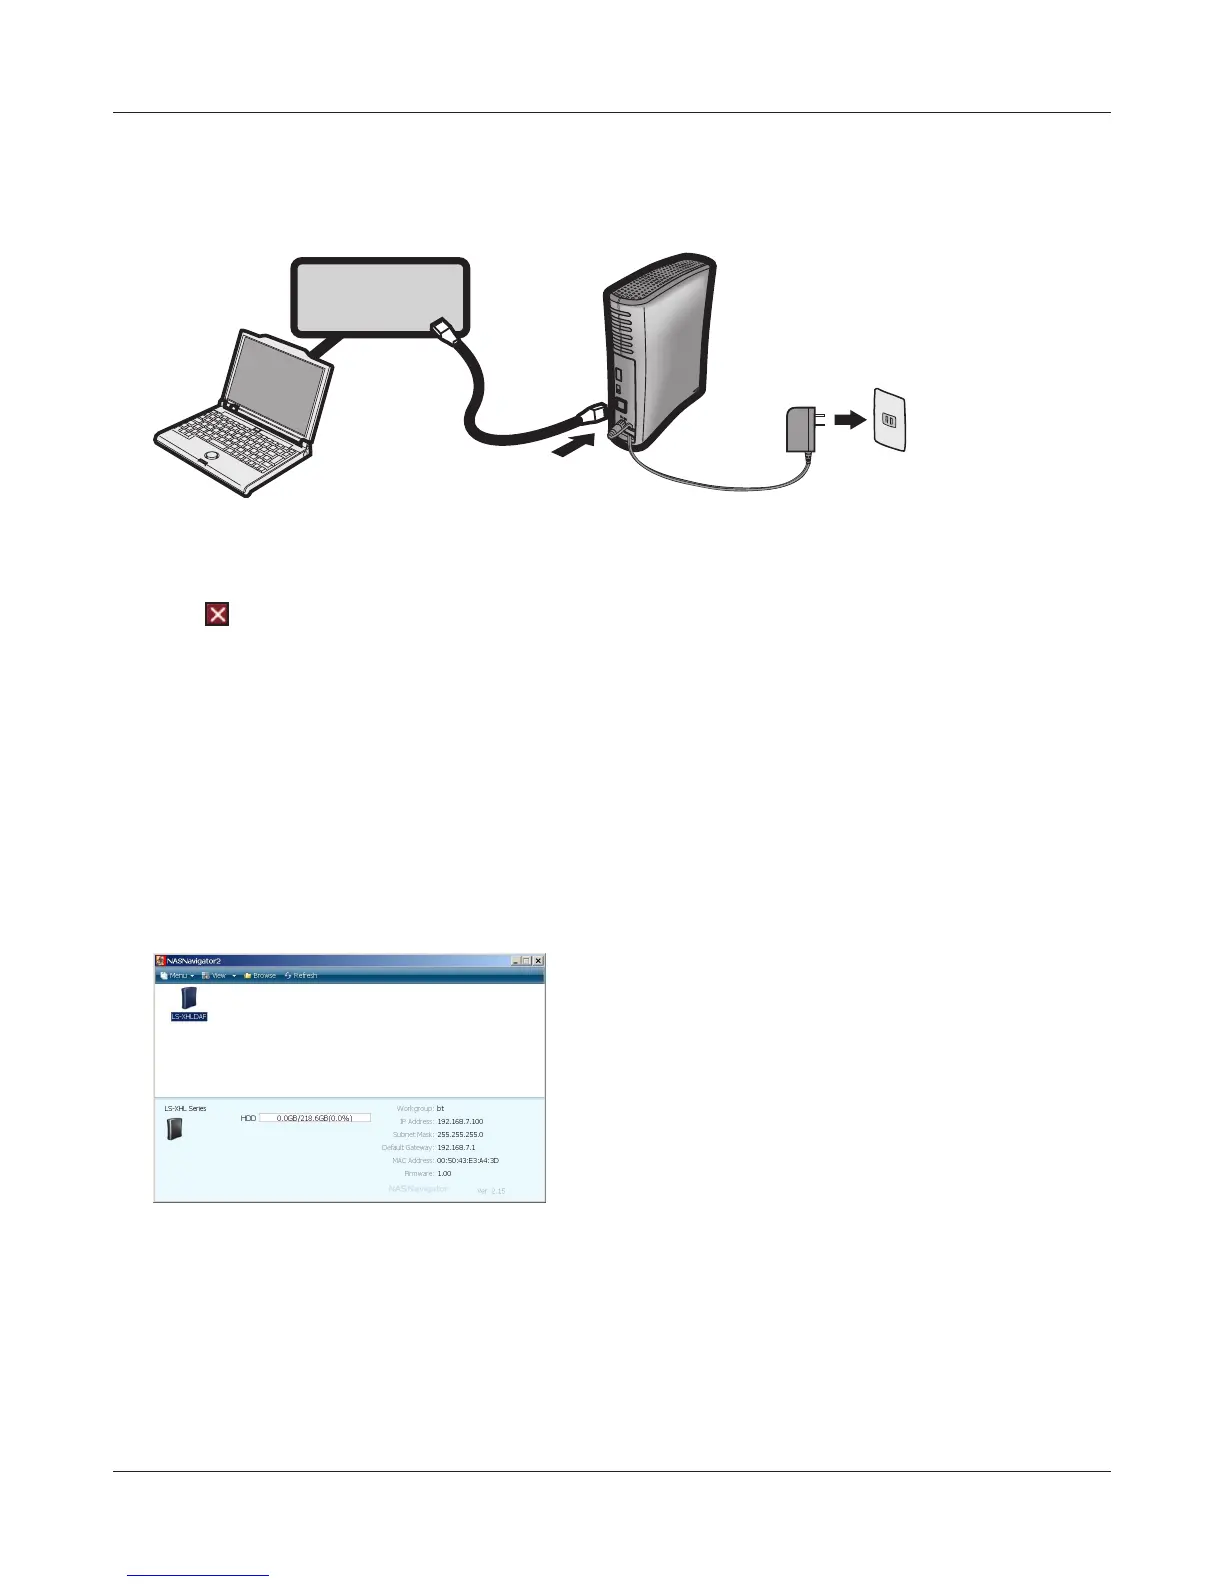
Follow the instructions on the screen to connect and set up (initialize) the LinkStation.
4
Now you have completed the setup (initial settings) of your LinkStation.
Click
to close the LinkNavigator.
Then, open the shared folder of the LinkStation using NAS Navigator2 which was installed
during setup.
5
Launch NAS Navigator2.
Note: – On Windows, click [start] - [All Programs] - [BUFFALO] - [BUFFALO NAS Navigator] - [BUF-
FALO NAS Navigator2].
– On Mac OS, double click on [NAS Navigator2] icon in the Dock.
6
7
The shared folder in the LinkStation is displayed.
Note: – On Mac OS, LinkStation is either mounted as a drive icon on the desktop, or displayed in
the sidebar on the Finder.
Now you have completed the setup. You can now use the LinkStation’s shared folder to save les just
like another hard drive.
Double click on the LinkStation's icon.
The example here shows the Windows' screen (on
LS-XHL).
Hub or Router