Ultra Training Manual
6
Electrical Install
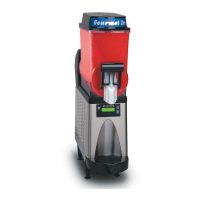
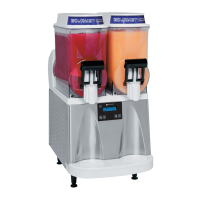
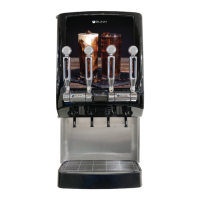
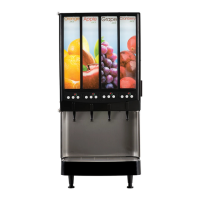
Step 1: Plug machine into 120VAC outlet.
Powder Autoll (PAF) Installation (Optional)
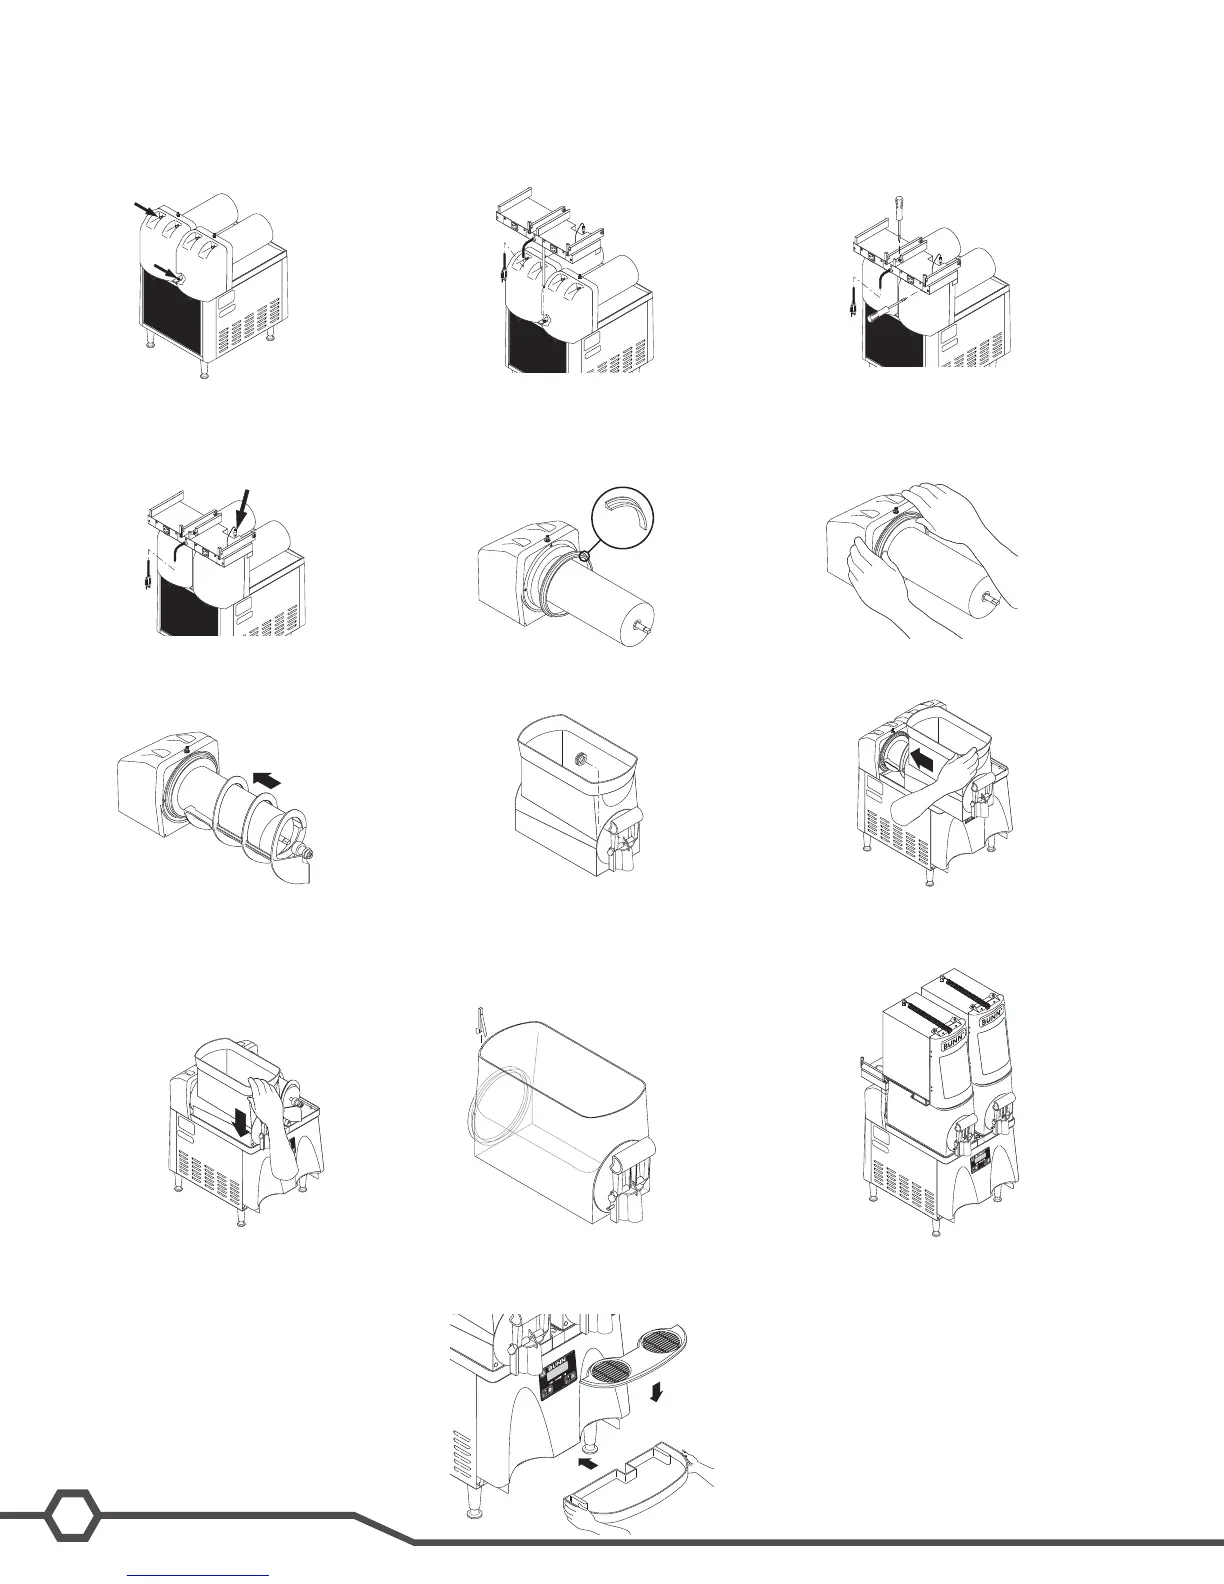
Step 1: Remove the rear plastic
plug from trim strip between the
hopper drip trays and loosen the
auger motor cover screws.
Step 2: Place PAF platform assembly
on top of the motor covers and install
support rod into hole in trim strip.
Step 3: Tighten support rod from top of
platform. Retighten motor cover screws.
Step 4: Plug RCA cord into Ultra
base unit.
Step 5: Install each hopper seal over the ange
at the rear of the cooling drums as shown.
Step 6: Press the seals rmly into
place.
Step 7: Align the auger shaft with
the n of the auger. Push the
augers as far as they will go and ro-
tate them so the at n is facing up.
Step 8: Install the auger nose bushing
into the front of hopper.
Step 9: Thoroughly rinse the hoppers
and install them over the augers and
cooling drums.
Step 10: Slide the hopper(s) into
place and push down until the
hopper lock plunger snaps into
Step 11: Install level probes into slots
at top rear of PAF hoppers.
Step 12: Install PAF unit onto platform
and plug power cord into rear of
platform. Plug platform power cord into
proper outlet.
Step 13: Assemble the drip tray.
Ultra Training Manual
6
Powder Autoll (PAF) Installation (Optional)
Step 1: Remove the rear plastic
plug from trim strip between the
hopper drip trays and loosen the
auger motor cover screws.
Step 2: Place PAF platform assembly
on top of the motor covers and install
support rod into hole in trim strip.
Step 3: Tighten support rod from top of
platform. Retighten motor cover screws.
Step 4: Plug RCA cord into Ultra
base unit.
Step 5: Install each hopper seal over the ange
at the rear of the cooling drums as shown.
Step 6: Press the seals rmly into
place.
Step 7: Align the auger shaft with
the n of the auger. Push the
augers as far as they will go and ro-
tate them so the at n is facing up.
Step 8: Install the auger nose bushing
into the front of hopper.
Step 9: Thoroughly rinse the hoppers
and install them over the augers and
cooling drums.
Step 10: Slide the hopper(s) into
place and push down until the
hopper lock plunger snaps into
place.
Step 11: Install level probes into slots
at top rear of PAF hoppers.
Step 12: Install PAF unit onto platform
and plug power cord into rear of
platform. Plug platform power cord into
proper outlet.
Step 13: Assemble the drip tray.