22 TRI-FLEX II BED - OPERATION MANUAL
Assembly/ Disassembly Instruction
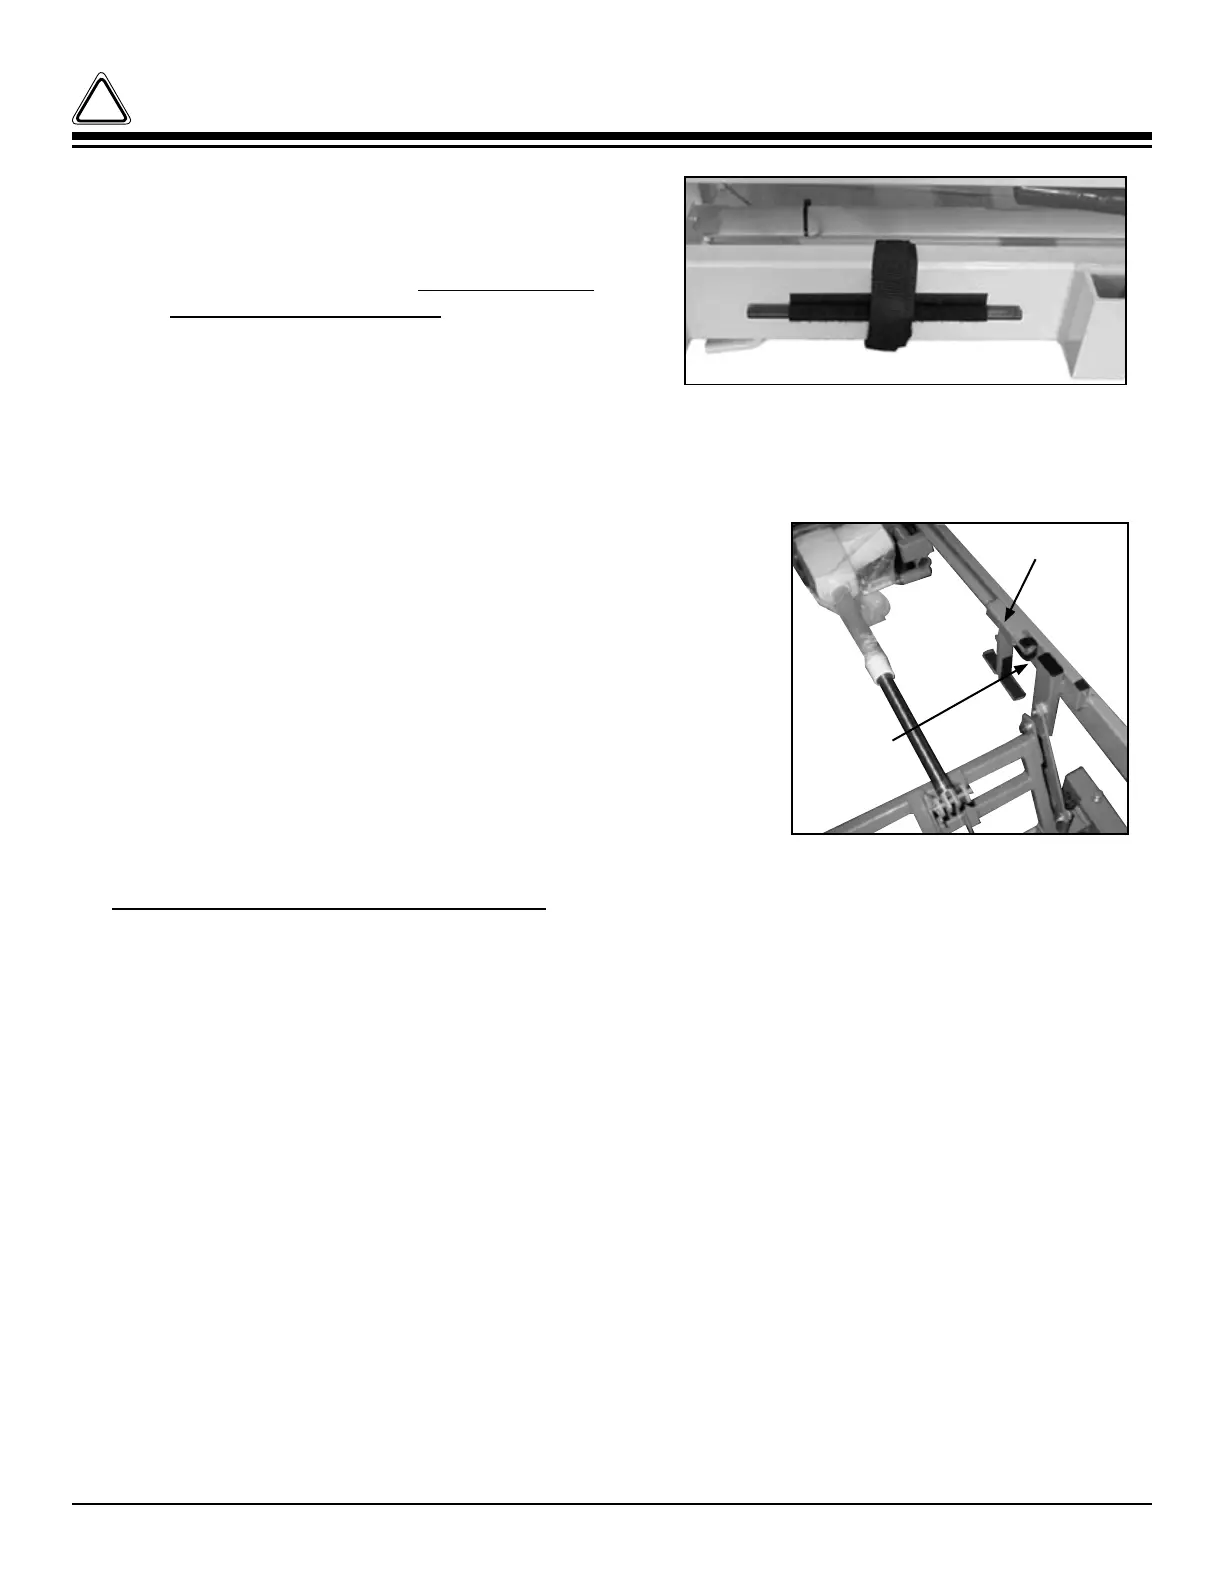
10. Store the Turnbuckle Tool on Main Head
Frame with black safety strap (See Figure 13)
11. Position and lock the four casters (located at
the corners of the bed) with locking tabs
facing the foot end of bed.
12. Plug bed power supply into an AC outlet.
13.Raisebedhi-lowapprox.12.7cm(5”)totakeweightoffofthecentertransportwheels.
14. Remove the pull pin securing the central transport system. Pivot the axle inward and up.
Align the holes to where the casters are tucked up under the bed and replace the pull pin.
15.Raisetheheadgatchandplacethecentraltransportpole
in the storage position. Ensure the transport pole is
placed securely into black retaining clip under the patient
surface head gatch (See Figure 14)
16. Lower the Hi-low system.
17. Install the complete mattress system with side bolsters.
18. Install Foot Side Rails and Head / Foot boards onto bed.
FOLDING THE BED FOR TRANSPORT
1. Remove the Head and Foot Boards and set aside.
2. Remove any Mattress System.
3. Pull the Head Pullouts to the outward position and lock in place. Raise the Head Side Rails
and lock in place. Push the Center and Upper Foot Pullouts to the inward position and lock in
place. Pull the lower Foot Pullouts approximately half way between the inner and outer
positions. Rotate the Foot Side Rails to the down or open position. If the bed has Fold Down
Foot Rails they must be removed to fold the bed.
4. Raise the Head Gatch and remove the central Transport Pole stored under the gatch.
(See Figure 14). Install the Transport Pole vertically in the center of the bed and pin it in place.
Lower the Head Gatch and Foot Gatch.
5.Raisethebedhi-lowapprox.12.7cm(5”)toallowtheTransportWheelassembliesenough
room to pivot down.
6. Remove the pull pin securing the central transport wheel assembly. Pivot each assembly
down and lock in place with the pull pin.
Figure 13
!
Figure 14
Transport Pole
Storage
Retaining
Clip


 To Next Page