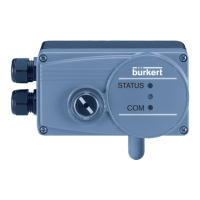
1067
POSITIONER TYPE 1067
E-9-
3 INSTALLATION
3.1 Construction and assembly
The type 1067 positioner can be fitted to various continuous valves. Depending on the valve type
either variant 1, with an internal feedback/positional transducer (a rotary potentiometer) or variant 2,
with an external feedback/positional transducer (a linear potentiometer) is used (see section 2.3).
Main dimensions: Positioner External feedback/positional transducer
Width: 125 mm Diameter: approx. 65 mm
Height: 80 mm Height: approx. 95 (115) mm
Depth: 80 mm
3.1.1 Fitting the positioner to a continuous valve with membrane drive (according to NAMUR)
Arrangement
In the case of a continuous valve with membrane drive, device variant 1, with an internal feedback/
positional transducer (a rotary potentiometer) should be used. The positioner is screwed on to what
is termed the «lantern» of the membrane drive (Fig. 7). Transmission of the valve position to the
internal feedback/positional transducer is achieved by means of a lever conforming to NAMUR
(Fig. 8).
Assembly
A mounting elbow (Fig. 10) is provided for assembling variant 1 of the positioner to a continuous valve
with membrane drive (e.g. Type 265). The following steps should be carried out:
Screw mounting elbow to the positioner using 4 x M6 screws.
Fasten pin using washer and nut to that position of the lever which corresponds with the
desired lift (the lever is marked in mm of lift).
Put lever with pin on to the path-sensor shaft of the positioner so that the marking on the shaft
points towards the pin on the lever. Then screw lever tight with screw . Fasten carrier with
cheese-head bolts to the lifting rod of the membrane valve.
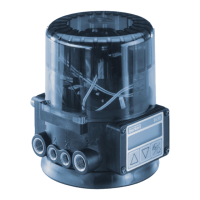
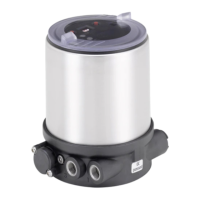
Fig. 7 Fitting to a type 265 continuous valve
with membrane drive
Fig. 8 Rear view of positioner (variant 1) with
lever