NOTE
Risk of damaging the membrane due to contamination of the
membrane with solid particles and deposits, thus, leading to
wrong measurement signals.
▶ Avoid any contact of the membrane with solid particles and
deposits.
Risk of damaging the membrane due to pressure drops.
▶ Avoid any pressure drops.
Risk of wrong measurement due to ClO
2
or O
3
in the
measured water, unstable flow rate, or due to the use of
wrong accessories
▶ Make sure there are no ClO
2
, O
3
. compounds in the measured
water/medium.
▶ Keep a constant flow rate.
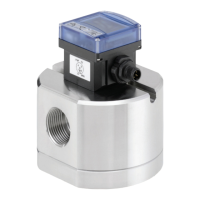
▶ Use an analytical measurement chamber type 8200 from Bürk-
ert. See chap. "10.2. Accessories".
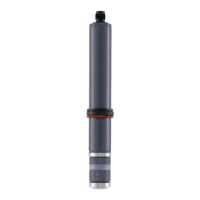
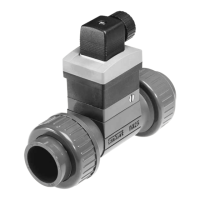
7.2. Install the sensor in a pipe
1. Prepare the sensor. See chap. 7.3.
2. Install the analytical measurement chamber type 8200. See
chap. 7.4.
3. Install the sensor into the analytical measurement chamber. See
chap. 7.5.
4. Connect the sensor to the remote controller type 8619.
Refer to chap. 7.6 and to the Operating Instructions of the
remote controller.
7.3. Preparing the sensor before
installation into the pipe
• Do not shake the GEL-electrolyte bottle to avoid creating
bubbles.
• When it has been opened, store the GEL-electrolyte
bottle head first on the closed outlet.
• Rinse the residuals of GEL-electrolyte on the working
electrode and the membrane cap with warm water.
14
Installation and wiring
Type 8232
english