Installation of the WCF Kit
Service work for BWT bestaqua 22, 24 , 26
BWT Service document No. 107 - Rev. 02 – Installation of the WCF-Kit Page 1 of 3
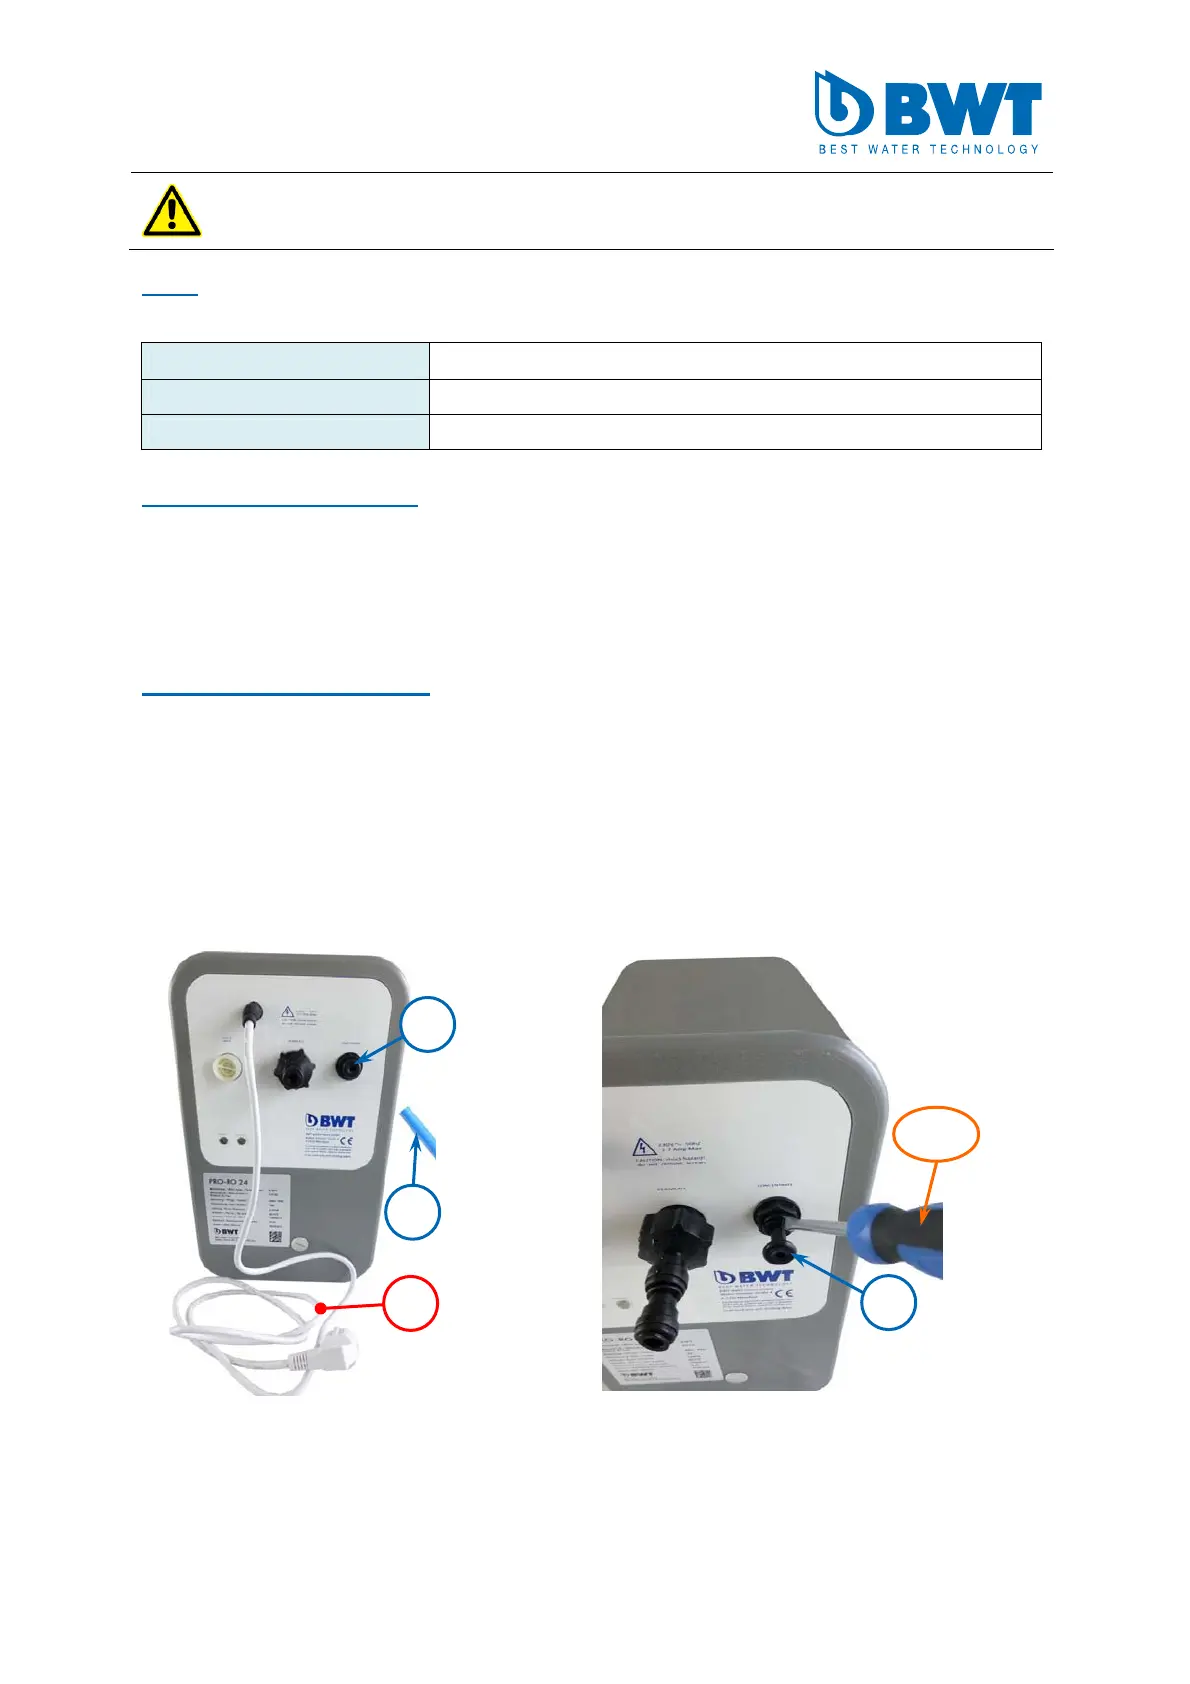
Attention: Please pull ALWAYS the POWER PLUG (*) before installing the
new WCF kit and wait 3 minutes.
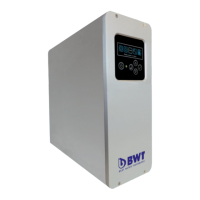
Note: The main electrical supply “230V / 50 Hz“ (*) is always located on the rear side
of the RO unit.
Order no.: Description:
824039 (RS00Y38A00)
High Efficiency WCF-set 60% bestaqua 22/24 LT&HQ
824040 (RS00Y39A00)
High Efficiency WCF-set 60% bestaqua 26 LT&HQ
Required materials / tools:
(1) WCF adapter plug (flow restrictor for concentrate)
(2) Hose adapter (connection: concentrate output)
(W1) Slotted screwdriver, size 1 to 3
(W2) Absorbent cloth (e.g. made of micro-fiber)
Assembly step 1: preparing
● Rotate the RO unit, so that you can see the rear side.
● Please loose the concentrate hose (3) out of the hose adapter (2).
● Please loose the hose adapter (2) with a slotted screwdriver (W1).
● Now remove the hose adapter (2).
● Place an absorbent cloth (W2) under the hoses for their convenient
detachment (see Fig. 5).
Fig.1: Turn the unit to the rear side
Fig.1: Disassembly of the concentrate hose
2
2
3
W1
*

 Loading...