Chapter 5: Installation Installing external antennas to a connectorized
ODU
Page 36
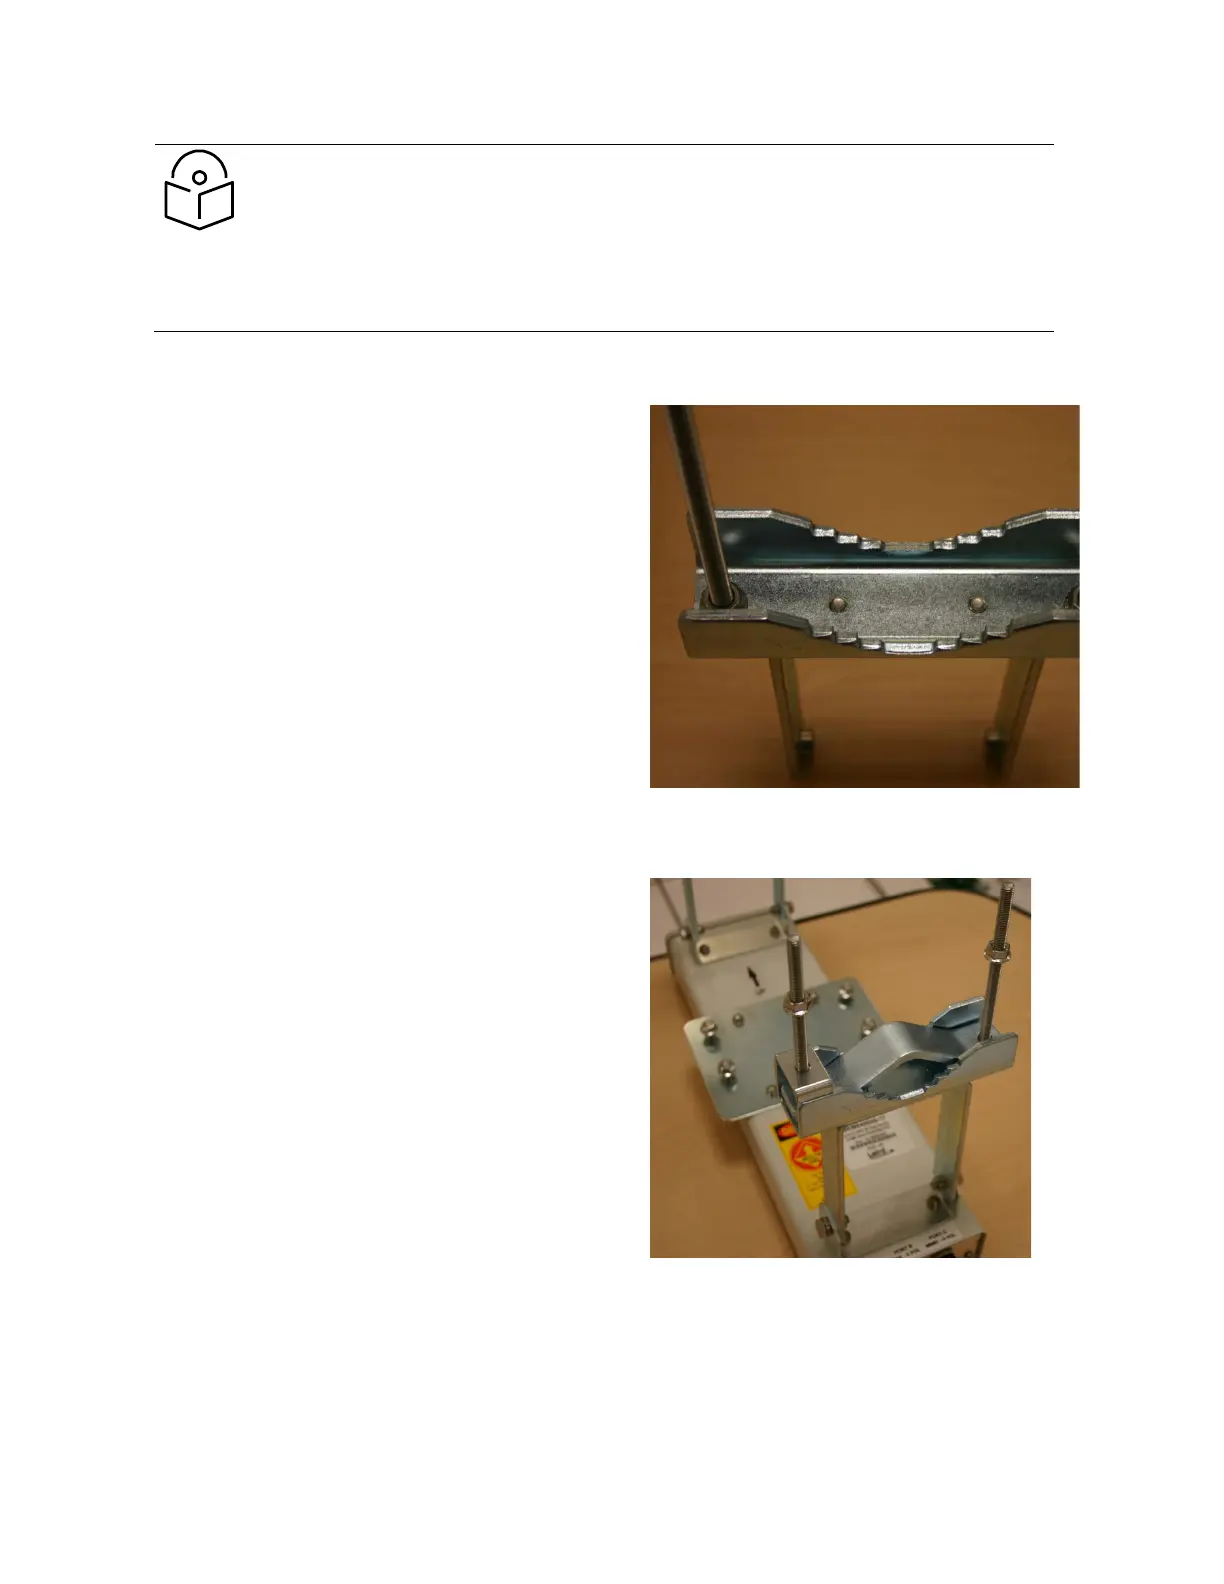
Begin assembling the lower bracket by
attaching the (2) 7” hex bolts to the bracket
using (2) serrated flange nuts
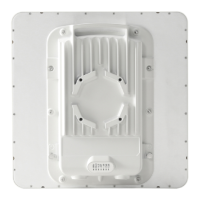
Figure 101 AP Antenna Lower Bracket
Assembly
Attach the rear strap to the bracket using (2)
serrated flange nuts and (1) retaining bracket.
Do not tighten the nuts now.
Attach the entire lower bracket to the antenna
using (2) hex bolts, (2) flat washers and (2)
lock washers.
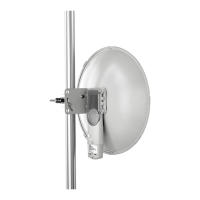
Figure 102 Lower bracket attached to AP
antenna
Attaching the PMP 450 AP to the antenna
To attach a PMP 450 Series AP to the antenna, perform the following steps.
Note
Use shielded cable for all infrastructure connections associated with APs, SMs, and
CMMs. The environment that these modules operate in often has significant unknown
or varying RF energy. Operator experience consistently indicates that the additional
cost of shielded cables is more than compensated by predictable operation and
reduced costs for troubleshooting and support.
 Loading...