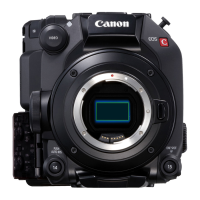
ADDED FUNCTIONALITY AND LENS COMPATIBILITY
32
EN
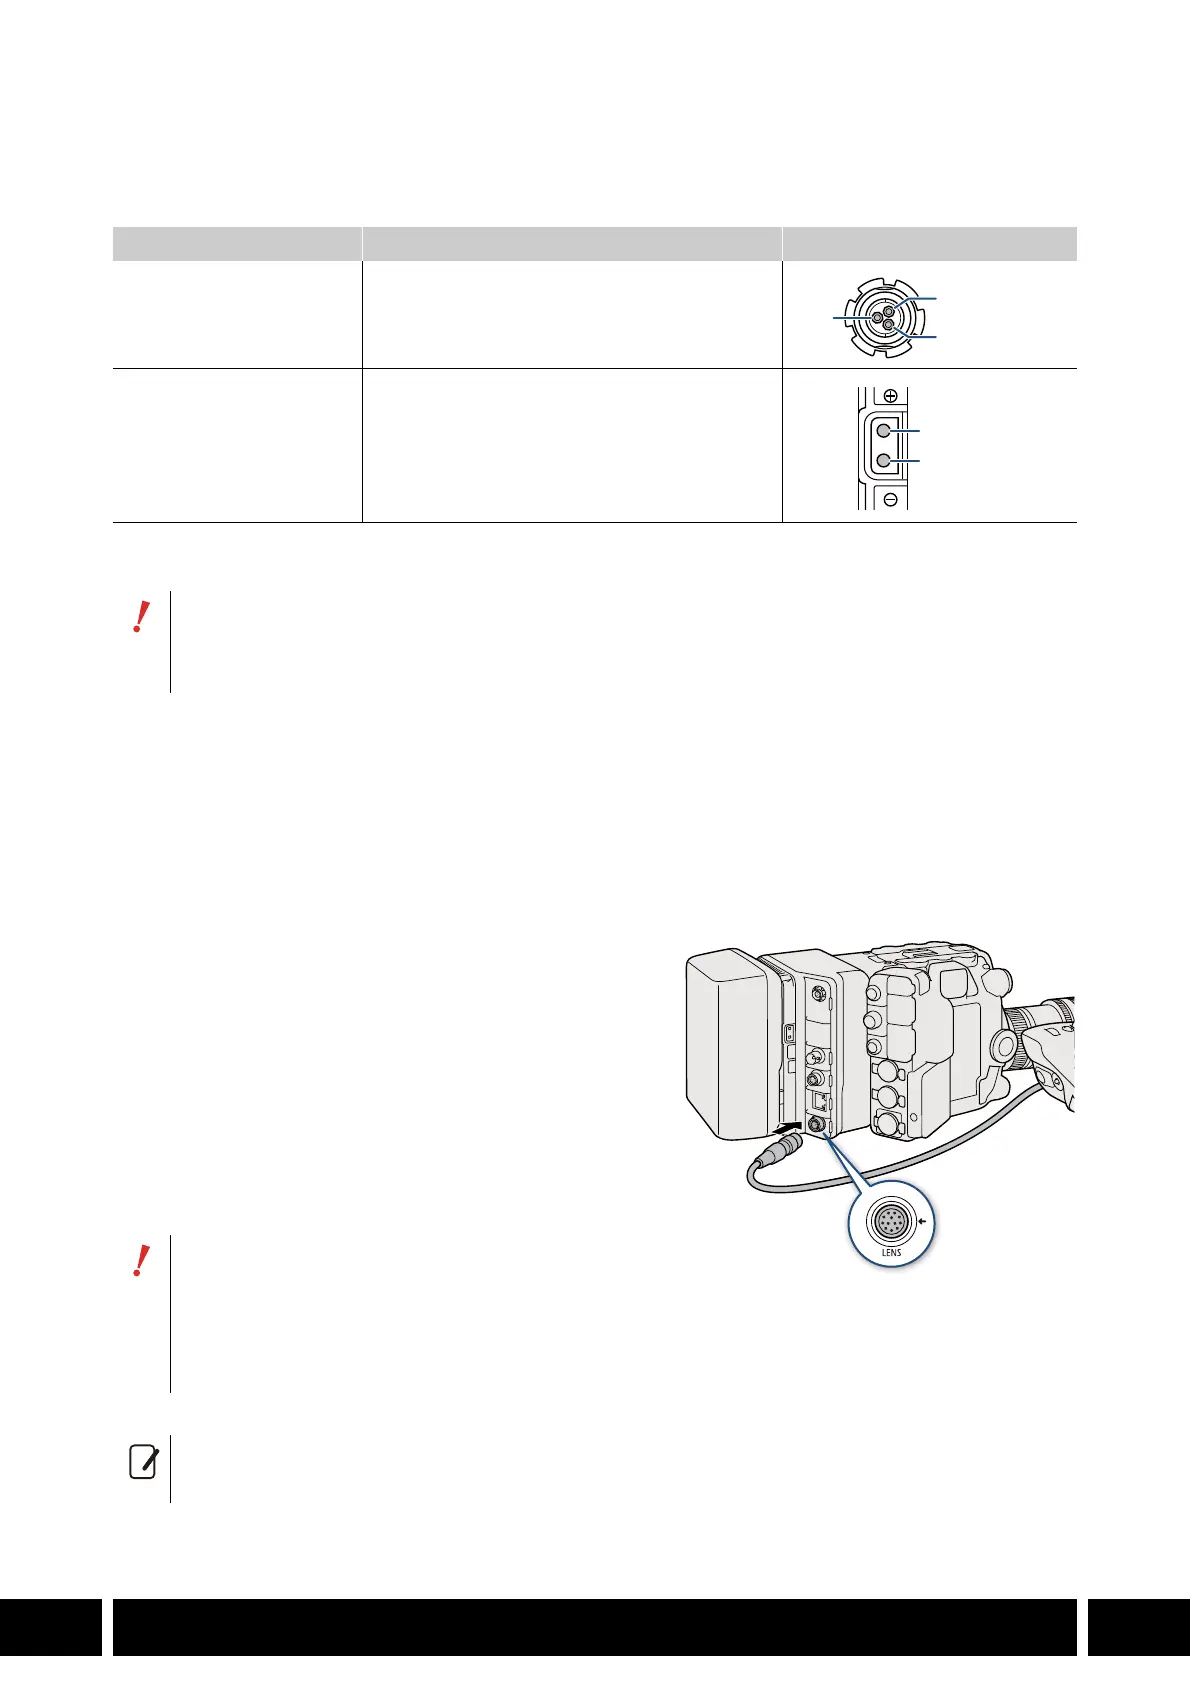
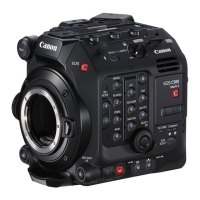
Power Outputs
The expansion unit features two power outputs for accessories: the DC OUT 24V 2A terminal and the
D-TAP terminal.
* Actual levels may vary depending on the power source supplying the camera.
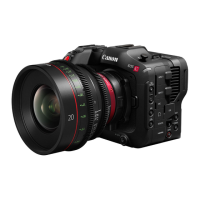
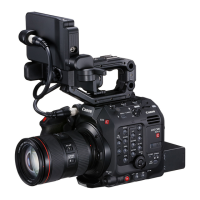
Lens Connection
When a commercially available V-mount battery is attached to the expansion unit, you can connect the
lens’s 12-pin camera interface cable to the EU-V2’s LENS terminal to be able to zoom and use the push
auto iris function from the camera. When using a B4 (broadcast) lens compatible with the L.C.A.C.
(automatic lens chromatic aberration correction) function, if the 12-pin interface cable is connected to the
EU-V2, the lens’s chromatic aberration can also be corrected.
1. Attach the expansion unit (0 30) and the lens to
the camera.
• For details about preparing the lens, see the
instruction manual of the camera being used.
2. Attach a V-mount battery to the expansion unit
(0 31).
3. Connect the lens’s 12-pin cable to the LENS
terminal on the expansion unit.
Power output Specifications* Terminal pin layout
DC OUT 24V 2A terminal Fischer 3-pin connector, 24 V DC, 2.0 A (max.)
D-TAP terminal D-Tap connector, 50 W (max.)
• Be sure to use the camera’s power outputs within the specifications given.
• When supplying power to external accessories, be careful of the polarity of the power
connections. Connecting the power supply incorrectly can cause malfunctions.
• Make sure to turn off the camera before
connecting/disconnecting a lens’s 12-pin
interface cable to/from the LENS terminal. Failing
to do so can cause a malfunction of the camera
or lens.
• If necessary, use a commercially available extension cable for 12-pin interface cables in order to
connect the 12-pin interface cable to the EU-V2’s LENS terminal.