Instruction manual CE1122
Please keep this instruction manual for future reference
11
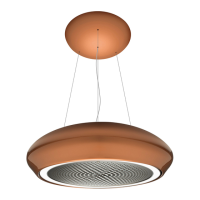
BUILT-IN INSTALLATION
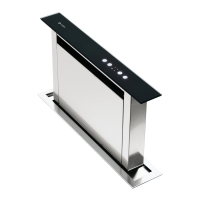
In case of built-in version remove the stainless steel cover (fig.11)
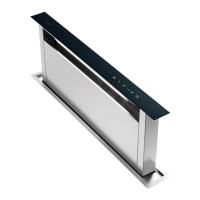
Ducted version
Mark the holes to fix the product into the false ceiling (Fig.3).
Make the the holes marked, by a drill bit diameter 8mm, and place the metric plugs
provided in the holes. In the built-in version it is possible to select the air outlet side.
The product has been assembled with the air outlet of the motor placed on the
short side but it is possible to select the side of the cooker hood where the air
extracted can be discharged, as follows:
open the glass panels and remove the grease filters and carbon filters.
Unscrew the four screws shown in fig. 4.
Remove the lower stainless steel as shown in picture 5.
Now remove the four screws that fix the motor, shown in picture 6.
Open the hole in the middle of the upper side hood (fig.7) or in the long side (fig.
12). Fix the plug to the hole where there was the motor before, by means of the
four screws supplied. (fig. 9)
Install the motor in the upper side or in the long side using the four screws earlier
removed (fig.10).
Fix the long screws into the metric plug, install the hood on the ceiling as shown in
picture 13.
CE1122SS/WH_Instruction manual.indd 11 22/03/2018 10:53