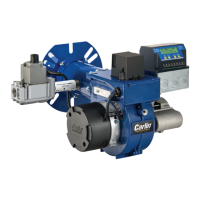
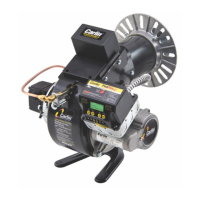
Model 99FRD, 100CRD & 102CRD oil burners — Instruction manual
Carlin part number MN99102 Rev. 08/20/08
– 8 –
2. Prepare site • assemble burner • mount burner (continued)
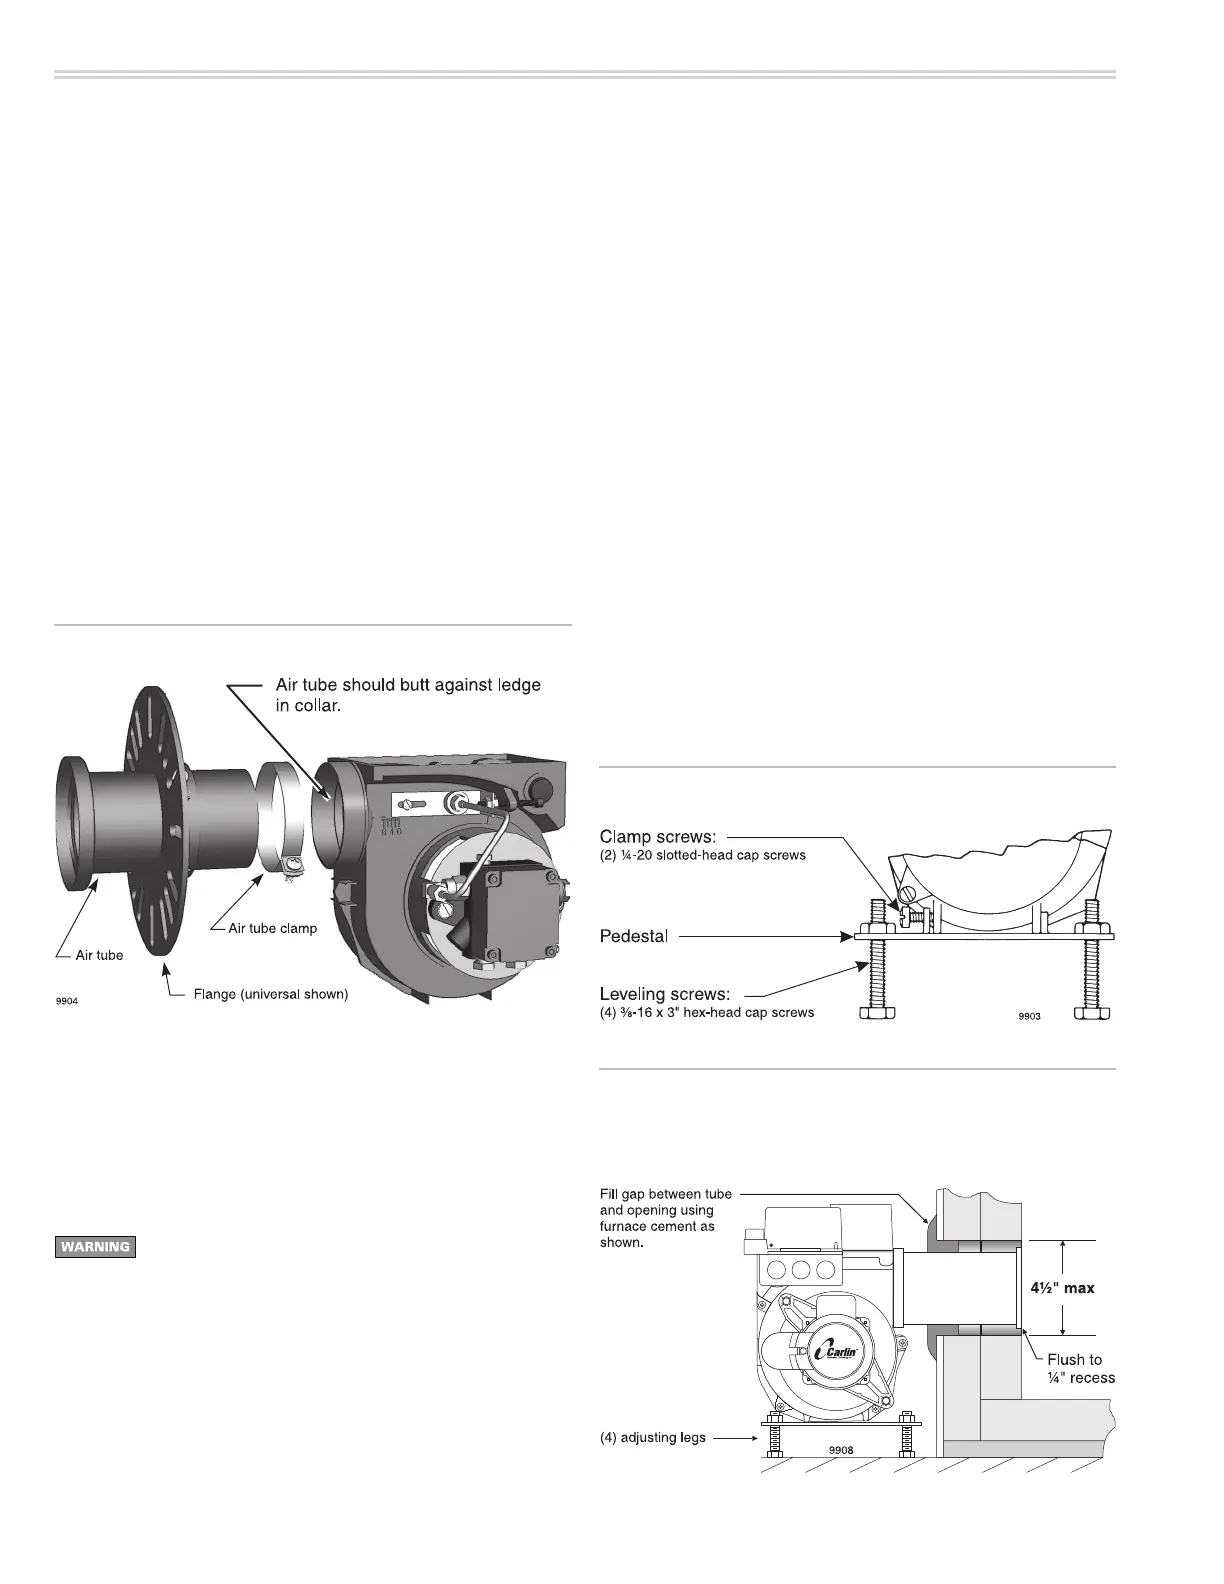
Attach air tube to housing
1. SeeFigure4.Loosenairtubeholdingclamponthefrontoftheburner
chassis.
2. Openignitorcoverplatebylooseningthehold-downtabsandswinging
them away.
3. Spreadthehousingslightlyusingaatscrewdriverbetweenthetwo
halves of the housing on top at the air tube collar.
4. Insert the air tube into the housing, make sure the tube is inserted
completely, butting against the air tube collar legde. If necessary, tap
on the end of the air tube with a block of wood until properly seated.
5. Whenusing99FRDwrapped-shieldairtubeor102CRD“B”styleair
tube, locate the drip hole in the air cone. Rotate the air tube so the drip
hole is at the bottom before pressing into place.
6. Slideairtubeholdingclampontocollarandtighten.
Figure 4 Attaching air tube to burner chassis
Mount burner in appliance
Welded flange-mounted burner
1. Place gasket over burner air tube and insert burner into appliance
opening.Secureinplacewithhardwaresuppliedwithappliance.
Universalangeorpedestalmount—theseinsertionmethods
are intended only for negative overfire pressure. For pressur-
izedring,youmustobtainaburnerwithaweldedange,
designed for use with the specific appliance. Failure to comply
could result in severe personal injury, death or substantial
property damage.
Universal flange-mounted burner
1. Place gasket over burner air tube.
2. Insert burner into appliance.
3. Verifyburnerisseatedlevelandstraight.Adjustangeslightlyifneces-
sary.
4. Secureangetoappliancewithhardwaresuppliedwithappliance.
Pedestal-mounted burner
1. Assemblepedestaltothebottomoftheburnerbytighteningthetwo
¼-20slottedcapscrewsagainstthefrontfeetofthe housing.See
Figure5. Install the four adjusting legs (3/8-16x3” hex-head cap
screws).
2. Adjustthepedestallegssotheairtubeislevelandthecenterofthe
tube is at the same height as the center of the appliance opening.
3. Tightenthepedestallegjamnutstolocklegsinplace.
4. Insert the burner/air tube into the appliance opening until pen/pencil
lineisevenwithappliancefront(soendofairtubeisushwith,or
slightly short of, the inside of the chamber).
5. Sealthespacearoundtheairtubewithfurnacecementorequivalent
(Figure6).
Figure 6 Seal opening around burner air tube when
pedestal mounting (burner shown with tube
attached to housing and installed)
Figure 5 Attaching burner to pedestal (when used)