Page | 34
For more information on the scan options, see section 7.3.
6.5.1 Defining the scan window
On accepting the scan settings, you are prompted to select the scan window as a polygon of points shot with the
laser.
Use the telescope to point the laser around the desired scan area, then use the FIRE button to record each point,
up to a maximum of 25. A minimum of two points are required to generate a scan window. The scan window is
effectively a rectangle drawn around the outermost points selected. The sequence of points can be shot in any
order.
Select a circular scan by shooting two points, one vertically above the other at a horizontal separation no greater
than 4°. The vertical separation will define the extent of the scan. This scan mode can be useful in an underground
environment, for example where a complete 360° scan of a cave is required.
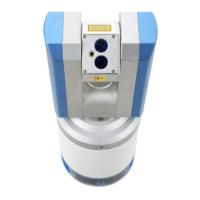
As the points defining the polygon are recorded, they will each be displayed onscreen as vertical and horizontal
angles.
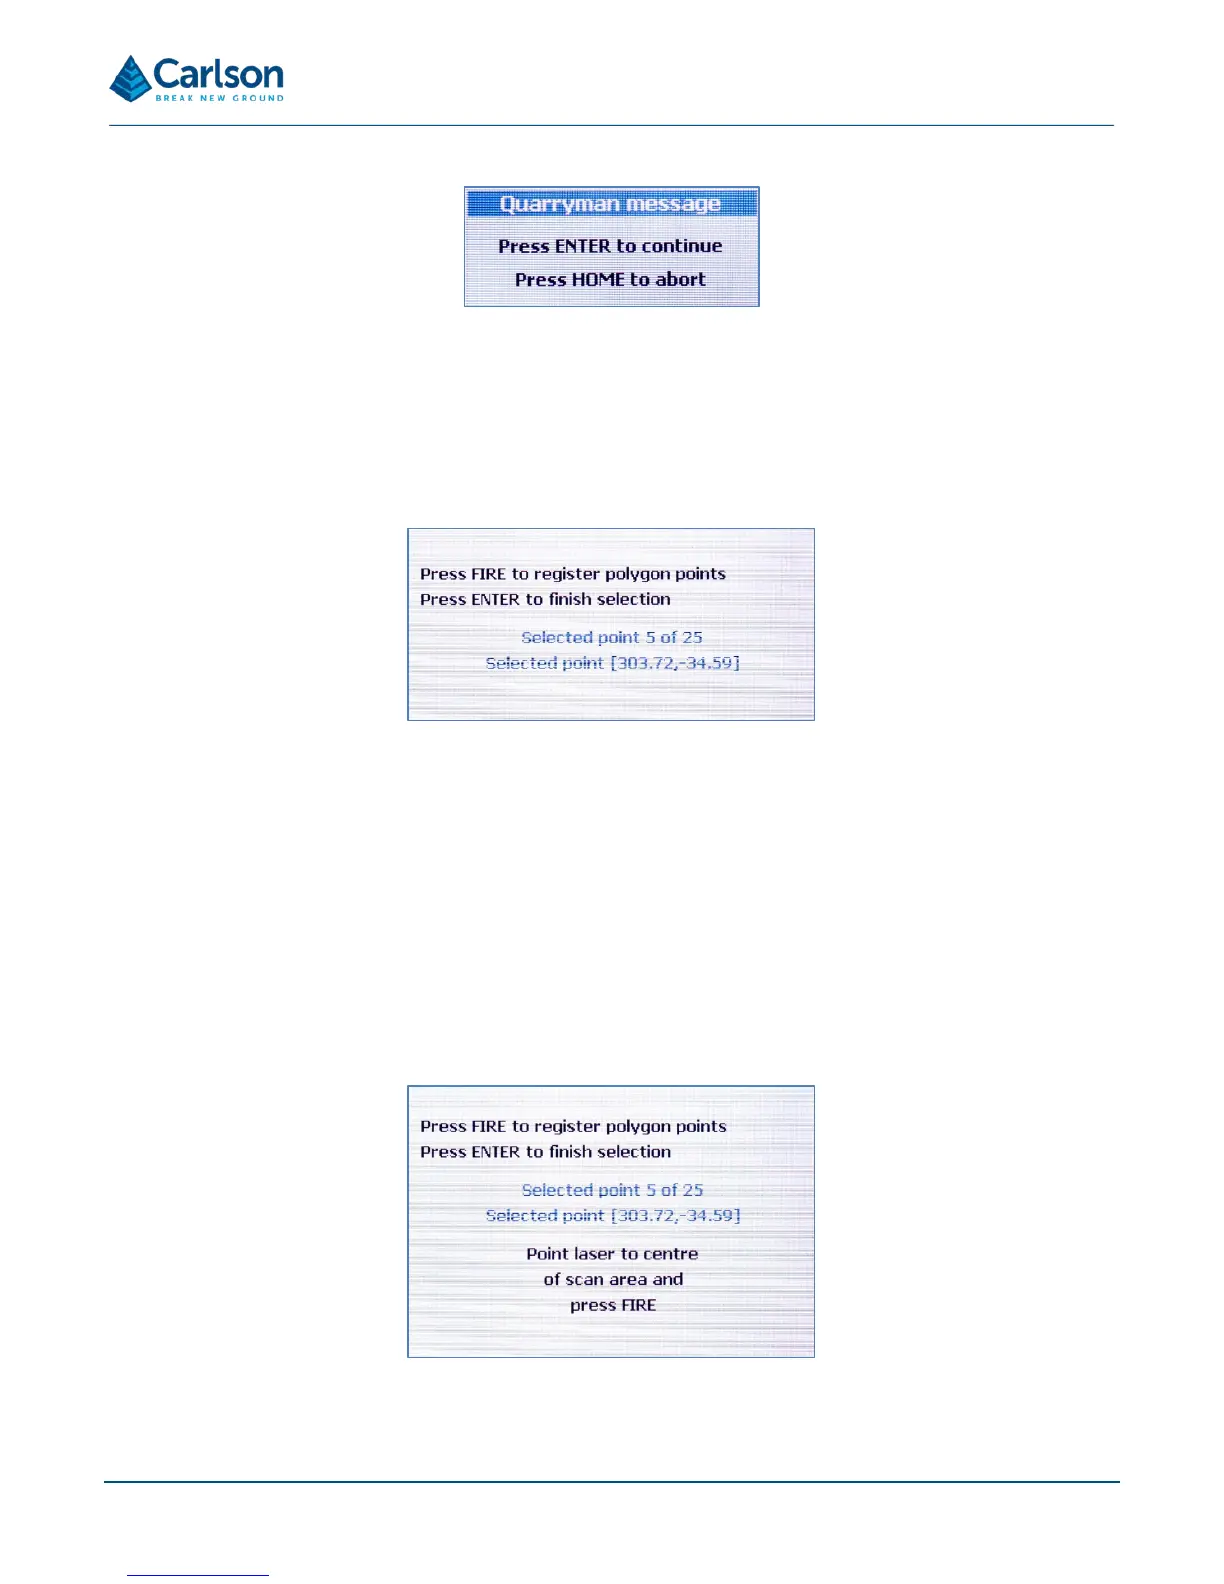
Once all the required data points in the polygon have been recorded, press ENTER to continue
You are then prompted to fire a shot inside the selected area. This shot confirms the area to be scanned, as the
selected area could cover a range greater than 180° horizontally. Also, when the scan density is being defined by
 Loading...