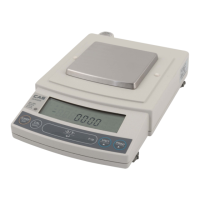
9
(1)
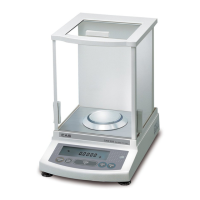
Remove the protection seals (4 places) from the protection
cover and then put it on the balance body.
(2) Turn the level screw so that the air bubble on the level gauge is
positioned at the center of the red circle. Make sure that the
balance never jolt.
For easy adjustment, insert the level screw on the right back
forcibly to the balance body. Then while lightly pressing the
balance top with your hand, adjust the horizontal level with the
level screws on the right front and left front.
Finally, in order to make the balance stable, adjust the right back
screw to touch the floor.
This procedure allows you to level the balance quickly.
(3) Place the pan supporter on the pan shaft and then the pan on the
pan supporter.
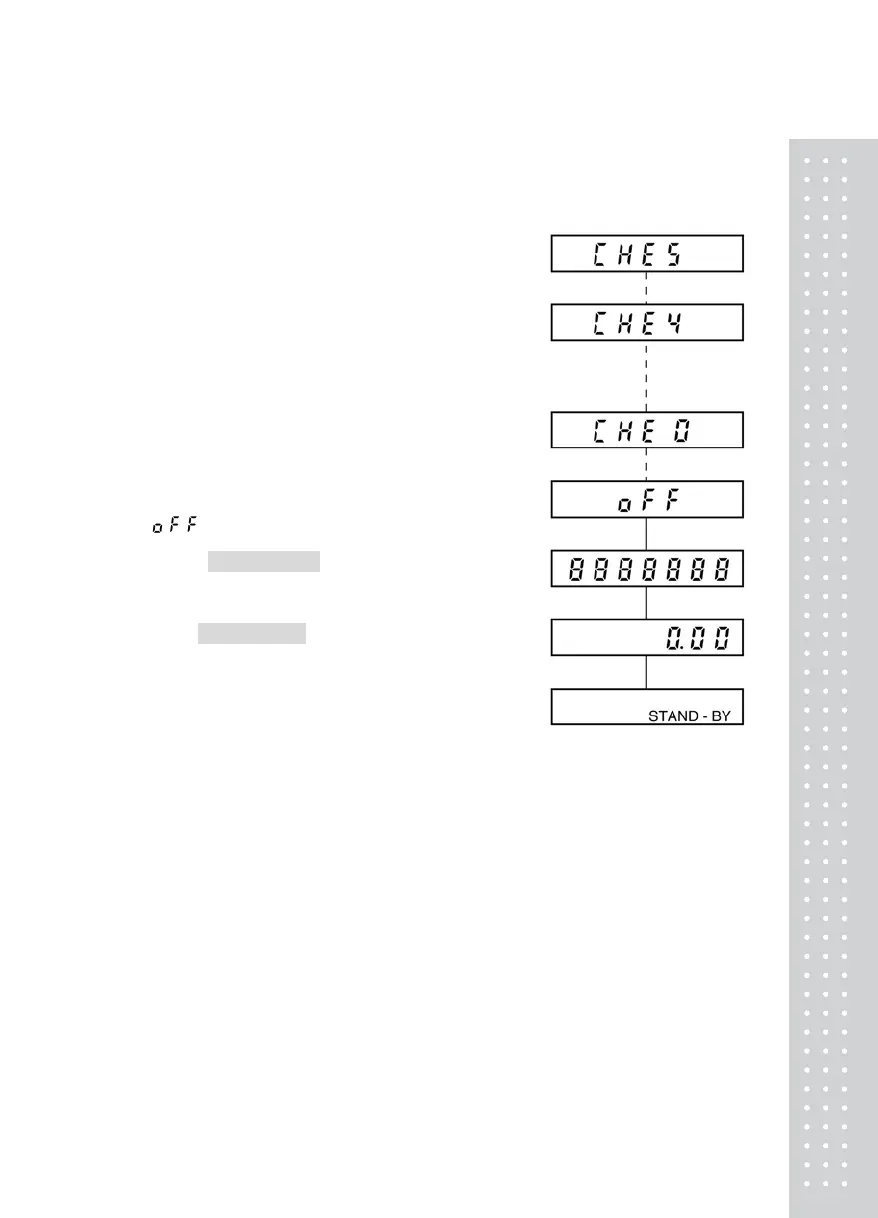
(4)
Plug the AC adapter into the outlet. The balance shows
“
”
after self-checking.
(5) Press the POWER/BRK key. All displays light for one
minute. Then the display automatically shows "zero" and the
balance enters measurement ready state.
(6) Press the POWER/BRK key again. The standby mark lights
up and the balance enters standby state.
(7) Warm up the balance.
(8) Calibrate the sensitivity.
Refer to “7. SENSITIVITY CALIBRATION”.
(9) Check the performance.
Refer to “11. PERFORMANCE CHECKS”
 Loading...