C
Curtis WatsonSep 6, 2025
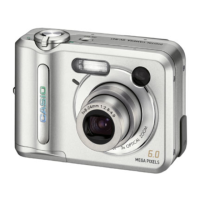
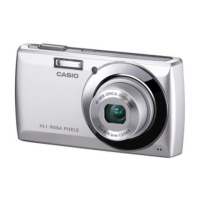
Why can't I transfer files from my Casio Digital Camera via USB?
- DDouglas KellySep 6, 2025
If you're having trouble transferring files from your Casio Digital Camera via USB: 1. Ensure the USB cable is securely connected. 2. Make sure the camera is turned on. 3. The USB driver might not be installed. Install the USB driver on your computer.