10 11
INITIAL SETUP
INSTALL YOUR SI-460 SYSTEM
INITIAL SETUP
You can connect a fax or PC modem to the SI-460 Data Port, located on the upper left rear side
of the unit. This data port is connected to line 2. When a fax or PC modem is connected to the
Data Port, and it is in use by the fax or PC modem, the connection is protected and cannot be
interrupted by incoming or transferred calls.
The data port is ALWAYS active, regardless of the position of the PC/FAX switch. Placing the
switch in the PC/FAX position silences the ring and turns off line status indication for that line
and prevents the voice mail from answering incoming modem or fax calls.
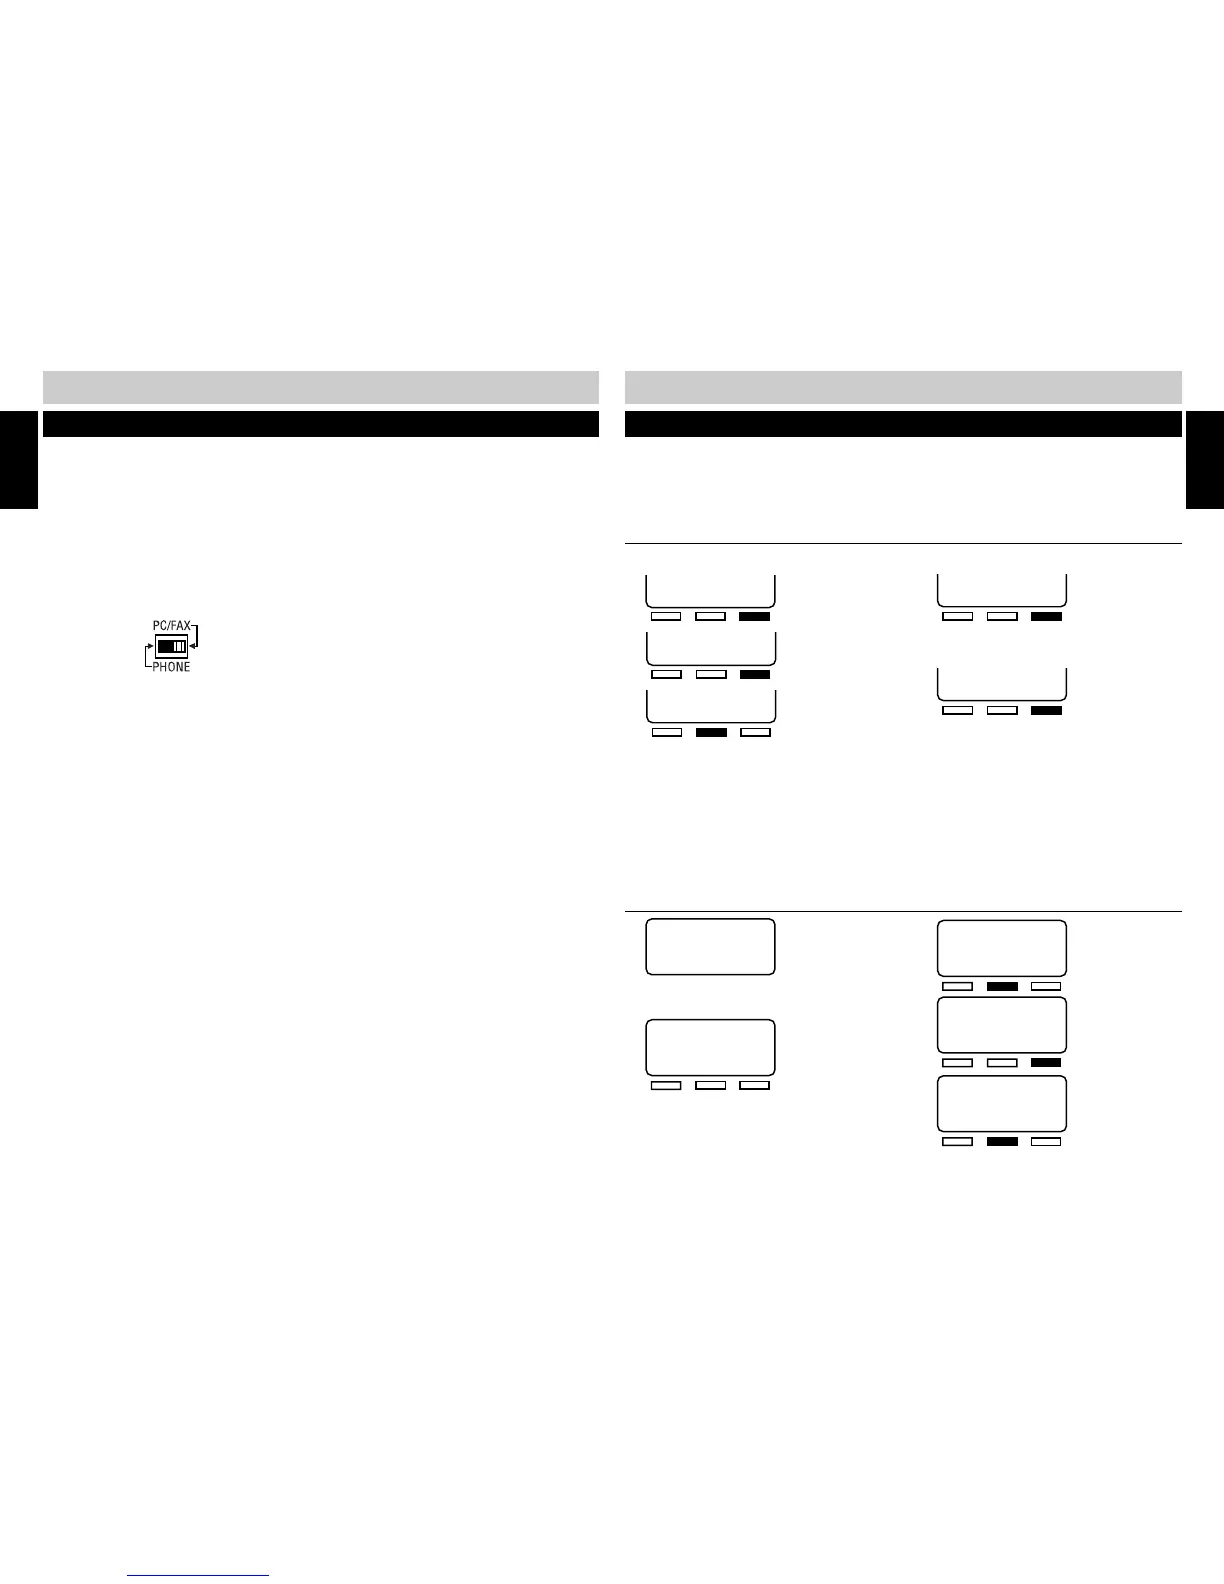
1. Connect the line cord of the fax or PC modem into the Data Port, labeled “DOWN STREAM”.
2. Position the PC/FAX switch to the PC/FAX position.
CONNECTING A FAX OR PC MODEM TO THE DATA PORT
If a fax is connected at a station that is sharing line 2, each station connected to the common line
2 should have the PC/FAX switch set to the “PC/FAX” postion. When a call is received on line 2,
only the fax will ring and answer the call. If auto attendant in on, line 2 will not ring and auto
attendant will not answer the call. When set to the PC/FAX setting, line two is a dedicated fax and
modem line.
1.
Use the keypad to enter the hour (two
digits) and minutes (two digits).
2.
Your entries will appear in the display as
they are typed. If the time entry is
incorrect, press the soft key under “BACK”
to re-enter the time.
SET STATION 12
CHANGE SAVE
INITIAL SETUP
SETTING THE TIME AND DATE
AM/PM
BACK CHANGE NEXT
1/01 8:24
PM
TIME (HH:MM)
BACK SAVE NEXT
1/01 8:24
AM
TIME (HH:MM)
BACK SAVE NEXT
1/01 12:00
AM
CONTINUED NEXT PAGE
STATION 12 SET
BACK NEXT
1.
2.
3.
Press the soft key under “CHANGE” until
the chosen extension number (11-22)
appears in the display.
NOTE:
■ If another station’s ID number is chosen, an error
beep will be heard and “NOT AVAIL” will appear in
the display. Press the soft key under “CHANGE” to
select another extension number.
QUICK SETUP
SET STATION ID
NEXT
SET STATION 11
CHANGE SAVE
INITIAL SETUP
START
On initial power-up (the line cord(s) and AC adapter are connected) each station will prompt the
user to set the station ID, time and date. All other system defaults (see SYSTEM DEFAULTS on
page 13) are in place and the station is immediately ready for use. Refer to your completed
system configuration diagram, on page 8, for rapid installation.
ASSIGNING A STATION EXTENSION NUMBER
Each station must have a different extension number assigned.
4.
Press the soft key under “SAVE” to save
station selection.
5.
6.
Press the soft key under “NEXT” to
program the time.
TIME (HH:MM)
BACK SAVE NEXT
1/01 8:24
AM
3.
4.
5.
Press the soft key under “CHANGE” to
toggle between “AM” and “PM”.
TIME (HH:MM)
BACK SAVE NEXT
1/01 8:24
AM