12 13
1/01 12:57
AM
12
DATE (MM:DD)
BACK SAVE NEXT
6.
7.
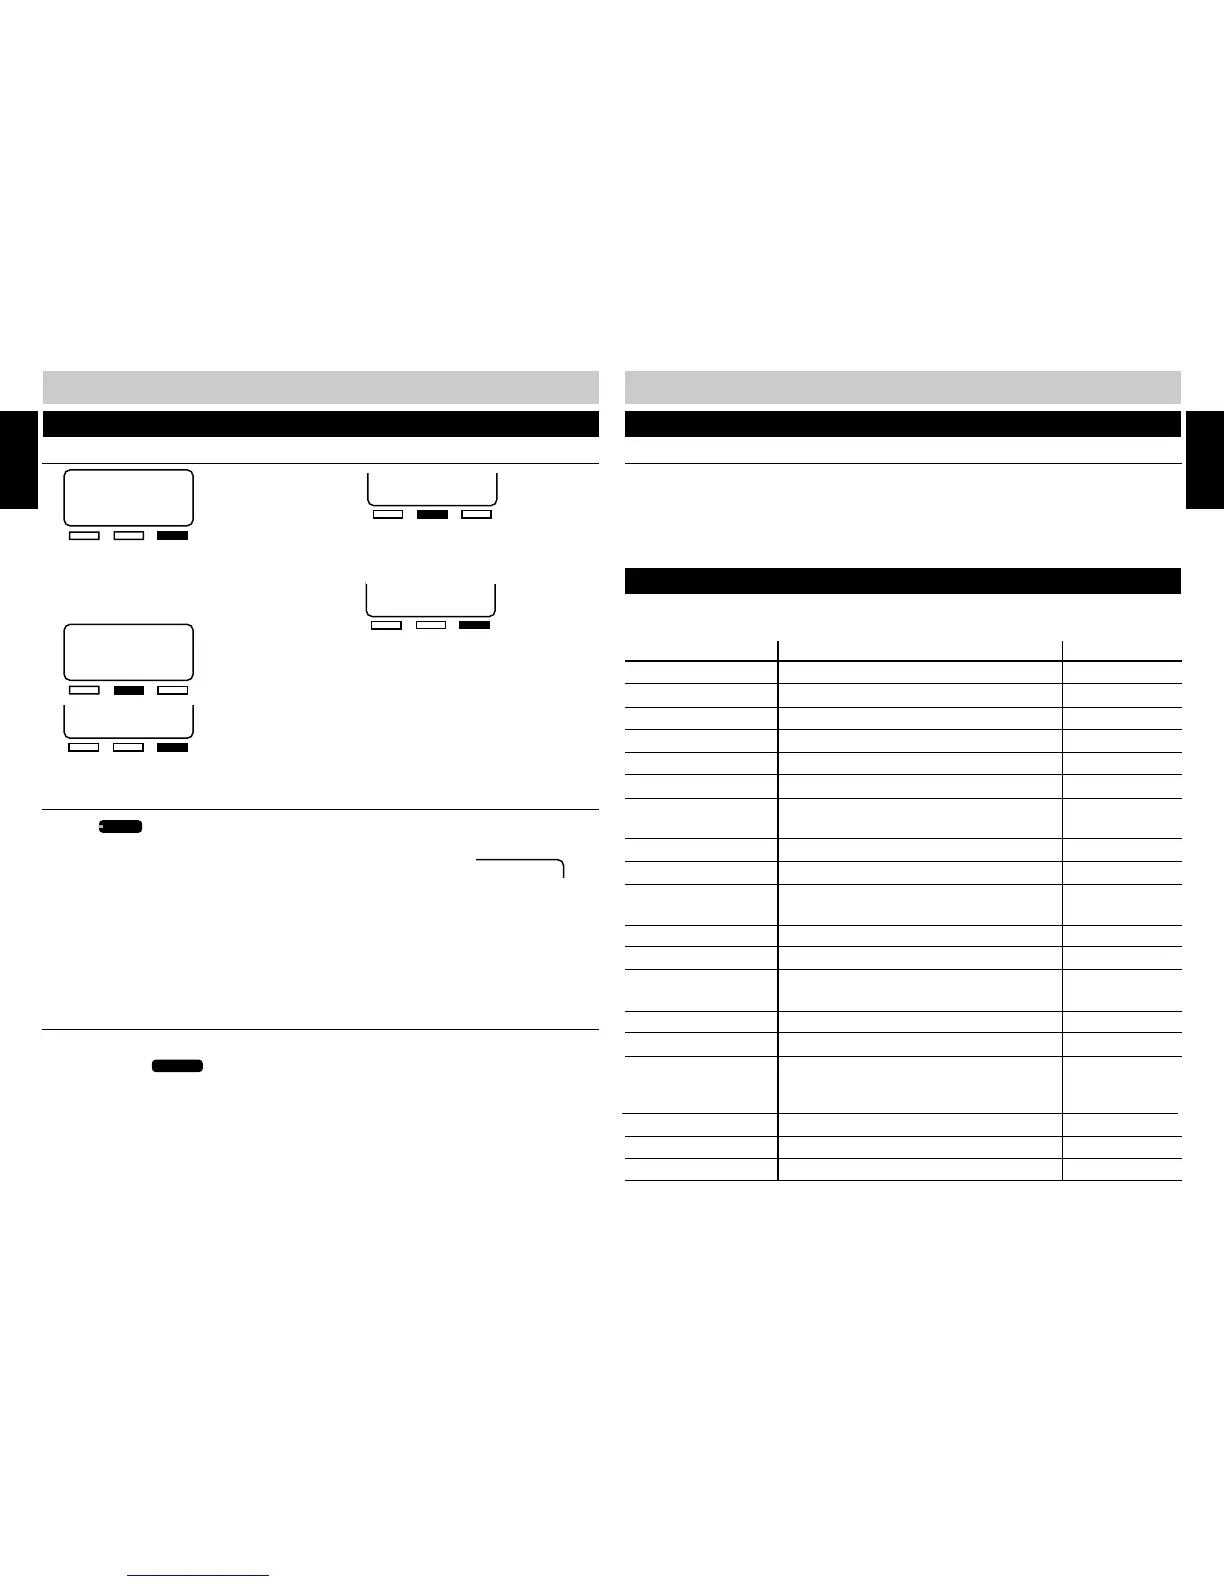
Use the keypad to enter the month (01-12)
and day (01-31). To edit your entry, press
the soft key under “BACK” to re-enter the
date.
8.
9.
INITIAL SETUP
INITIAL SETUP
INITIAL SETUP
AM/PM
BACK CHANGE NEXT
1/01 8:24
PM
DATE (MM:DD)
BACK SAVE NEXT
4/ 18 8:24
PM
DAY: MONDAY
BACK CHANGE NEXT
DAY: SUNDAY
BACK CHANGE NEXT
QUICK SETUP (cont.)
SETTING THE TIME AND DATE (cont.)
10.
Press the soft key under “CHANGE” until
the correct week day appears in the
display.
11.
12.
“INITIAL SETUP COMPLETE” will
appear in the display.
VERIFYING STATION AND LINE CONFIGURATION
1.Press
LINE 1
. The LINE 1 INDICATOR will light green and the speakerphone LED will
light red.
2.The station ID will appear in the display to indicate the station is in use.
3.Dial the telephone number for line 2 on a standard phone. The LINE INDICATOR for line 2
should flash red. If the line indicator, for the line you called, does not flash, check to make
sure lines are correctly installed.
4.Repeat step 2 and call the telephone numbers for line 3 and 4.
5.If the indicators of the lines you called flashed, you have successfully installed this station!
VERIFYING SYSTEM CONFIGURATION
To verify that all stations are communicating,
1.Press and hold
PAGE ALL
.
2.“PAGING” and the station icons for all properly connected stations will appear in the Station
Status Display. It may take a moment for all the icons to appear.
3.Check to see if all stations connected to line 1, appear in the display. If they did, the system is
successfully configured. If all the stations do not appear in the display, note the station(s) that
did not appear in the display. Go to the noted station and make sure the lines are connected
and in the correct line jacks.
INITIAL SETUP
INSTALLATION CHECKLIST
❑ AC adapter is connected at stations
❑ Line cords have been connected
❑ Line 1 is common on all stations
❑ All stations have been assigned an extension number
❑ The time and date have been set at all stations
PROGRAM FEATURE FACTORY PRESET SETTING REFERENCE PAGE
Always Ring Always Ring is OFF 18
Answering System The answering system is OFF 22
Answering System Ringer The answering system ringer is set to 4 rings 25
Area Code The area code is set to “000” 16
Auto Answer Auto Answer is ON for intercom use 15
Auto Attendant Auto Attendant is OFF 34
Caller ID Caller ID is set to ON and ANSWER, 30
so all answered caller ID records are retained
Call Screen Call Screen is set to OFF 47
Call Waiting Caller ID Call Waiting Caller ID is ON 30
Default Ringer Volume The default ringer volume is set to HIGH 17
(on the back of the SI-460)
Flash Flash is set to 600 MS 17
Greeting Mode Select The greeting mode is set to ANSWER 24
Greeting Select The greeting select mode is set to answer 22
with greeting 1
Greeting Timer Greeting Timer is OFF 23
Outside Line The outside line is set to “-“ 16
Pre-Recorded Greeting When the user has not recorded a greeting, 20
when they play the greeting they will hear
“
Please record a new greeting one.
”
Private Line Private Line is OFF on line 3 and 4 18
Remote Code The remote code is set to “1-2-3” 31
Ringer The ringer is ON for all installed lines 17
SYSTEM DEFAULTS
Once initial setup is complete, the SI-460 is ready to use with the following program defaults.
Programming each of the settings below needs to be done at each station:
QUICK SETUP (cont.)