Discover Bio
™
Manual Microwave Peptide Synthesizer
600423 • Revision 2 • August 2017
7
5.1. Cut a length of tubing (~60” (150 cm)). Using yellow ferrules and nuts, connect one end of
the tubing to the port on the bottom of the vessel.
5.2. Connect the other end to position 8 on the rear of the Wash Station.
Discover Setup
Temperature Probe Assembly
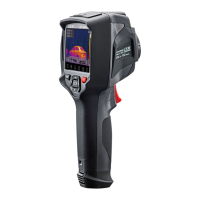
1. Connect one end of the serial cable to the rear of the FISO temperature control box. Connect the
other end of the serial cable to the COM2 port on the rear of the Discover.
2. Connect the blue ber-optic temperature probe to the FISO control box, taking care not to bend
the probe.
Calibration of the Fiber-Optic Probe
1. Connect the power cord to the rear of the Discover. Plug the power cord into an appropriate power
source. Locate the power switch on the left side of the Discover and turn the power on.
2. After the Discover has started up, press the EDIT key to open the System Menus.
3. The rst menu option will be Temperature. Press ENTER to open the Temperature Menu.
4. Use the right arrow key to scroll to “Select Alternate” and press ENTER.
5. Use the right arrow key to change to “DEVICE = FIBER-OPTIC” and press ENTER.
6. The Discover will return to the Home screen. Press EDIT to open the System Menus, then press
ENTER to open the Temperature Menu again.
7. Use the right arrow key to scroll to “Enter Calibration” and press ENTER.
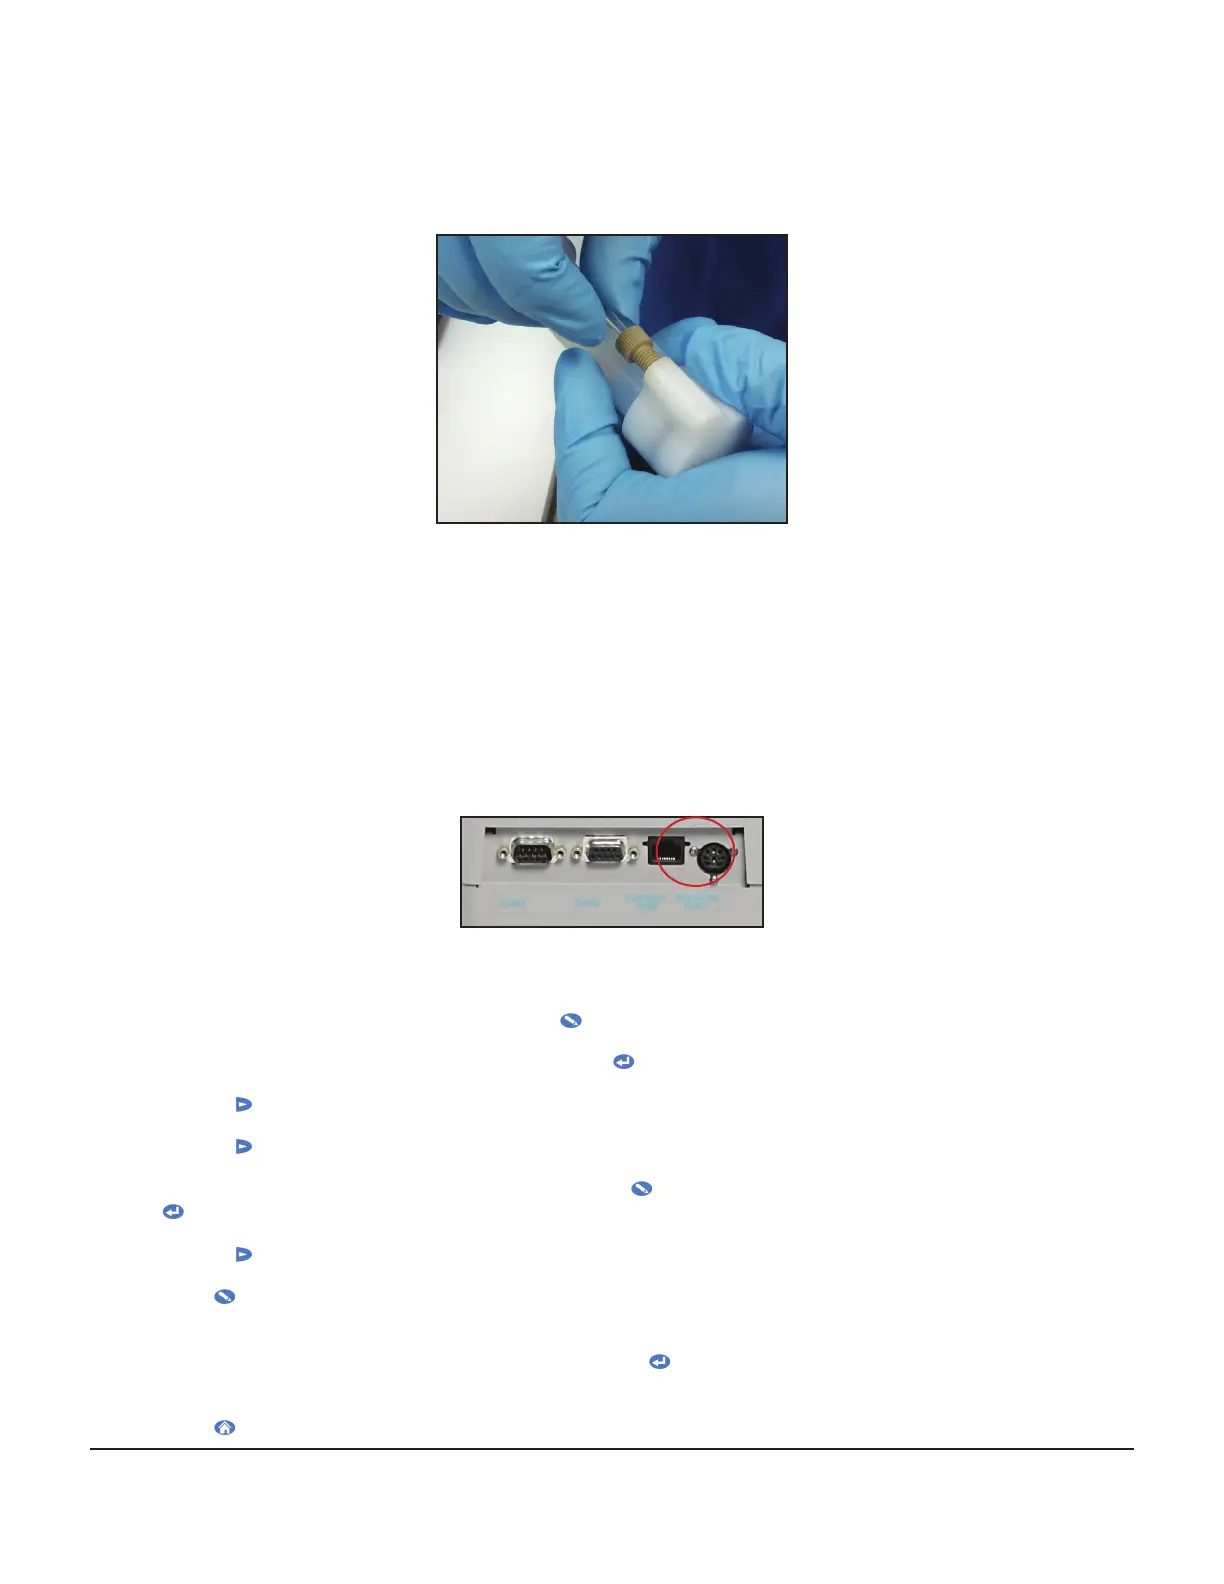
8. Press EDIT, then use the numeric keypad on the right of the Discover to enter the seven digit GF
number printed on the white band at the base of the blue ber-optic probe.
9. Ensure the GF number is correctly entered, and press ENTER to save the calibration value in the
software.
10. Press HOME to return to the Home screen.