63
Appendix B: EasyPrep and EasyPrep Plus Vessels
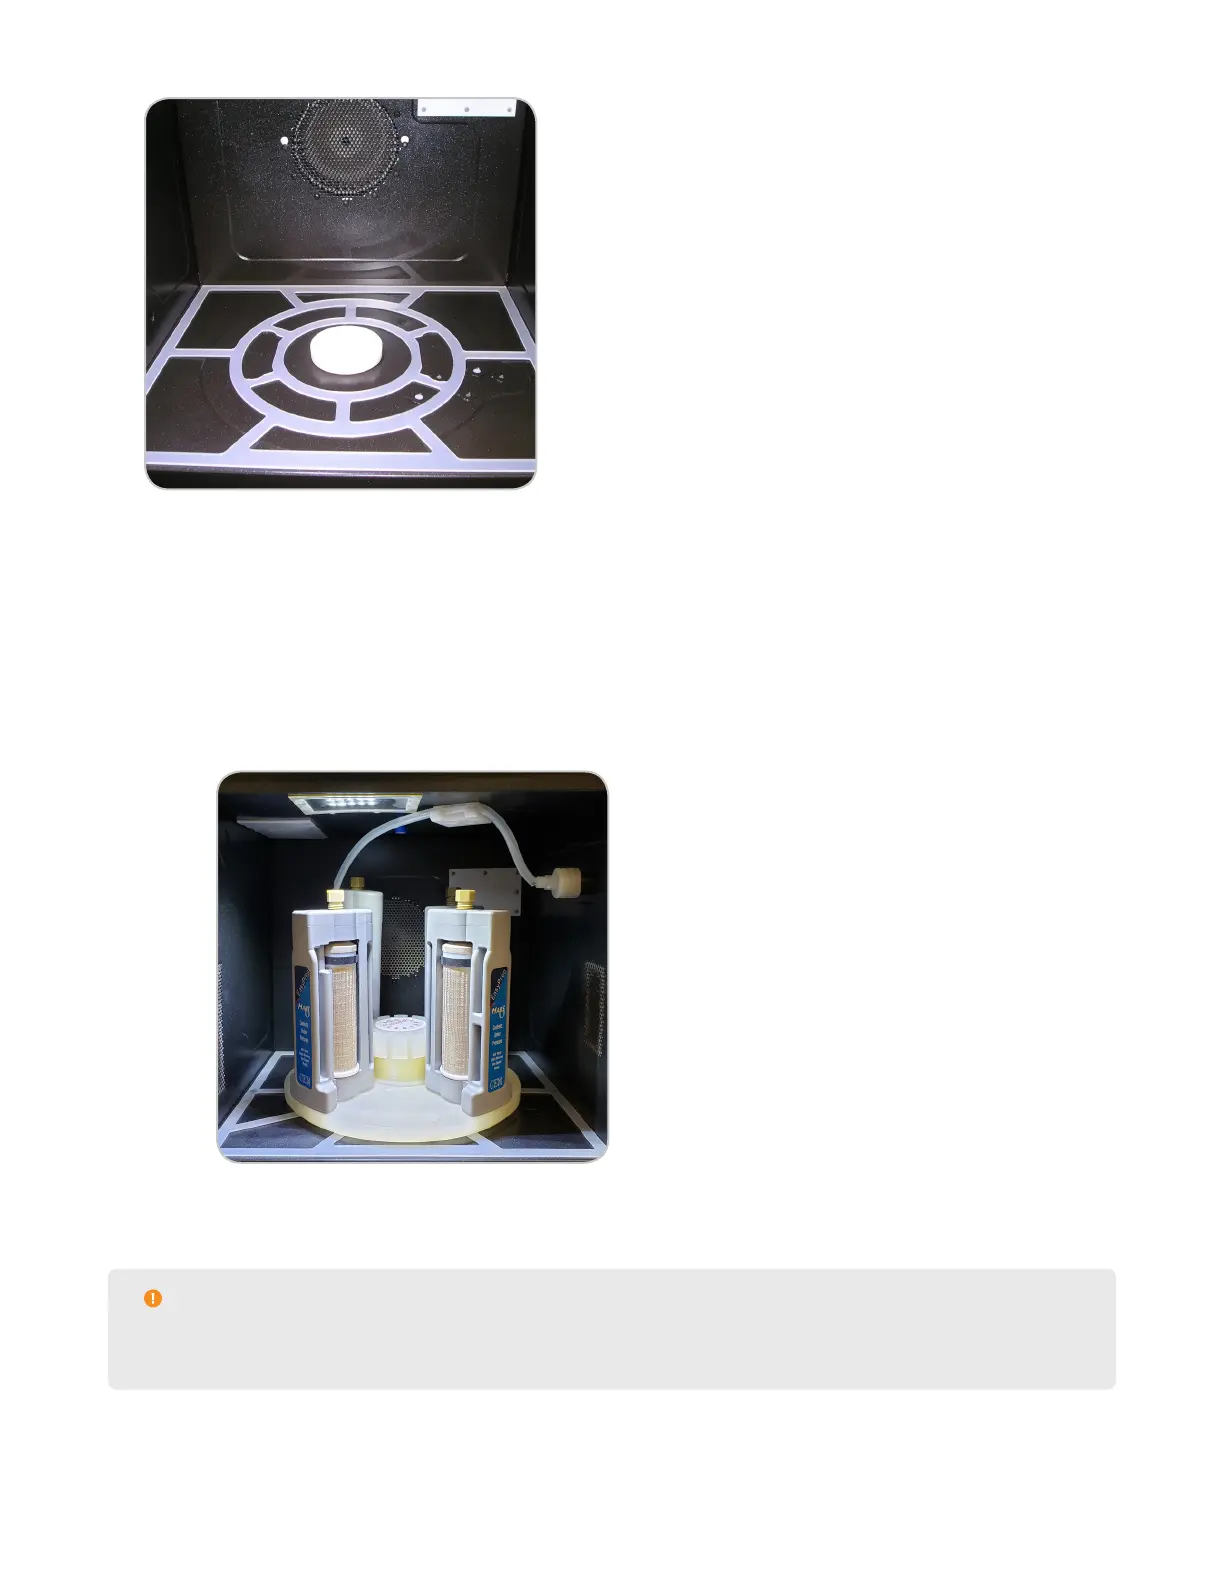
5. Verify the oor mat positioning, ensuring that the mat is not covering the temperature sensors.
6. Load the turntable into the instrument by aligning the Control Vessel or position “1” with the front of the instru-
ment. Ensure turntable is seated down on drive lug.
7. If applicable, connect the pressure sensor the right side wall of the MARS 6 cavity.
7.1. Press the turntable key to rotate the turntable until the control vessel is located in the back left corner
of the instrument.
7.2. Connect the ESP-1500 Plus pressure controller to the connector port on the right side of the instru-
ment cavity (facing instrument) by rotating the pressure sensor and gently pushing it into the connec-
tor port until it slips/locks into the correct position.
7.3. Secure the pressure line into the ceiling clip.
8. View the “Fiber Optic Temperature Control” section for detailed instructions on connecting the ber optic probe
and entering the GF number.
CAUTION
The high temp ber optic probe is required for applications running 250 ºC or greater in temperature.
Contact CEM Corporation before running temperatures greater than 250 ºC.
9. Insert the ber optic probe through the open I/O port on top of the microwave cavity and into the control