TM70 Handheld Wireless Remote Control
U003.6.0-TM70_HH_SYS-R
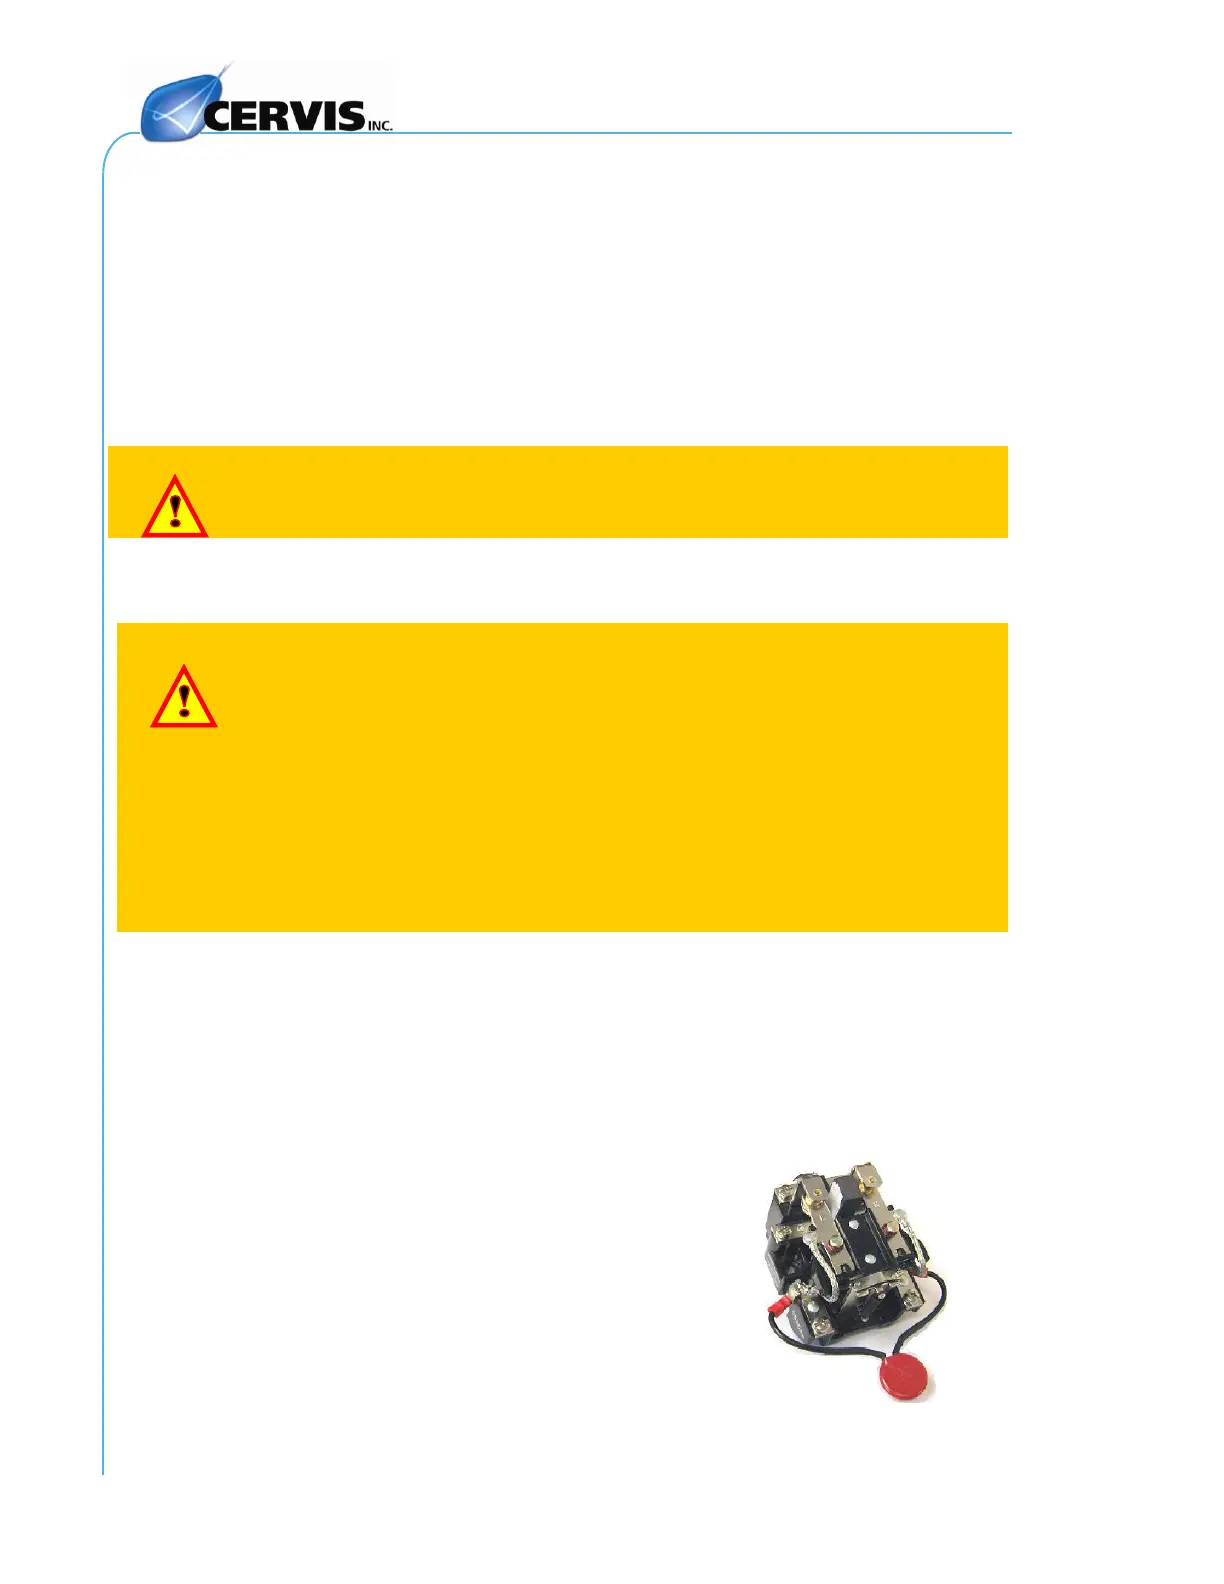
Figure 4: Typical MOV Wiring
Across Contactor Coil
3.2.1 Charging Tips
Do not recharge the battery until it is completely flat (fully discharged). The
transmitter indicates when the battery is nearing a charge cycle when the
LED flashes red; this also indicates the transmitter will switch OFF in five (5)
minutes. See Topic 0 below.
Always charge the batteries at temperatures between 41ºF and 95ºF.
Avoid short-circuits between the battery contacts. Do not carry charged
batteries in toolboxes or next to other metal objects (keys, coins, etc.).
Always keep the contacts clean.
Never leave batteries in direct sunlight.
Never carry batteries in your pockets with other metal objects where a short
across the terminals may occur resulting in burns or injuries.
3.3 Receiver Installation
Make sure the machine on which the receiver is to be attached is
disabled while during installation.
Turn off the main line disconnect switch. Check the power supply
voltage. MAKE SURE THE POWER SUPPLY IS OFF.
For a crane, park the crane and position the end stops at a suitable
distance so that other cranes on the same runway do not hit it. If end
stops are not available, use appropriate signs instead.
Keep the work area free from unnecessary clutter.
Wear protective clothing.
Note: Before installing the receiver, make sure that the outputs diagram supplied
with the system is available.
Note: Installations subject to vibration should install the optional Shock Absorber Kit
part # 1166074 available at Cervis. The kit has four absorbers that you place
between the receiver and the mounting surface as per the kit directions.
Note: Always mount the receiver and antenna away
from any intense radio or electric disturbance
sources.
Note: When using contactors with the system, it is
advisable to use the MOV’s provided by installing
them across the coil of the contactors as shown
in Figure 4.