14
STEP 2
ATTACH THE CHAIN
DO NOT run the operator until instructed.
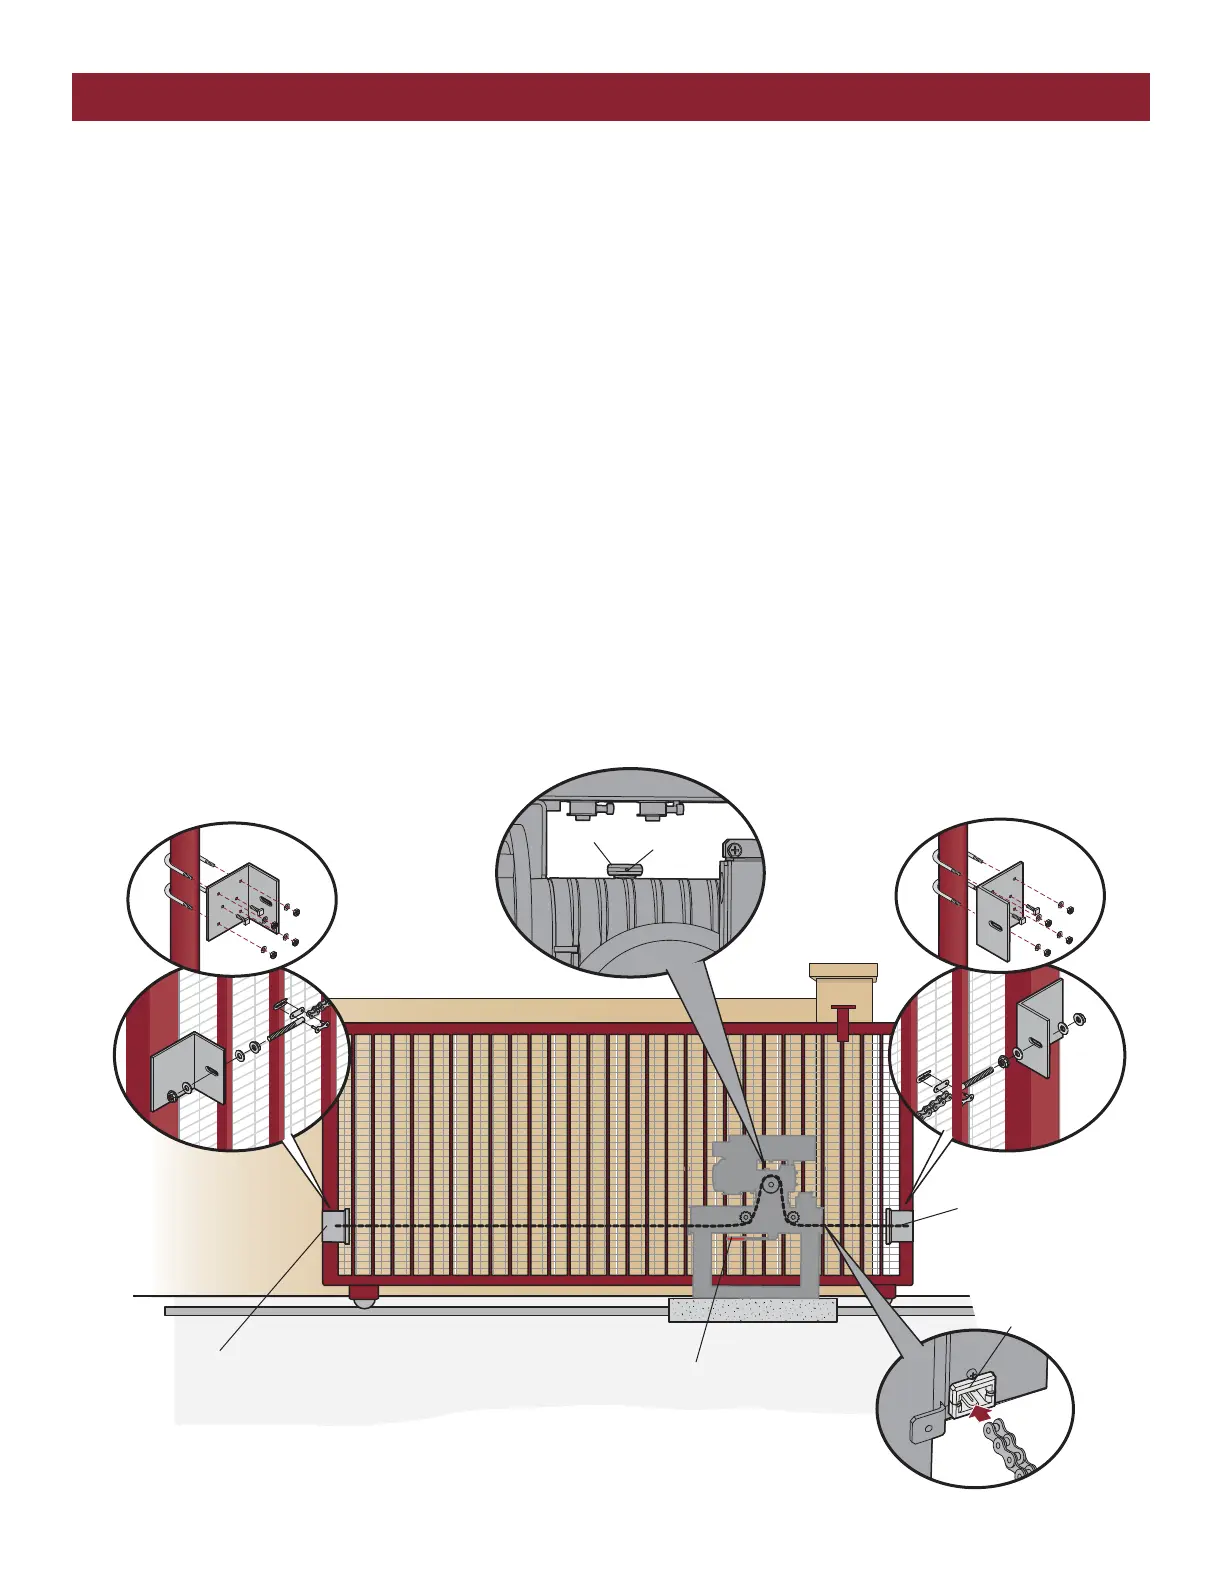
1. Mount gate brackets to the vertical front and rear posts of the gate.
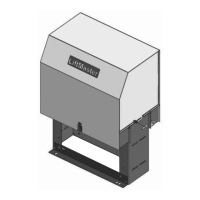
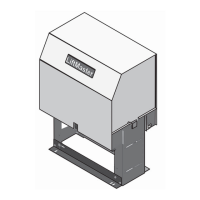
2. Remove the operator cover.
3. Locate and engage the manual release handle and lock it in place.
4. Connect the chain to the rear bracket with the provided hardware.
5. Ensure that the drive and idler sprockets are in line with each other. Thread the chain through the plastic chain guide, around drive and idler
sprockets, and then through the second plastic chain guide toward front gate bracket.
6. Adjust the chain to proper length and connect the chain to the front bracket with the provided hardware. Adjust nuts on chain take-up bolts to
remove chain slack. A general rule of thumb is to leave a maximum of 1" (2.5 cm) of chain slack for every 10' (3.1 m) of chain length. Do not
overtighten chain.
7. Remove the pin from the vent plug on the gear box.
NOTE ABOUT SOME TYPES OF CANTILEVER GATES:
With some cantilever gates over 20' (6.1 m) long, you may need to add a brace along the length of the gate to prevent the gate from bowing when
chain is tightened. This may also be required on some styles of gates that are constructed out of aluminum. If positioned properly, this brace can also
be used as a chain support.
INSTALLATION
Gate brackets must be level and
centered with bottom of idler
sprocket.
Rear Gate Bracket
Front Gate Bracket
Manual Release Handle
Chain Guide
Pin
Vent Plug



 To Next Page