Part DescriptionQuantity
M4 x 5.7-mm Phillips flat head screws26
Bracket mounting adapter (available only 23-inch rack-mount kit)4
Ground lug1
Before you begin
To install the router on a 23-inch rack, install the extension brackets on the 23-inch rack post (see Install the
Extension Plate on 23-inch Rack Post ) and then continue with this procedure.
Procedure
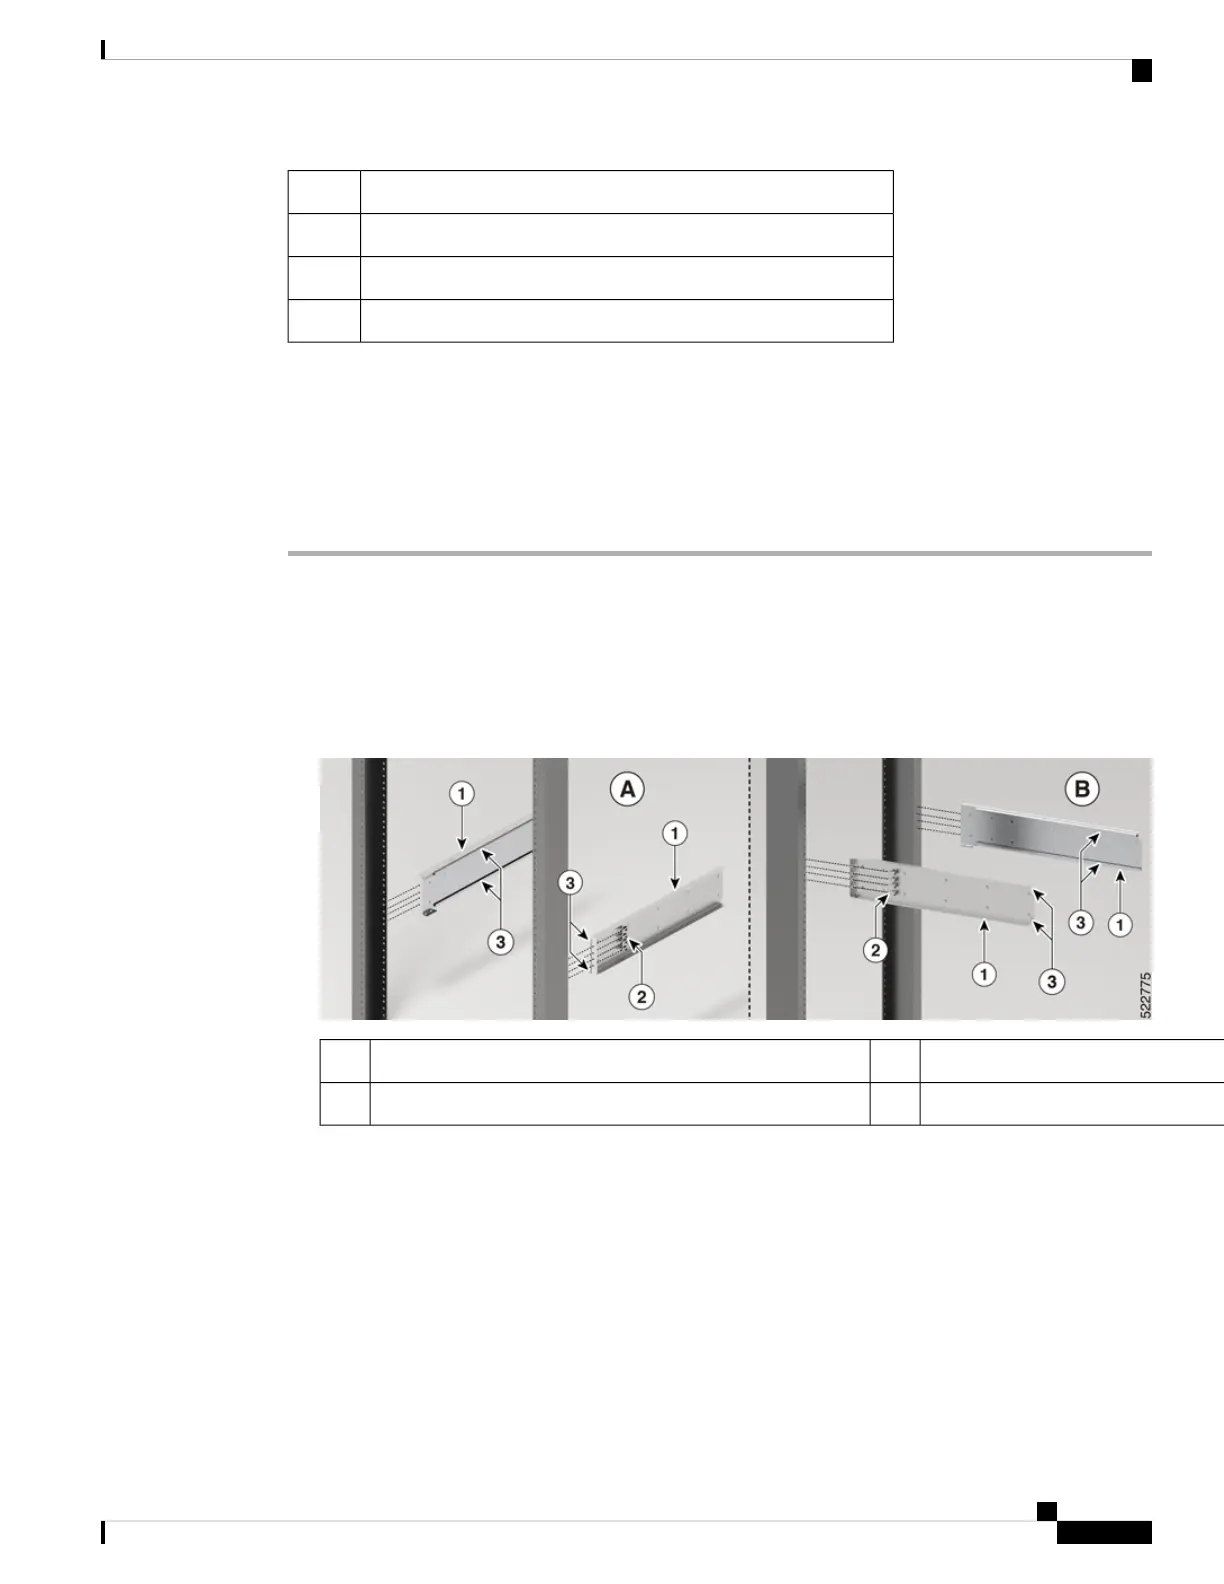
Step 1 Install the slider assembly on the rack as follows:
a) Align the left slider assembly to the rear post rack holes. The slider rail should be at the bottom.
b) Use four 12-24 Phillips pan-head screws with 30 in-lb (3.39 N.m) to attach the slider assembly to the rear
post.
c) Repeat Steps 2a and 2b with the other slider assembly on the other side of the router.
Figure 38: Rack-Mount Slider Assembly on a 19-inch 2-Post Rack
Screws2Slider assembly1
Slider rail3
Note
In case of a 23-inch 2-post rack, mount the slider assembly on the extension brackets following the same
procedure outlined in Step 2.
Step 2 Install slider brackets to the router as follows:
a) Determine which end of the chassis is to be located in the cold aisle as follows:
• If the router has port-side intake modules, position the router so that the ports are in the cold aisle.
• If the router has port-side exhaust modules, position the router so that the fan and power supply
modules are in the cold aisle.
Hardware Installation Guide for Cisco 8700 Series Routers
47
Unpack and Install the Chassis
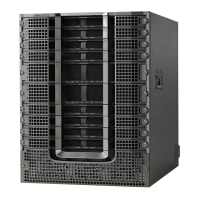
Mount the Cisco 8712-MOD-M Chassis in a 2-Post Rack with Sliders



 To Next Page