EasyManuals Logo

Cisco 8851 Manual

Cisco 8851
48 pages
To Next Page IconTo Next Page
To Previous Page IconTo Previous Page
Page #44 background imageLoading...
Page #44 background image
Step 3 Attach the cords.
a) Attach the Ethernet cable to the 10/100/1000 SW network port and wall jack.
b) (Optional) If you are connecting a network device (such as a computer) to the phone, attach the cable to
the 10/100/1000 Computer (PC access) port.
c) (Optional) If you are using an external power supply, plug the power cord into the phone and dress the
cord by clipping it into the clips that are incorporated into the phone body next to the PC port.
d) (Optional) If the cables terminate inside the wall bracket, connect the cables to the jacks.
Step 4 Attach the phone to the wall bracket by inserting the tabs on the top of the phone bracket into the slots on the
wall bracket.
Cisco IP Phone Accessories
44
Cisco IP Phone Accessories

Table of Contents

Other manuals for Cisco 8851

Questions and Answers:

Question and Answer IconNeed help?

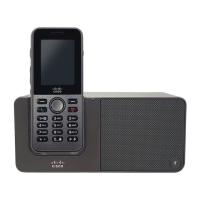
Do you have a question about the Cisco 8851 and is the answer not in the manual?
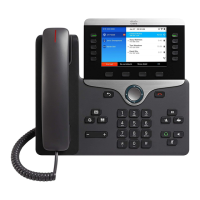
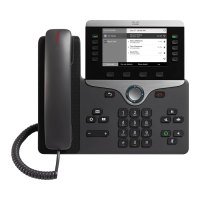
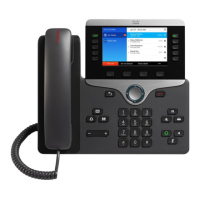
Cisco 8851 Specifications

General IconGeneral
Resolution800 x 480 pixels
Network InterfacesDual Gigabit Ethernet ports
Headset PortYes
AudioWideband audio
Ethernet10/100/1000 Mbps
USBYes, USB 2.0
PowerIEEE 802.3af/at Power over Ethernet (PoE)
ProtocolsSIP
PoEYes
Codec SupportG.711, G.722, G.729, iLBC
Headset ConnectorRJ9
LinesUp to 5 lines
Dimensions229 x 256 x 41 mm (excluding foot stand)
Weight1.2 kg

Related product manuals