DETAILED STEPS
Step 1
Attach the front rack-mount brackets. Locate the threaded holes in the front sides of the chassis (first holes beyond the
vent holes) and use the package of black screws that shipped with the chassis.
Step 2
Align the front rack-mount bracket to one side of the chassis.
Step 3
Insert and tighten the screws on one side.
Step 4
Repeat Step 2 through Step 3 on the other side of the chassis. Use at least 4 screws to secure the rack-mount brackets to
the chassis.
The cable-management brackets are installed on the chassis after you install the chassis rack-mount brackets.Note
Step 5
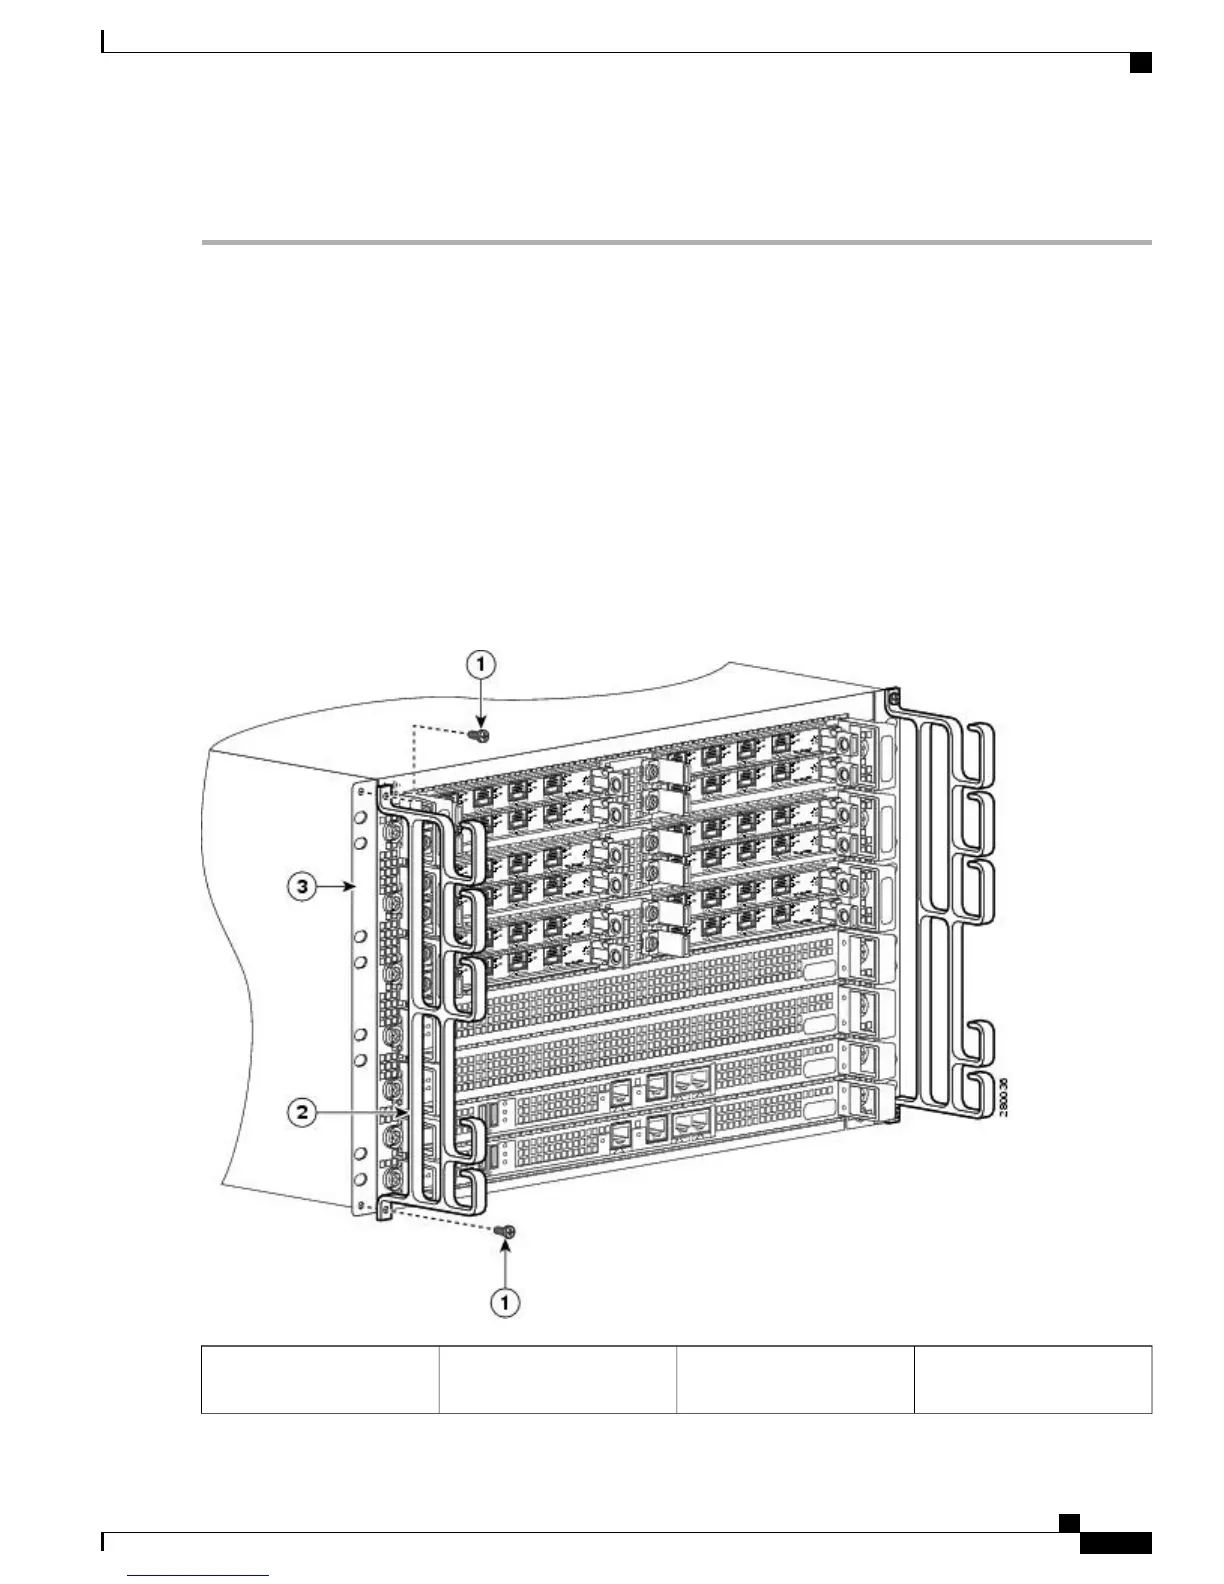
Gather the two cable-management brackets and screws shipped with the chassis. The following image shows the
cable-management brackets attached on the front of the Cisco ASR 1006 Router when the chassis is placed on a table
top or equipment shelf.
Make certain that the cable-management ‘U’ feature device has the open end pointing upwards when you attach
it to the chassis.
Note
Figure 6: Attaching the Cable-Management Brackets to the Cisco ASR 1006 Router
Chassis front rack-mount
bracket
3Cable-management screws1
Cisco ASR 1000 Series Router Hardware Installation Guide
9
Cisco ASR 1006 Router Overview and Installation
Equipment Shelf or Tabletop Installation