EasyManuals Logo

Cisco ASR 9000 Series Installation Guide

Cisco ASR 9000 Series
284 pages
To Next Page IconTo Next Page
To Previous Page IconTo Previous Page
Page #144 background imageLoading...
Page #144 background image
Figure 138: Locations for the Six Ball Studs on the Cisco ASR 9010 Router
Step 5 Attach the left and right hinge brackets to the chassis using four screws for each bracket. Tighten the screws
to a torque of 11 in-lb (1.20 N-m). The L-shaped brackets should align with the holes in the cable management
tray from which you removed the screws.
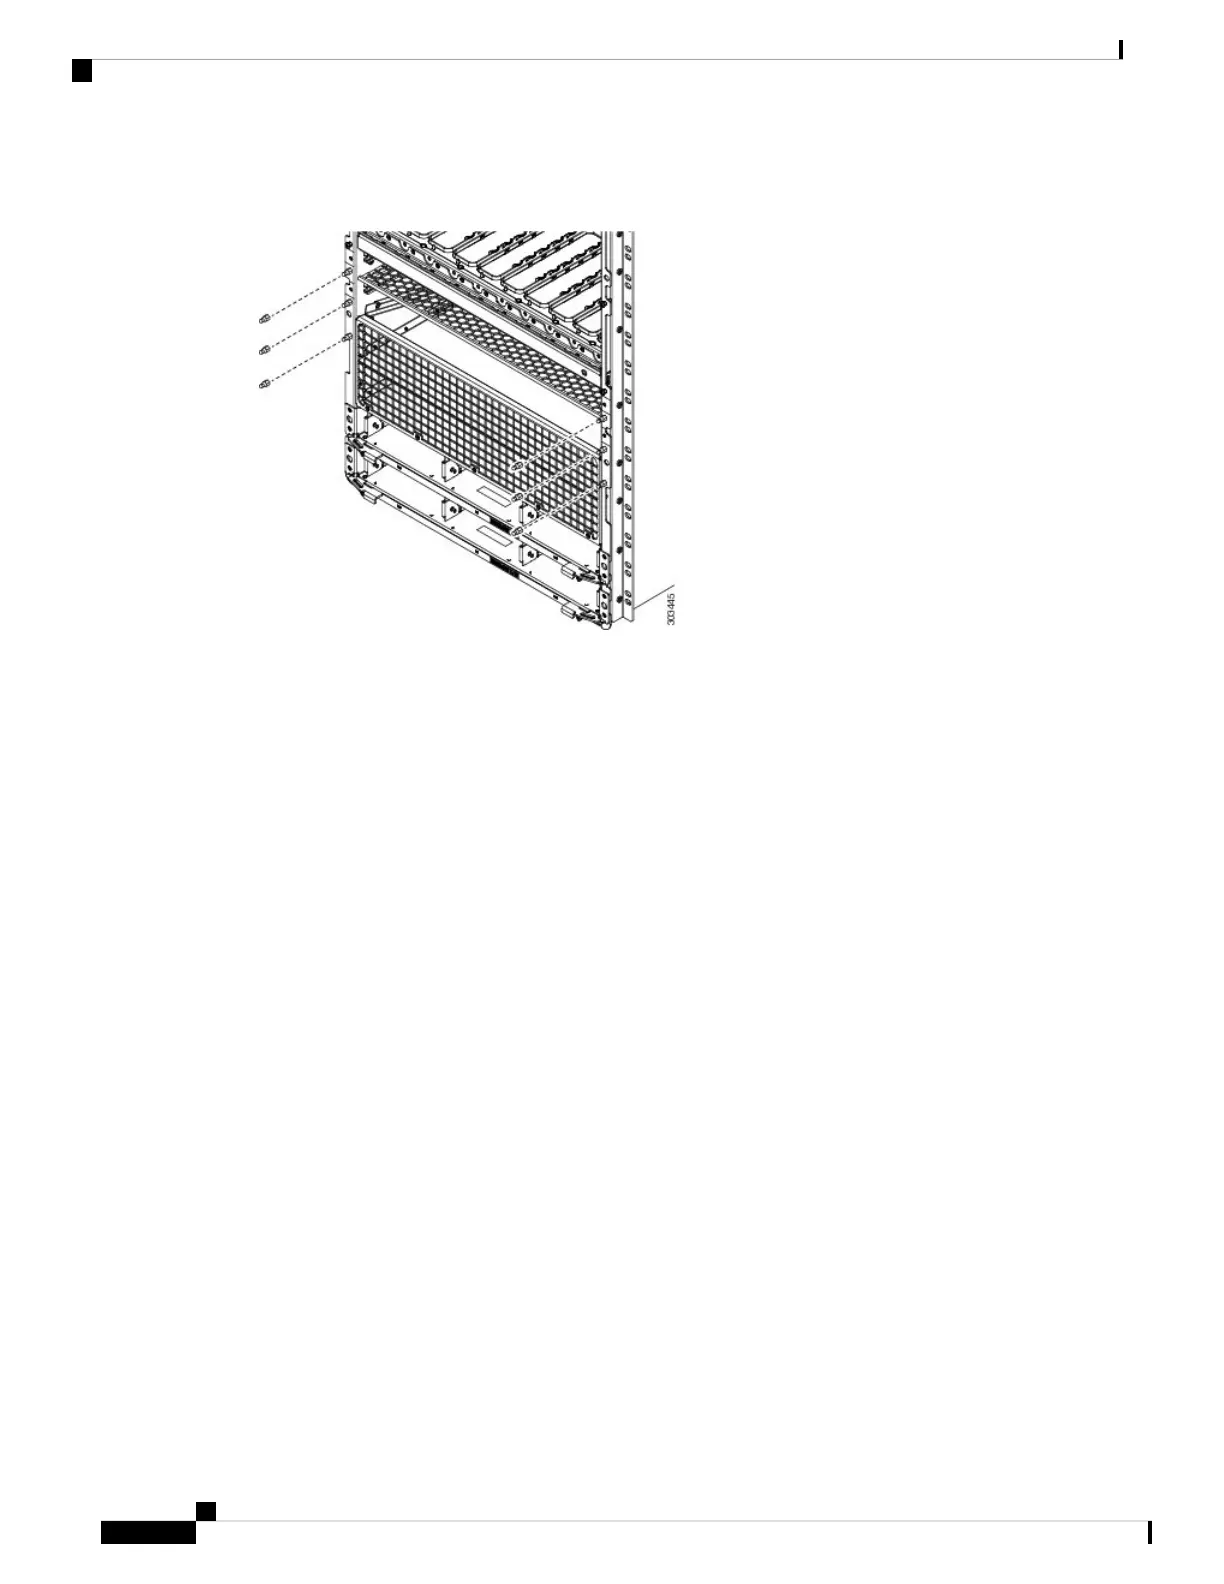
Step 6 Secure the L-shaped brackets to the chassis and cable management tray by re-inserting and tightening the
cable management tray screws you removed (see the figure below).
Cisco ASR 9000 Series Aggregation Services Router Hardware Installation Guide
130
Unpacking and Installing the Chassis
Installing Optional Chassis Accessories on the Cisco ASR 9010 Router

Table of Contents

Other manuals for Cisco ASR 9000 Series

Questions and Answers:

Question and Answer IconNeed help?

Do you have a question about the Cisco ASR 9000 Series and is the answer not in the manual?

Cisco ASR 9000 Series Specifications

General IconGeneral
SeriesASR 9000
CategoryNetwork Router
Modular DesignYes
RedundancyYes (Hardware and Software)
Operating SystemCisco IOS XR
Interfaces/Ports10G, 40G, 100G, 400G Ethernet
Expansion SlotsVaries by model
Routing ProtocolBGP, OSPF, IS-IS, EIGRP
ManagementCLI, SNMP, NETCONF
Power SupplyRedundant
Port DensityVaries by model
Power Supply OptionsAC, DC
MemoryVaries by model
StorageVaries by model
DimensionsVaries by model
WeightVaries by model

Related product manuals