Follow these steps to remove and replace the AC power supply:
Step 1
Disconnect the power cord from the power source. Do not touch the metal prongs on the power cord when it is still
connected to the power supply.
Step 2
Remove the power cord from the power connection on the power supply. Do not touch the metal prongs embedded in
the power supply.
Step 3
Loosen the captive installation screws.
Step 4
Grasp the AC power supply with one hand, and slide it part of the way out of the chassis. Place your other hand underneath
the power supply, and slide it completely out of the chassis.
Step 5
If the power supply bay is to remain empty, install a blank filler plate (Cisco part number A900-PWR-BLANK) over
the opening, and secure it with the captive installation screws.
Installing Dust Caps
The following list provides the product IDs (PIDs) for the dust caps that are available for each port type:
• RJ-45—A900-DCAP-RJ45-S= (24 dust caps per package) or A900-DCAP-RJ45-L= (240 caps per
package)
• SFP—A900-DCAP-SFP-S= (24 caps per package) or A900-DCAP-SFP-L= (240 caps per package)
• USB—A900-DCAP-USB-S= (12 dust caps per package) or A900-DCAP-USB-L= (120 dust caps per
package)
• XFP/QSFP—A900-DCAP-XFP-S= (12 dust caps per package) or A900-DCAP-XFP-L= (120 dust caps
per package)
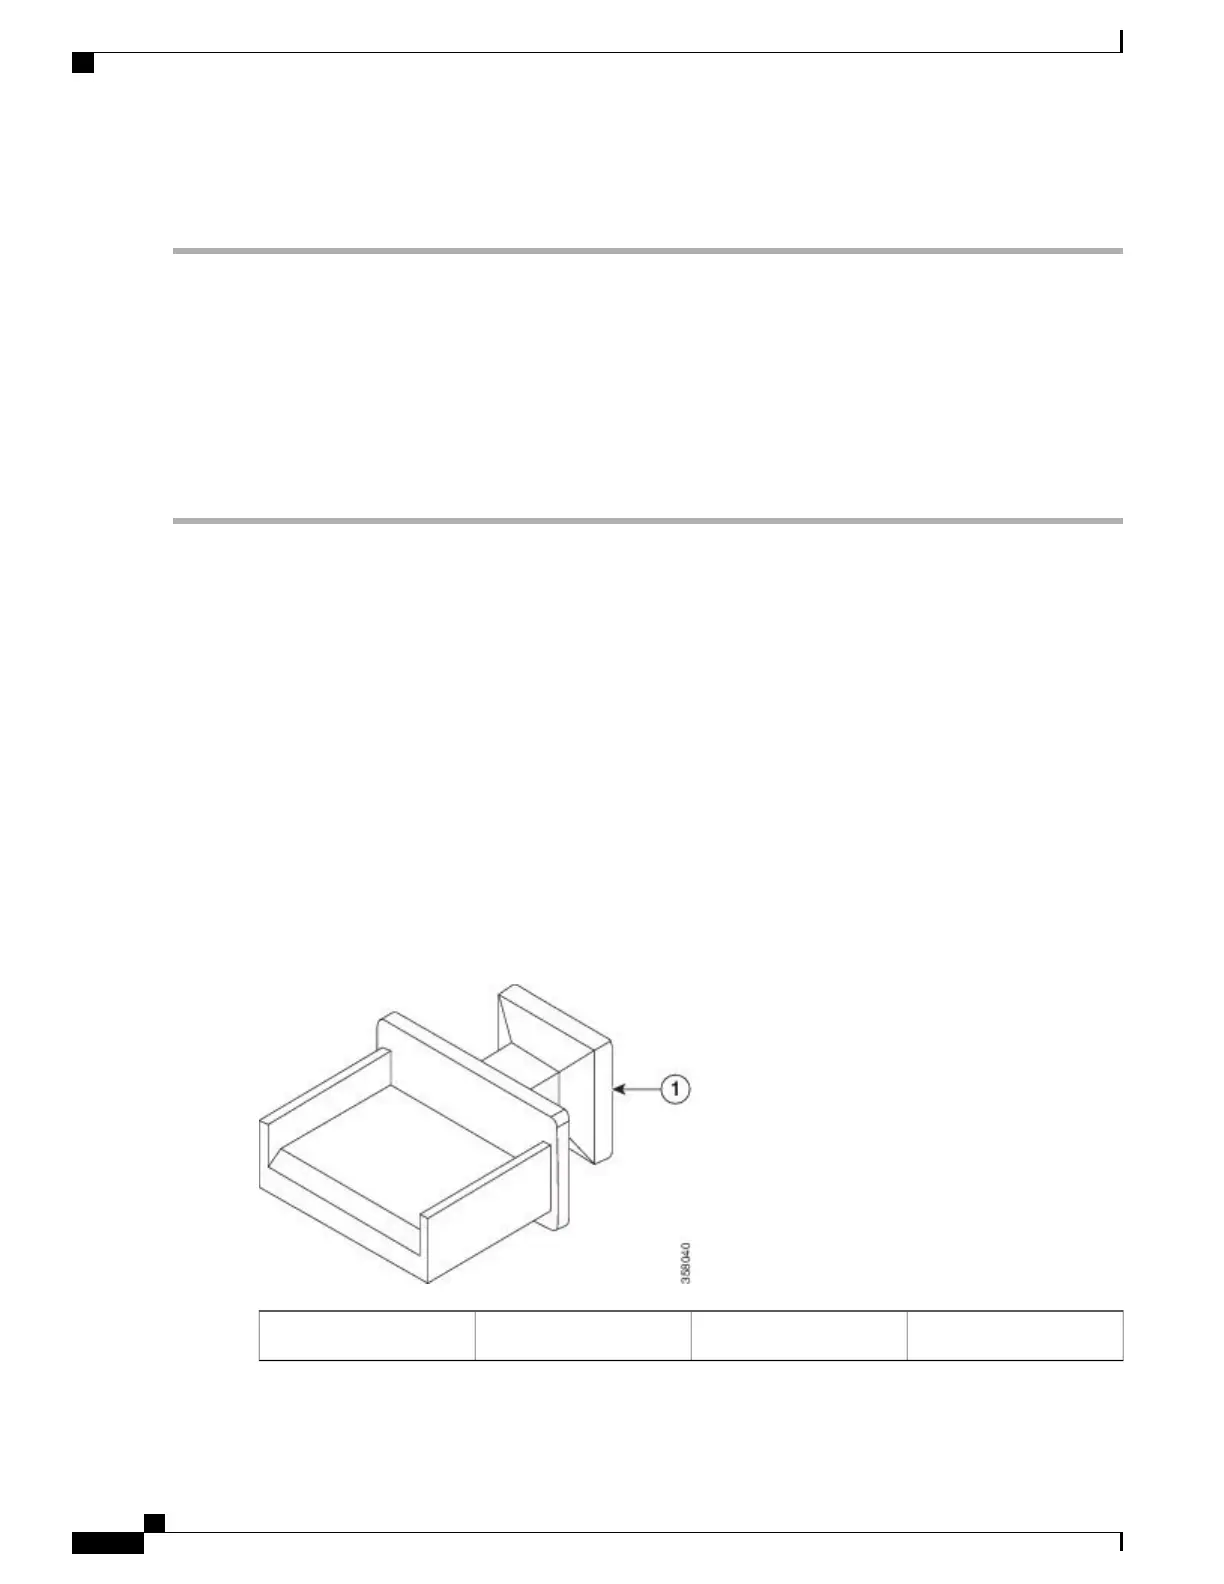
Figure 71: Dust Cap
—
Dust cap1
Cisco ASR 903 Aggregation Services Router Hardware Installation Guide
116
Installing the Cisco ASR 903 Router
Installing Dust Caps

 Loading...


