Adding an HDD Test Server to the BFS
Verifying the Success of the HDD Test Server
1 Select a DVR in your headend that meets the following specifications:
For Explorer 8000, 8010, or 8300 DVRs — DVR 1.5.2-1404 or later is installed
on the DVR.
For Explorer 8300HDC DVRs — DVR 1.5.3 or later is installed on the DVR.
The DVR is connected to your DBDS network.
The HDD is known to be in good operating order.
2 Reboot the DVR that you selected in step 1. When the DVR reboots, the SARA
client does the following:
Reads the testparam.cfg file.
Finds the appropriate entry for the DVR type.
Obtains the HDD performance specifications for the DVR type.
Stores this data in nonvolatile memory (NVM).
Note: After the HDD test has been downloaded to the DVR, the HDD test utility
can be run without a DBDS network connection.
3 Place the remote in Cable mode by pressing the key on the remote control.
The CBL key blinks red when pressing it to indicate that it is in Cable mode.
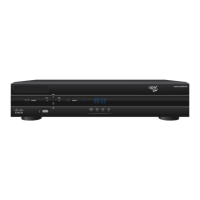
4 Press and hold the Pause key on the remote control until the message indicator
( ) on the DVR blinks.
5 While the message indicator blinks, quickly press the key to activate the
Staging Toolkit.
Note: To activate the Staging Toolkit, you must press the key while the
message indicator is blinking. The message indicator blinks for about 13 seconds.
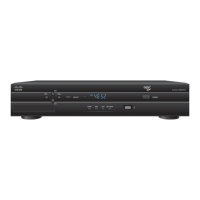
6 When the DVR display changes from displaying the time to displaying the EMM
count (for example, E-00) the Staging Toolkit is active.
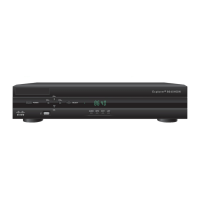
7 Press the Last key three times to start the HDD test utility. The DVR display
alternately flashes hdd and diAg while the HDD test utility runs. The test takes
only a few minutes to complete.
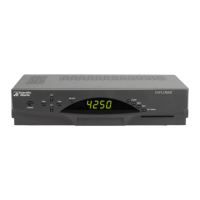
8 Does PASS appear on the DVR display?
If yes, you have verified the success of the HDD Tests server. Press the
key to exit the HDD test utility. As the utility exits, the front panel LED
shows four dashes (– – – –) and the set-top reboots.
If no, the HDD test utility is not functioning as expected. Contact Cisco
Services for assistance troubleshooting the HDD test utility.