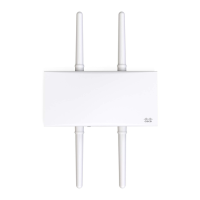
using a Meraki PoE Injector, connect the MR74 to the “PoE” port of
the Injector, and the client machine to the “LAN” port.
2. Using a web browser on the client machine, access the AP’s built-in web
server by browsing to http://ap.meraki.com. Alternatively, browse to
http://10.128.128.128.
3. Click on the “Static IP Configuration” tab. Log in. The default user name
is the AP’s serial number, with hyphens included (e.g., Q2BD-551C-
ZYW3), and the default password is blank.
4. Configure the static IP address, net mask, gateway IP address and DNS
servers that this AP will use on its wired connection.
5. If necessary, reconnect the AP to the LAN.
3.5
Collect Tools
You will need the following tools to perform an installation:
- Flat-head screwdriver
- Drill with appropriate bits for mounting wall anchors (if mounting to a
wall)
- Phillips screwdriver
- Tin snips(if mounting with hose clamps)
- Power screwdriver with 5/16”(8 mm) nut driver, Phillips & flat heads
(recommended)
3.6
Collect Additional Hardware for Installation
- Network cables with RJ45 connectors long enough for your particular
mounting location
- 802.3af PoE power source (either PoE switch or Meraki 802.3af PoE
Injector)