The default value is 60. The timeout value configured here has precedence over the value configured for the CP
instance, unless the user value is set to 0. When it is set to 0, the timeout value configured for the CP instance is
used.
• Maximum Bandwidth Up — Enter the maximum upload speed, in megabits per second, that a client can transmit
traffic when using the Captive Portal. This setting limits the bandwidth used to send data into the network. The range
is from 0 to 1733 Mbps. The default is 0.
• Maximum Bandwidth Down — Enter the maximum download speed, in megabits per second, that a client can
receive traffic when using the Captive Portal. This setting limits the bandwidth used to receive data from the network.
The range is from 0 to 1733 Mbps. The default is 0.
• Total Guest Users — Displays the number of total guest users. Click the value link on the Total Guest Users to
display the Guest User Account page.
Step 4 Click Apply.
Guest User Account
To configure a guest user account:
Step 1 Select Guest Access > Guest Group Table .
Step 2 Click the number link on the Total Guest Users field to display the Guest User Account Table in the Guest User
Account page.
Step 3 Click ✚ to add a user.
Step 4 Guest User Name — Enter the name for the new guest user. The name can contain up to 32 alphanumeric characters.
Step 5 Guest User Password — Enter the password. The password can contain 8 to 64 alphanumeric and special characters.
Step 6 Click Apply.
You can click Back button link to view the Guest Access page.
To delete or modify a guest user, you need to select it and then click Delete or Edit.
Note
Web Portal Customization
After the CP instance is associated with a VAP, create a locale and map it to the CP instance. When the user
accesses a VAP that is associated with a CP instance, the authentication page will appear.
Use the Web Portal Customization page to create unique pages for different locales on your network, and to
customize the text and images on the pages.
Step 1 Select Guest Access > Web Portal Locale Table.
Step 2 In this table, click ✚ to access the Web Portal Customization page. To modify the locale, check the row and click Edit
or click Delete to delete.
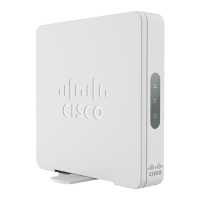
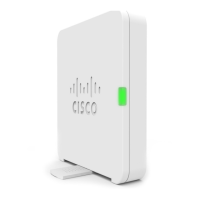
Cisco WAP150 Wireless-AC/N Dual Radio Access Point with PoE / Cisco WAP361 Wireless-AC/N Dual Radio Wall Plate Access Point with PoE
101
Access Control
Guest User Account
 Loading...

