29
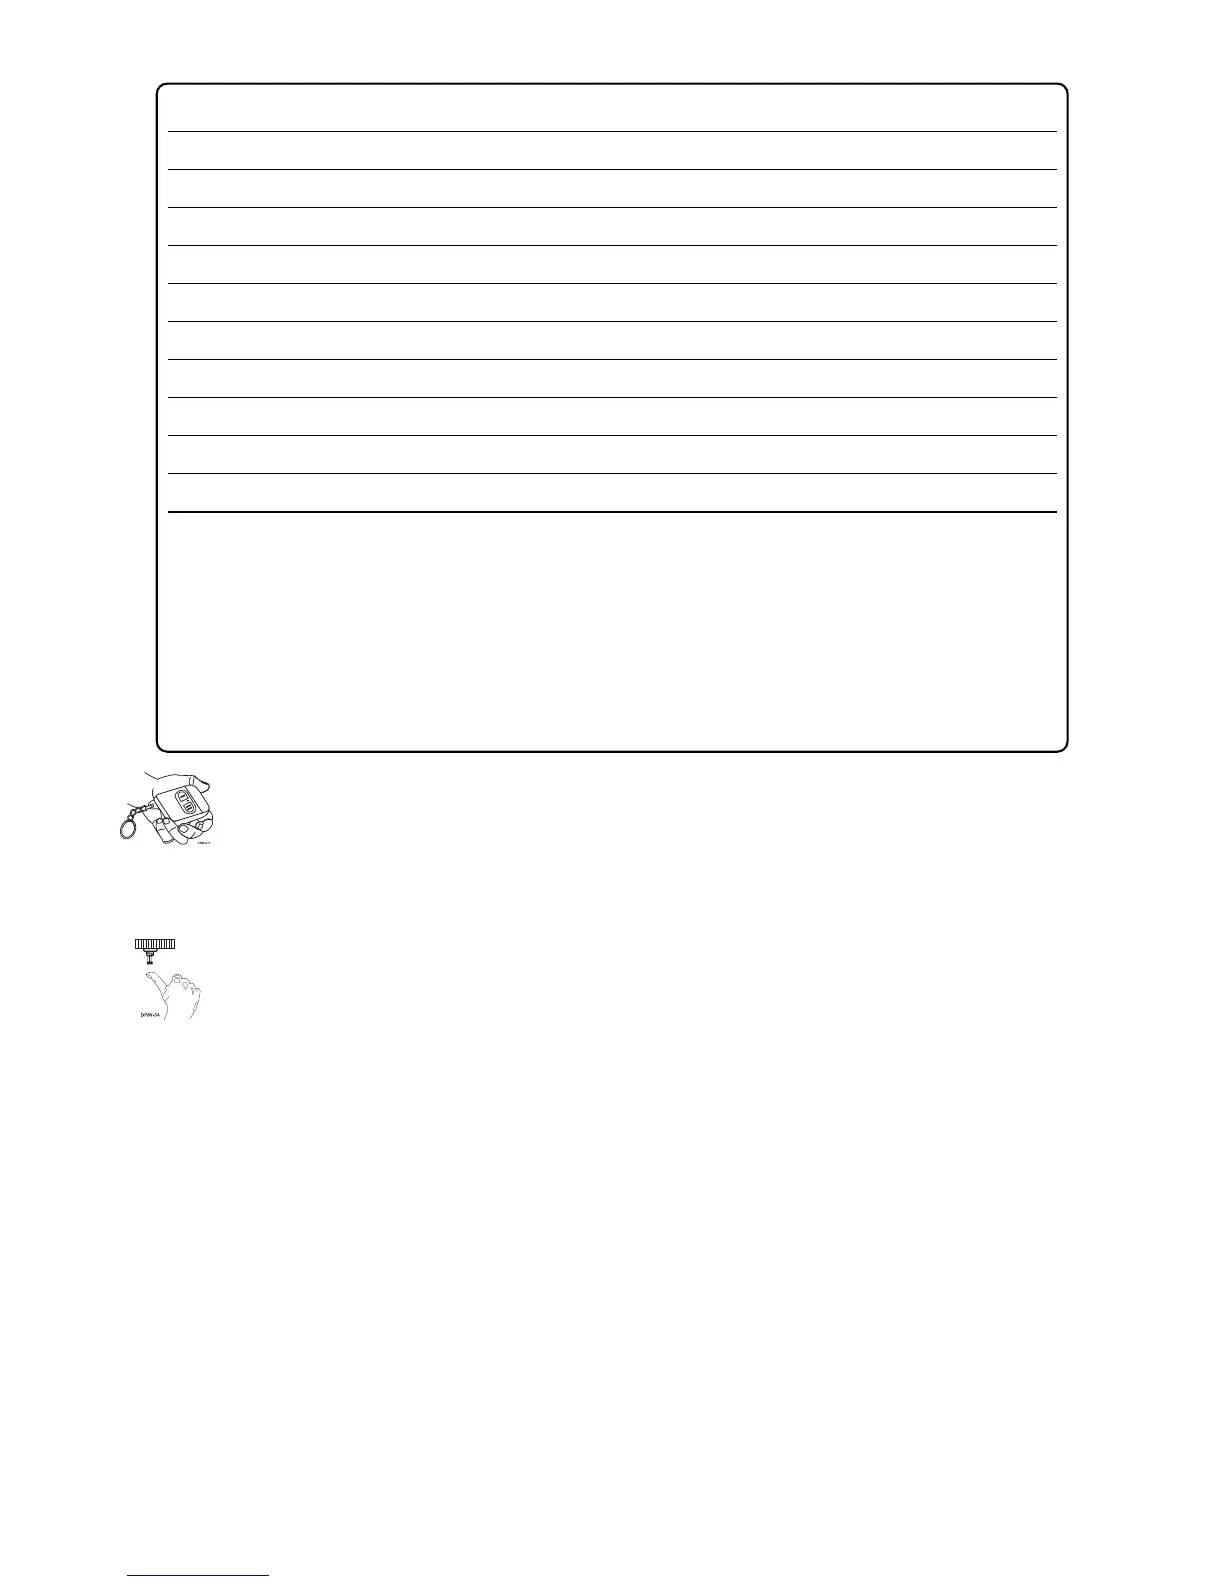
3. Transmit. While holding the Override switch, press the button on the remote that
you would like to control the selected receiver channel. The unit will chirp to con-
firm that the code has been successfully programmed. It is not possible to teach a
remote button to the system more than once.
4. Release. Once the code is learned, the Override switch can be released.
You can advance from programming one channel to another by releasing the Override switch and
tapping it to advance channels and then holding it. For instance: You have programmed Channel 1
and you want to program Channel 2. Release the Override switch. Press it one time and release it
to advance from Channel 1 to Channel 2. Now, press and hold the Override switch. The LED will
flash two times and the horn will honk twice (if connected). As before, do not release it.
If you want to program Channel 3 after programming Channel 1, release the Override switch, press
it twice and release it to advance to Channel 3. Then press it once more and hold it. The horn will
honk three times (if connected) and the LED will flash three times to confirm it is ready to receive the
code from the remote.
CHANNEL NUMBER FUNCTION WIRE COLOR
1 Auto Learn
2 Lock Panic On/Panic Off
3 Unlock Panic Off
4 Silent Mode Channel 2 RED/WHITE
5 Remote Start
6 Channel 4 VIOLET/BLACK
7 Short Run/Turbo
8 Timer Mode
9 Lock/ Unlock/Panic
10 Panic Only
11 Delete All Remotes
**NNOOTTEE::
For Auto Learn Configurations, see Remote Configurations section of this guide.
****NNOOTTEE::
If any button from a known remote is programmed to Channel 11, all remotes will
be erased from memory and will revert to the default feature settings. This is useful in cases
where the customer's remotes are lost or stolen.
 Loading...