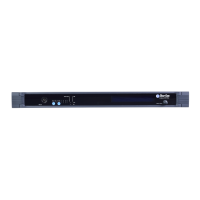
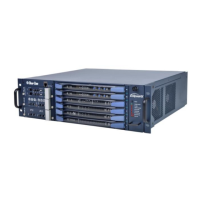
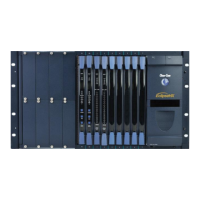
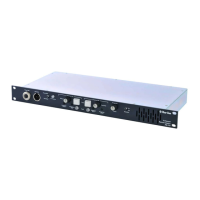
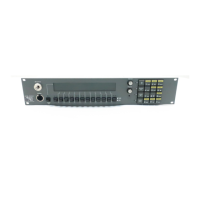
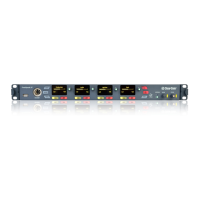
Key to CPU card lights and controls
RESET button
Pressing the RESET button causes the CPU card to stop its current activity
and to restart. The same configuration that was active before the system was
reset will be active after the system was reset.
During the reset, configuration information reloads to the card’s operational
memory from its non-volatile memory and the card starts running again from
the beginning.
The reset button is slightly recessed from the front panel to prevent it from
being accidentally pressed. A tool such as a bent paper clip is needed to press
this button.
Power supply lights
+ 5-Volt light
When lit, the +5V light indicates that the matrix’s +5-volt power supply is
actively supplying power to the CPU card.
+3.3-Volt light
When lit, the +3.3V light indicates that the matrix’s +3.3-volt power supply is
actively supplying power to the CPU card.
Dot Matrix lights
The rectangular array of lights just below the power-supply lights displays a
number (either 1, 2, 3, or 4) to indicate the currently selected configuration.
The EHX configuration software controls these lights.
In addition these lights will indicate if the following errors are detected at
startup:
NVRAM error
When the NVRAM is found to be corrupt at start up the config card will output
the string CHECK BATTERY.
Non matching slave firmware
The Eclipse HX system only supports master and slave backup between two
cards that are running the same version of firmware. In the case when a non
matching slave card firmware version is detected the NON-MATCHING
SLAVE_FIRMWARE message is displayed by the master CPU card.
Hardware version verification
When an older, unsupported version of the MVX or E-QUE FPGA is detected,
the EQUE FPGA VERSION USUPPORTED message is displayed by the
master CPU card.
58
Eclipse HX-Median User Guide
 Loading...
