Electrical Grounding
This device employs a class 4 laser. As discussed in the Safety Information above, it is
extremely high voltage and potentially dangerous, so users must securely ground it to avoid
the buildup of static electricity. Using a standard 3-prong outlet will provide sufficient
grounding. If you do not have access to a 3-prong outlet, you MUST use the grounding cable
and ensure its proper connection. The far end of the cable should be securely connected to a
metal rod driven at least 8 feet (3 m) deep into soil located at least 5 feet (1.5 m) from the
machine. The resistance along the line should be no greater than 5Ω.
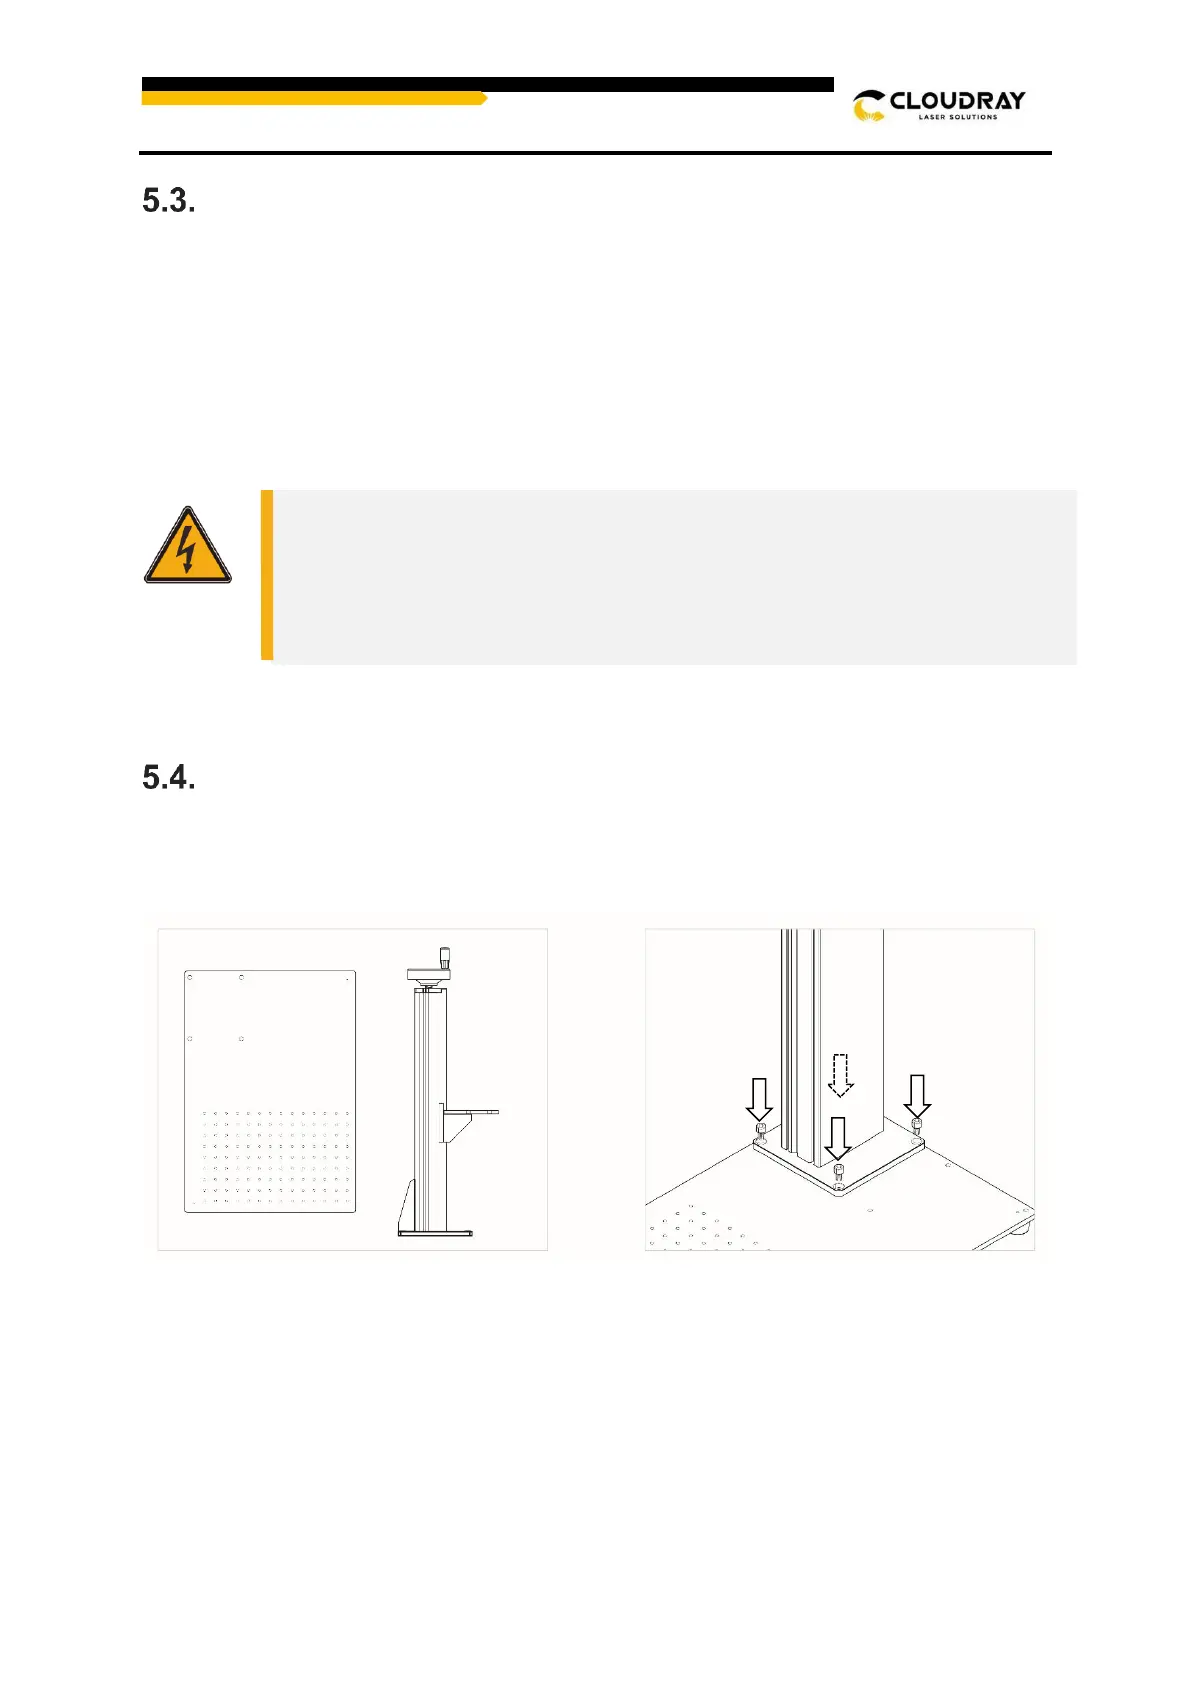
Assembly Instructions
Step 1. Use 4Pcs M8x10 hex socket head cap head screws to fix the lifting column and the
workbench.
Step 2. Adjust the nut at the bottom of the light path to an appropriate position. Install the
light path onto the lifting column using the provided screws. Tighten the four screws with the
Allen key.
Poor grounding WILL cause equipment failure and create a serious electrical
shock hazard. The manufacturer and/or seller bear(s) no responsibility and
assume(s) no liability for any damage, accidents, or injuries caused by bad
grounding connections. service time, increased maintenance costs, property