Mounting considerations
4-4 Chapter 4: Installation 98-145168-A
2. Mount according to Amphenol ARINC 600 Document SL-379-3.
3. Mount ground PIN to MP04G on ARINC 600 Connector
Chassis Ground: ARINC 600 pin BP3
Amphenol contact part number: AC-781212-304. Fit to wire AWG12 & AWG14
Total max resistance: 25 mOhm.
Shield from fluid drippage
To fulfill DO-160G Waterproofness Cat. Y, the equipment must be shielded from fluid
drippage.
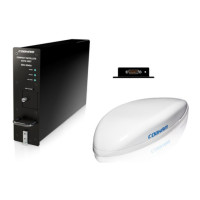
4.2.3 SCM-5055 SCM
Installation
1. Install the SCM in temperature controlled areas and inside or outside pressurized
locations (e.g. avionics bay).
2. Forced flow air cooling is not required.
3. To prevent fluids from entering the SCM through the connector, select the SCM
mounting orientation such that its connector is not oriented vertically
4. Mount the SCM to the aircraft structure using four fasteners through its mounting
flange. Refer to Figure 3-2: Outline drawing SCM-5055 (1/2). The flange thickness
is 2 mm.
5. Insert the D-sub connector of the SCM cable harness into the mating connector on the
SCM.
6. Torque the cable harness D-sub connector screw-locks to 0.32 Nm.
7. You may add a drip loop to the cable harness to prevent water from flowing along the
cable harness and towards the SCM connector.
Ground bonding
1. Use an electrically conductive back shell for the DB15 connector.
2. Terminate the cable shields to the electrically conductive back shell.
3. Bond the SCM to the aircraft structure via the top and bottom surfaces of the SCM
mounting flange. These are electrically conductive and are designated as the
equipment's ground bonding points. Refer to Figure 3-2: Outline drawing SCM-
5055 (1/2).
4. The M3 threaded stud provides and alternative means for bonding the SCM and may be
used at the installer's discretion by fitting a suitable ground bonding strap. Refer to
Figure 3-2.