Introduction to the web interface
98-175666-C Chapter 4: Setup of the antenna 4-3
4.1.1 Connecting to the web interface
To connect to the web interface do as follows:
1. Switch on the BDU.
2. Wait until the LEDs on the front plate of the BDU show that the system is ready to
be configured.
• Power LED: Green
• Logon LED: Off
• Fail/Pass LED: Flashing green, during power-on self test, after that steady green.
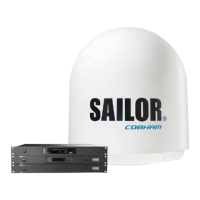
3. Connect a PC to the service port on the front panel of the BDU.
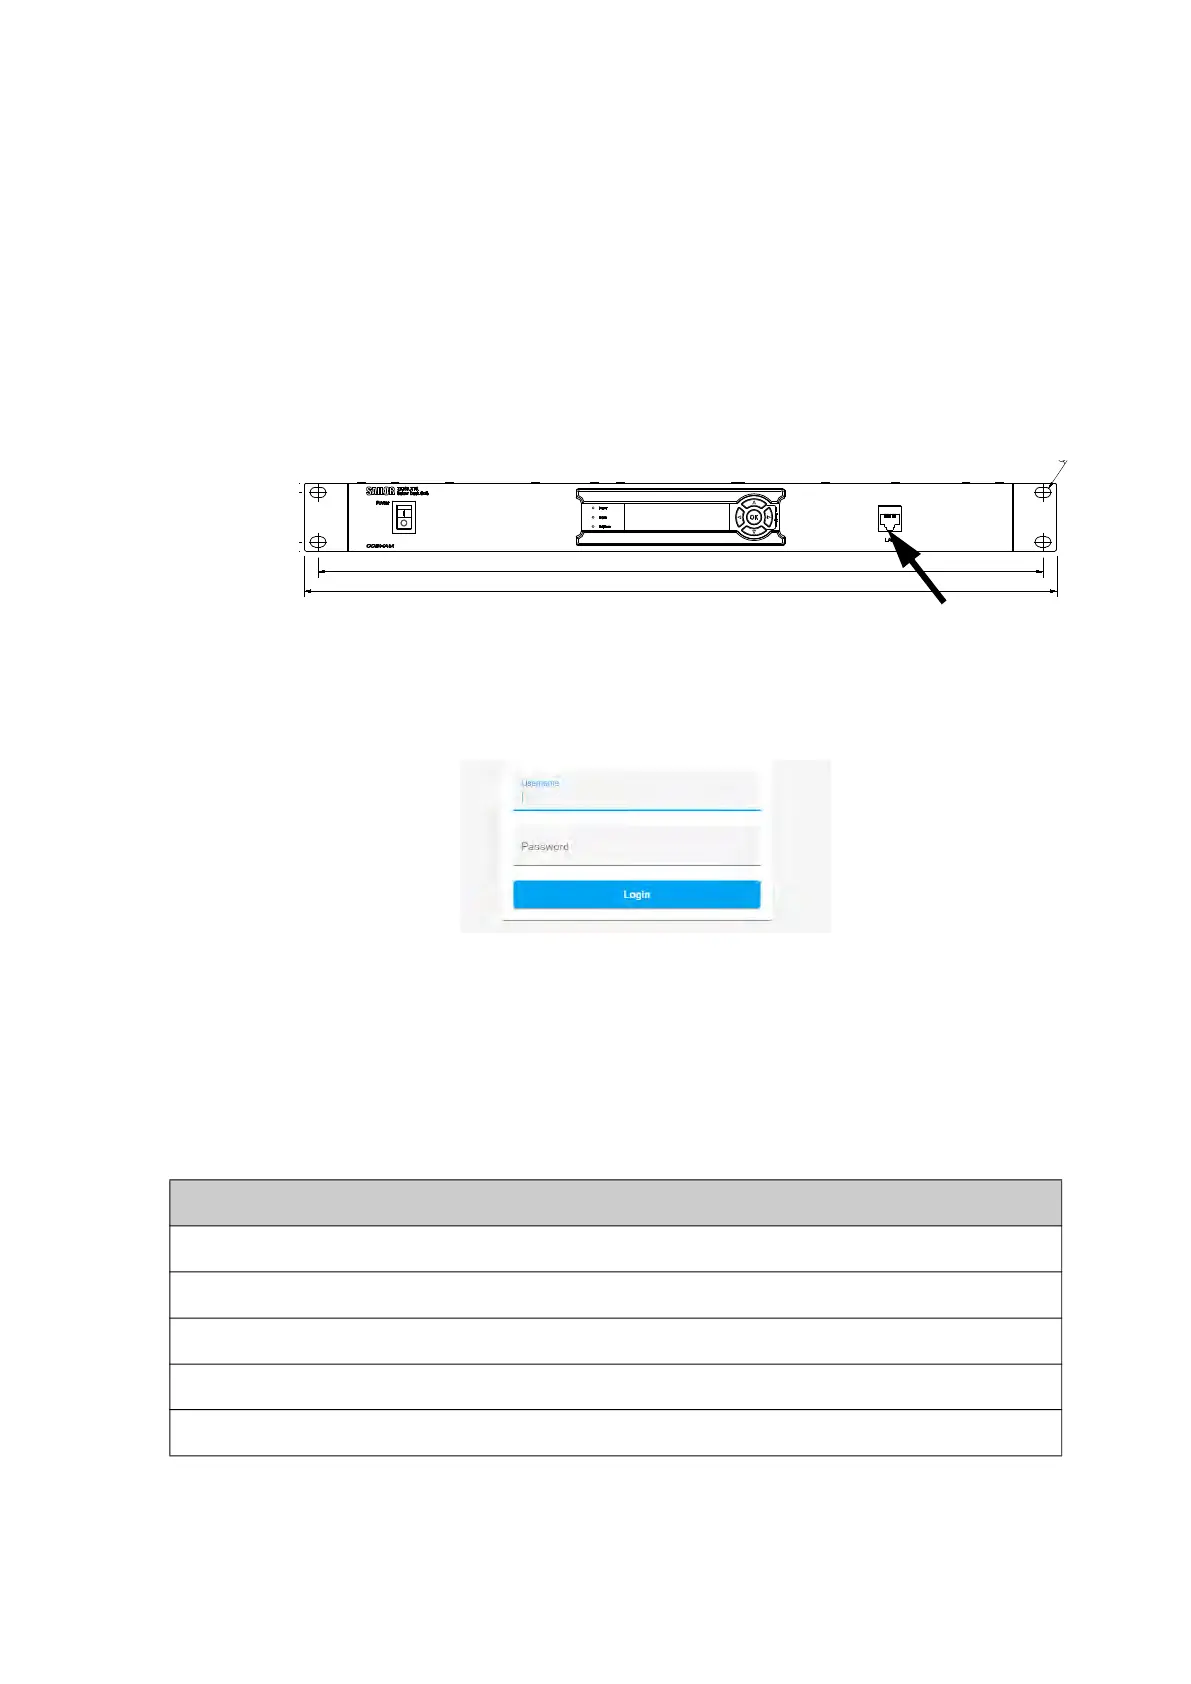
4. Open an Internet browser and enter the IP address of the BDU. The default IP
address is http://192.168.0.1. When the login screen is displayed you have verified
that the connection to the SAILOR XTR GX-R2 can be established.
There is an admin and a guest login. A guest can only access the functions that are
allowed by an administrator. With the guest login (user name: guest, password:
configured by the administrator) you can protect the system from accidental changes
of the configuration.
Sections on the Dashboard
Figure 4-3: BDU, service port
Figure 4-4: Login
Service port
Parameter Description
ANTENNA
VSAT profile Name of the currently active VSAT profile
Satellite position Longitude position of the satellite
RX polarization LHCP or RHCP, auto-selected by the modem
TX polarization Co-pol or X-pol, auto-selected by the modem
Table 4-1: Sections and parameters on the Dashboard
 Loading...