Page 23
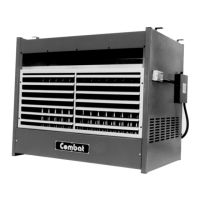
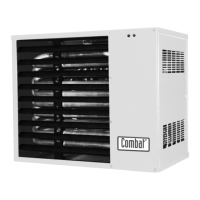
UNIT HEATER
Models 340 and 380 only
The models 340 and 380 heaters are provided with two outlet spigots on top of the heater and a flue
assembly as shown in Fig 3.2 to combine these two flue outlets into a single vertical flue for the
appliance.
The combination piece is supplied in three pieces for ease of transportation and must be assembled on
site.
The same assembly is used for both Model 340 and 380 units.
To assemble the flue combination piece on site the two bends provided must be secured to the branch
arms of the centre section as shown in Fig 3.2 using 'Monel' blind rivets or sheradised PK screws.
To do this offer the female end of each bend in turn to the branch arm and secure to the two components
together ensuring that the dimension "F" shown on Fig 3.2 is correct. Also ensure that when the
assembly is standing on a flat surface the central flue section is exactly vertical.
The assembled unit is then fitted to the heater. Ensure that the combination flue is sealed into the two
heater spigots using heat resistant rope and fire cement.
The remainder of the vertical flue is then installed from the spigot at the top of the combination
assembly in accordance with the instructions for all other models.
All Models
The flue must be terminated at least one metre higher than the section of the roof it intersects (see Fig
3.1). Furthermore if the point of intersection with the roof is within 2.5m of a nearby structure the
terminal must be at least 1m above that structure.
It is important that flues are designed to prevent the adverse effects of down draughts which cause the
products of combustion to spill from the draught diverter and it is essential that the spillage test in
Section 4.6 is carried out. If spillage is occurring then it is recommended that the flue is terminated at
least one metre above the highest point of the roof or any close obstruction.
If the flue extends more than 2 M above the roof it should be adequately supported by guy wires
(see Fig. 3.1).
The top of flues with a diameter of 200mm or less should be fitted with an approved terminal and flues
of larger diameter should be fitted with a "Rain Cap".
90º bends and horizontal pipe must not be used in flues. As a guide, if 135º bends are used to offset
the flue, then at least one metre of vertical flue must be added to the minimum height to overcome the
resistance of each 0.33 m of none vertical flue or each two 135º bends.
Flues should be assembled with their sockets facing upwards inside of the building up to the rain
collar, and with their sockets facing downwards outside of the building above the rain collar. The
sections should be secured together using "Monel" blind rivets or sheradized P.K. screws and be
supported so that the heater does not carry the weight of the flue.