19
If the default settings (see table on page 18) do not reflect requirements, the keys can be programmed dierently by carrying
out the steps below.
At the end, set S2 DIP switches 1-2-3-4 to the combination 1111 (PROG setting in the configuration tables on pages
19-23). In this dip switch setting, the keys control the programmed functions; the NON-programmed keys control
functions referred to on line 0000 (see table on page 18). Restore the user code setting on S1, see table A on page 13.
Warning
Programming/deleting intercom address
Selective intercom addresses
You must set the intercom address on all the riser’s internal units.
You can assign the same intercom address to a maximum of 3 internal units.
For group calls, select the desired intercom codes simultaneously (max. 3).
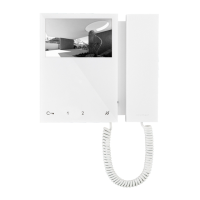
Advanced monitor configuration
Programming for intercom call
General intercom: function allowing calls to one or more internal units identified by the same call address as used
by the external unit.
Selective intercom: function allowing calls to one or more internal units identified by a dedicated call address (see
table B, page 19) which is different from the one used by the external unit.
General and selective intercoms CANNOT be used together on the same riser.
Take note of the S2, S1 setting and restore it when programming is complete
1) 2) 3)
Programming; set code,
TAB. B on page 19
S1
S2 DIP
1 2 3 4 5 6
0 0 0 1 1 1
S2
Cancellation
S1
S2 DIP
1 2 3 4 5 6
1 1 1 1 1 1
S2
TAB. B
Code Dip switch ON S1 Code Dip switch ON S1
1 1
5 5
2 2 6 6
3 3 7 7
4 4 8 8