Guide to Features & Upgrades
2-1
Writer: Lydia Sanchez Saved By: Lydia Sanchez Saved Date: 12/15/98 2:00 PM
Pages: 31 Words: 3829 Template: c:\msoffice\templates\comm.dot
File Name d_Ch2.doc Part Number 166811-002
chapter
2
U
PGRADING THE
C
OMPUTER
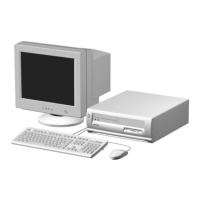
This chapter explains how to remove the computer access panel
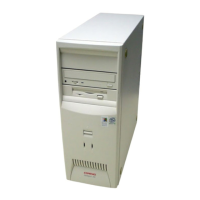
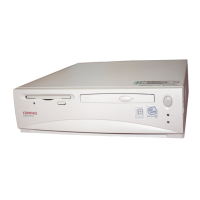
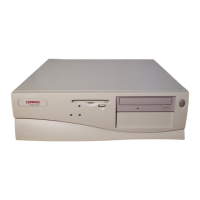
and convert the desktop computer to a minitower or the
minitower computer to a desktop. It also explains how to install
the following optional upgrade and replacement equipment:
■
Additional memory
■
Expansion boards
■
Additional graphics memory
■
Optional drives
■
Cable lock provision
■
Replacement battery
This chapter also includes information about when to
reconfigure the computer to ensure that it recognizes the newly
installed equipment.
Installation
Sequence
It is very important that you follow this sequence of steps to
ensure the proper installation of any optional equipment.
1. If the computer is already on, turn it off and disconnect the
power cord from the wall outlet.
2. Disconnect the keyboard, monitor, and other external
equipment connected to the computer.
!
WARNING:
To reduce the risk of personal injury from electrical
shock and/or hot surfaces, be sure to disconnect the power cord
from the wall outlet, and allow the internal system components to
cool before touching.
CAUTION:
When the unit is plugged in, the power supply always
has 5 V applied to the system board even when the unit is turned
off. Failure to disconnect the power cord can result in damage to
the system.

 Loading...


