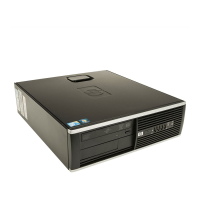
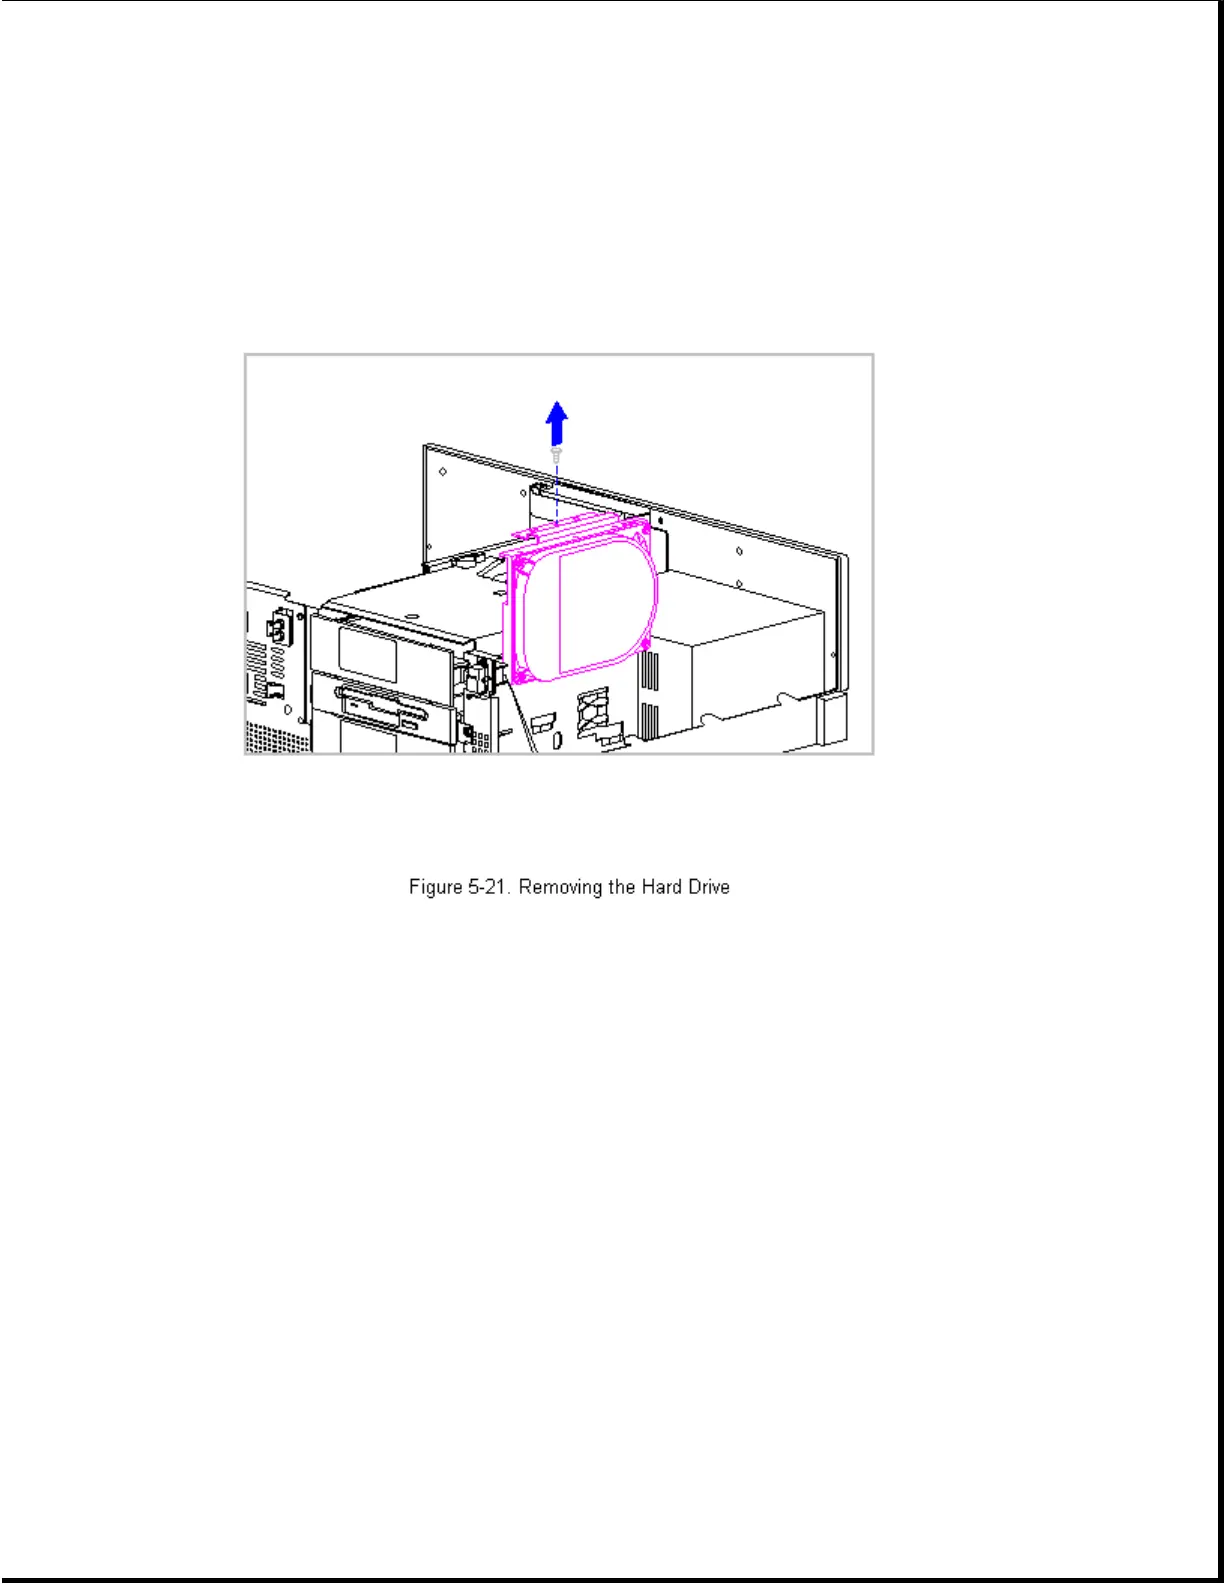
accessible bay drive cage and remove the hard drive with bracket
attached (Figure 5-21).
NOTE: Offset flanges on the hard drive bracket engage cutouts in the
side of the drive cage. Be sure to engage these flanges when
installing the hard drive.
5. Remove the four screws securing the bracket to the hard drive and
remove the bracket (Figure 5-22). Retain the bracket and screws for use
on the replacement hard drive.
 Loading...