3 - 2 l I ns t al l a t io n
U n p a c k i n g t he Bo x e s
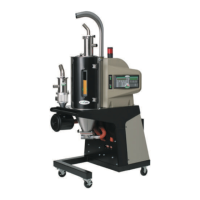
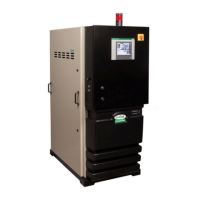
The Carousel Plus W series dryer comes in one to four boxes, depending on the model and
options ordered. The boxes could include (depending on the options selected):
• Carousel Plus W series dryer
• Delivery air hose - 10 ft {3.05 m} - Insulated with High Heat option.
• Return air hose - 10 ft {3.05 m}
• Process RTD
• Setback RTD
• User manual
1 Carefully remove the dryer and components from their shipping containers. Note that
the dryer is secured to its shipping container with straps that pass through the bottom of
the dryer frame.
2 Remove all packing material, protective paper, tape, and plastic.
3 Open the side panel and remove the cable tie securing the desiccant wheel. See
Installation section entitled, Removing the cable tie from the desiccant wheel.
4 Carefully inspect all components to make sure no damage occurred during shipping,
and that you have all the necessary hardware.
5 Take a moment to record serial numbers and electrical power specifications in the
blanks provided on the back of the User Guide’s title page. The information will be help-
ful if you ever need service or parts.
6 You are now ready to begin installation.
Follow the preparation steps on the next page, then choose one of the four mounting
options:
• Dryer on the floor; hopper on a floor stand (see page 3-5).
• Dryer on the floor; hopper machine mounted
• Central dryer, with ResinWorks system.
 Loading...