Coolerado Installation
Page 23 of 63
Fan Maintenance
Inspect all fan parts including air intake, blades, motor and
shroud as well as for free movement. Check for the
accumulation of material on the impeller surfaces, which
could cause imbalance, resulting in vibration, excess noise,
and premature bearing wear. Clean as needed.
The inspection frequency is determined by the severity of the
application and local conditions. Strict adherence to an
inspection schedule is essential.
Water System Maintenance
Water delivery supply pressure and HMX header pressure
should be checked annually.
Check the water supply system for leaks, and repair if
needed. Any leaks should be repaired immediately to assure
proper water delivery to the unit. With the air filters
removed, check the internal tubes of the water distribution
system for leaks. Proper and consistent water flow is
essential for efficient and proper unit operation.
Water overflowing from the top of the drain pan may indicate
that the drain is partially plugged. If this is the case, remove
the connection from the bottom of the drain pan and clean.
Check water filter pressure drop and change if over 3 psi (21
kPa).
Heat Exchangers
Each heat exchanger should be visually inspected when the
air filters are replaced. If any debris is found it should be
removed. If the heat exchangers appear to be damaged in
any way contact your service contractor.
Air Filters
The C60A requires four (4) 2” x 16” x 25” (50 mm x
400 mm x 625 mm) pleated filters.
The M50 requires three (3) 2” x 20” x 25” (50 mm x
500 mm x 625 mm) pleated filters.
One (1) 1” (25 mm) thick filter can be used in place
of a 2” (50 mm) filters.
Caution: Do not use two (2) 1” (25 mm) filters in series as
the pressure drop will be too high.
The filters should be changed regularly to ensure proper
airflow through the system. If the system is located in an area
where there are higher levels of airborne debris such as
pollen, leaves, dust or insects, in which case the filters should
be inspected more often.
Inspect the filters periodically during the cooling season and
replace with new filters as required.
M50B Filter Changing Procedure:
1.) Remove the filter access cover on the front of the
unit above the air inlet with the T-handles.
2.) Slide the top filter all the way to the top of the filter
frame. Pull the bottom of the filter towards the fan
and drop the filter until the top of the filter clears
the M50 cabinet. Lift the filter out of the unit.
3.) The middle and bottom filters can now be lifted up
and out of the filter frame.
4.) Reverse this process to re-install the filters.
5.) Re-install the filter access cover.
Side Mounted Working Air Exhaust Louvers:
If side louvers are installed, inspect the inside pad that
prevents water droplets blowing through the louvers. This
should be checked and replaced if filled with minerals. These
pads are used in some direct evaporative cooling units for
water distribution and are generally green in color.
C60A Filter Changing Procedure:
1.) Turn off the toggle switch located in the top left of
the unit on the front face and wait until the fan has
come to a stop.
2.) Remove the filter access cover on either side of the
unit.
3.) Slide the four (4) filters out the side.
4.) Re-install the filter access cover and turn the fan
control switch on.
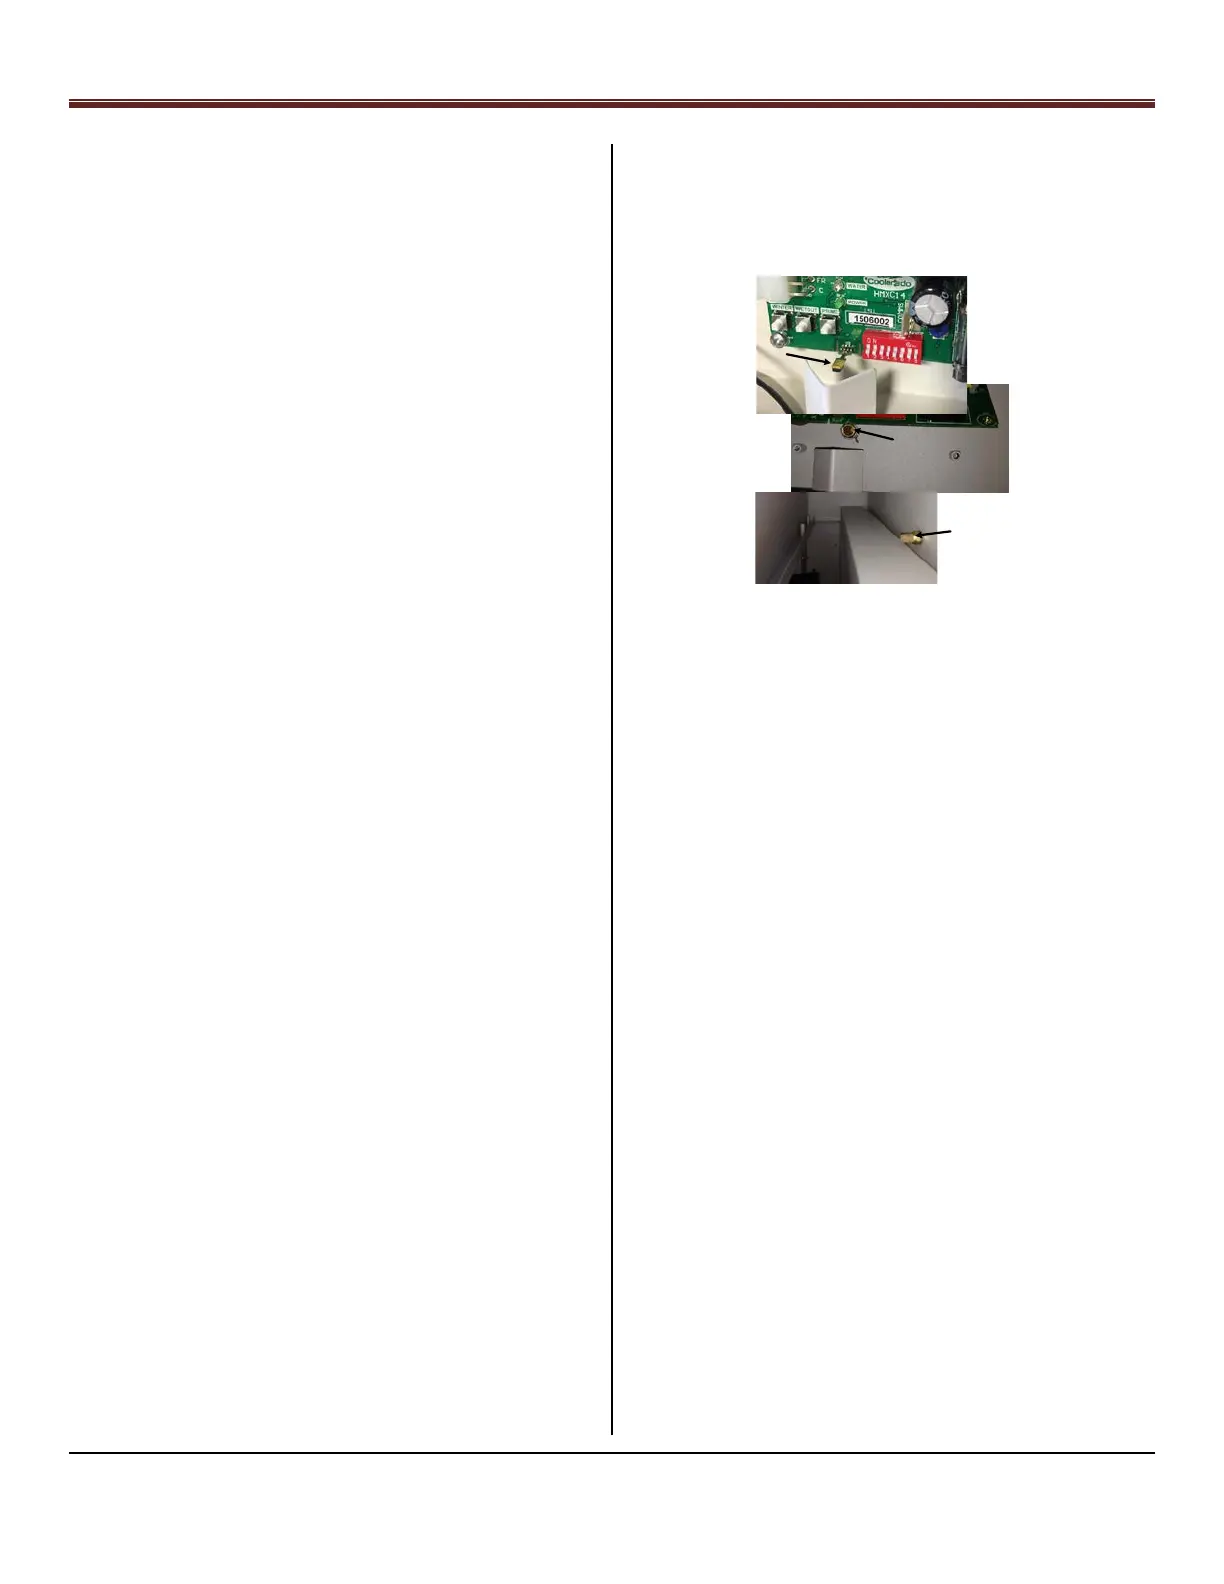
Outdoor Air Temperature and Humidity Sensor Filter
This filter is located behind the water control board and can
be accessed by removing the Filter Access Door, the top air
filter and reaching up behind the electrical box directly
Temp -
Humidity
Sensor
Filtered Outdoor Air
Delivered Behind Sensor
Compressed
Air Muffler
used as Air
Secondary
Filter for
Sensor