Cold Nitro Brew BIB Dispenser Operator’s Manual
© 2017, Cornelius Inc. ‐ 15 ‐ Publication Number: 621058723OPR
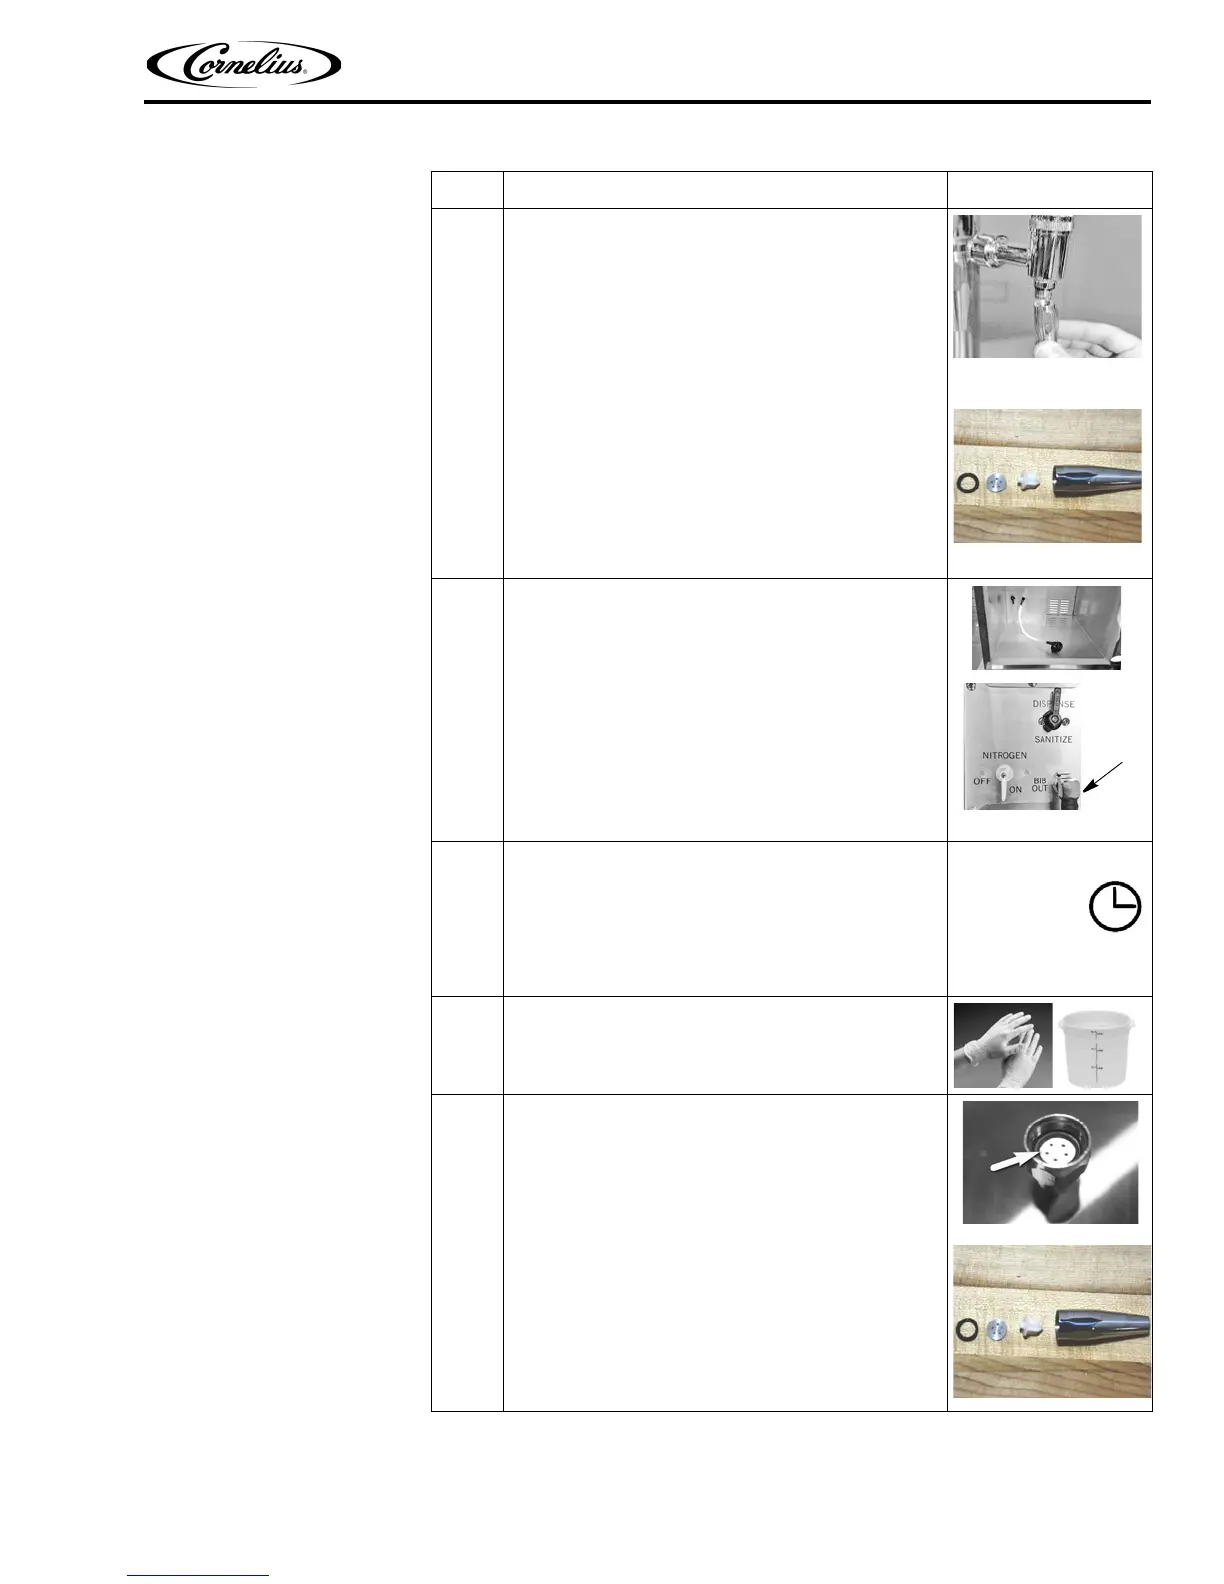
20
A. Remove the two dispenser nozzles by unscrewing
clockwise (as viewed from above). Carefully use a
wrench if needed.
B. Disassemble the nozzle parts by inserting a straw into
the skinny end of the nozzle and pressing gently. Be
careful to catch the o‐ring, jet disc, and regulation
cone.
C. Place the two nozzles and their internal parts into the
food‐grade container with sanitizer/cleaner solution.
21
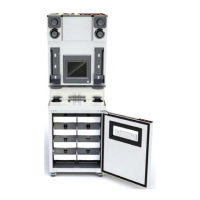
From inside of the cabinet:
A. Disconnect the BIB product output line from the dis‐
penser panel connector by pushing up on the release
tab on the top of the connector and pulling the hose
straight out.
B. Place the hose assembly into the container with sani‐
tizer/cleaner solution.
C. Close the cabinet door.
22
A. Soak the BIB product line and nozzles for 15 minutes.
B. While the parts are soaking, wipe the outside, inside,
tower, drip tray and valves of the dispenser with a
clean, disposable towel. Do not use caustic cleaners
inside the unit, use only a damp towel as needed.
C. Wash and rinse the drip‐tray grate and reinstall.
23
A. Wash hands and put on single‐use gloves.
B. Remove the nozzles and their internal parts from the
container of cleaner/sanitizer solution.
24
A. Perform a visual inspection on each nozzle., o‐ring, jet
disc, and regulation cone.
B. Assemble the nozzle by placing the regulation cone
into the nozzle first, point side down. Insert the jet
disc next and ensure it sits flat. Lastly, insert the o‐ring
against the jet disc as shown to the right.
C. Screw the two dispenser nozzles onto the spout,
tighten only hand tight.
Table 3.
Step Action