CowTech Ciclop 3D Scanning Guide
to detect the calibration pattern. The Adjustment Workbench lets you adjust the camera’s settings
separately for each task to maximize its ability to tell colors apart.
Success is dependent on the lighting of the room. Although we have some general tips about lighting, you
may need to experiment with different kinds of light to get good results.
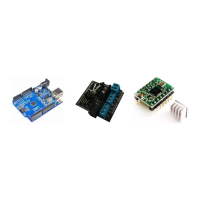
Calibration Capture
Calibration Capture covers all the settings that govern how the camera looks at the checker pattern during
calibration. Horus tells you if the camera can detect the pattern by displaying a series of rainbow lines
running between the squares on the camera’s feed at the right side of the workbench.
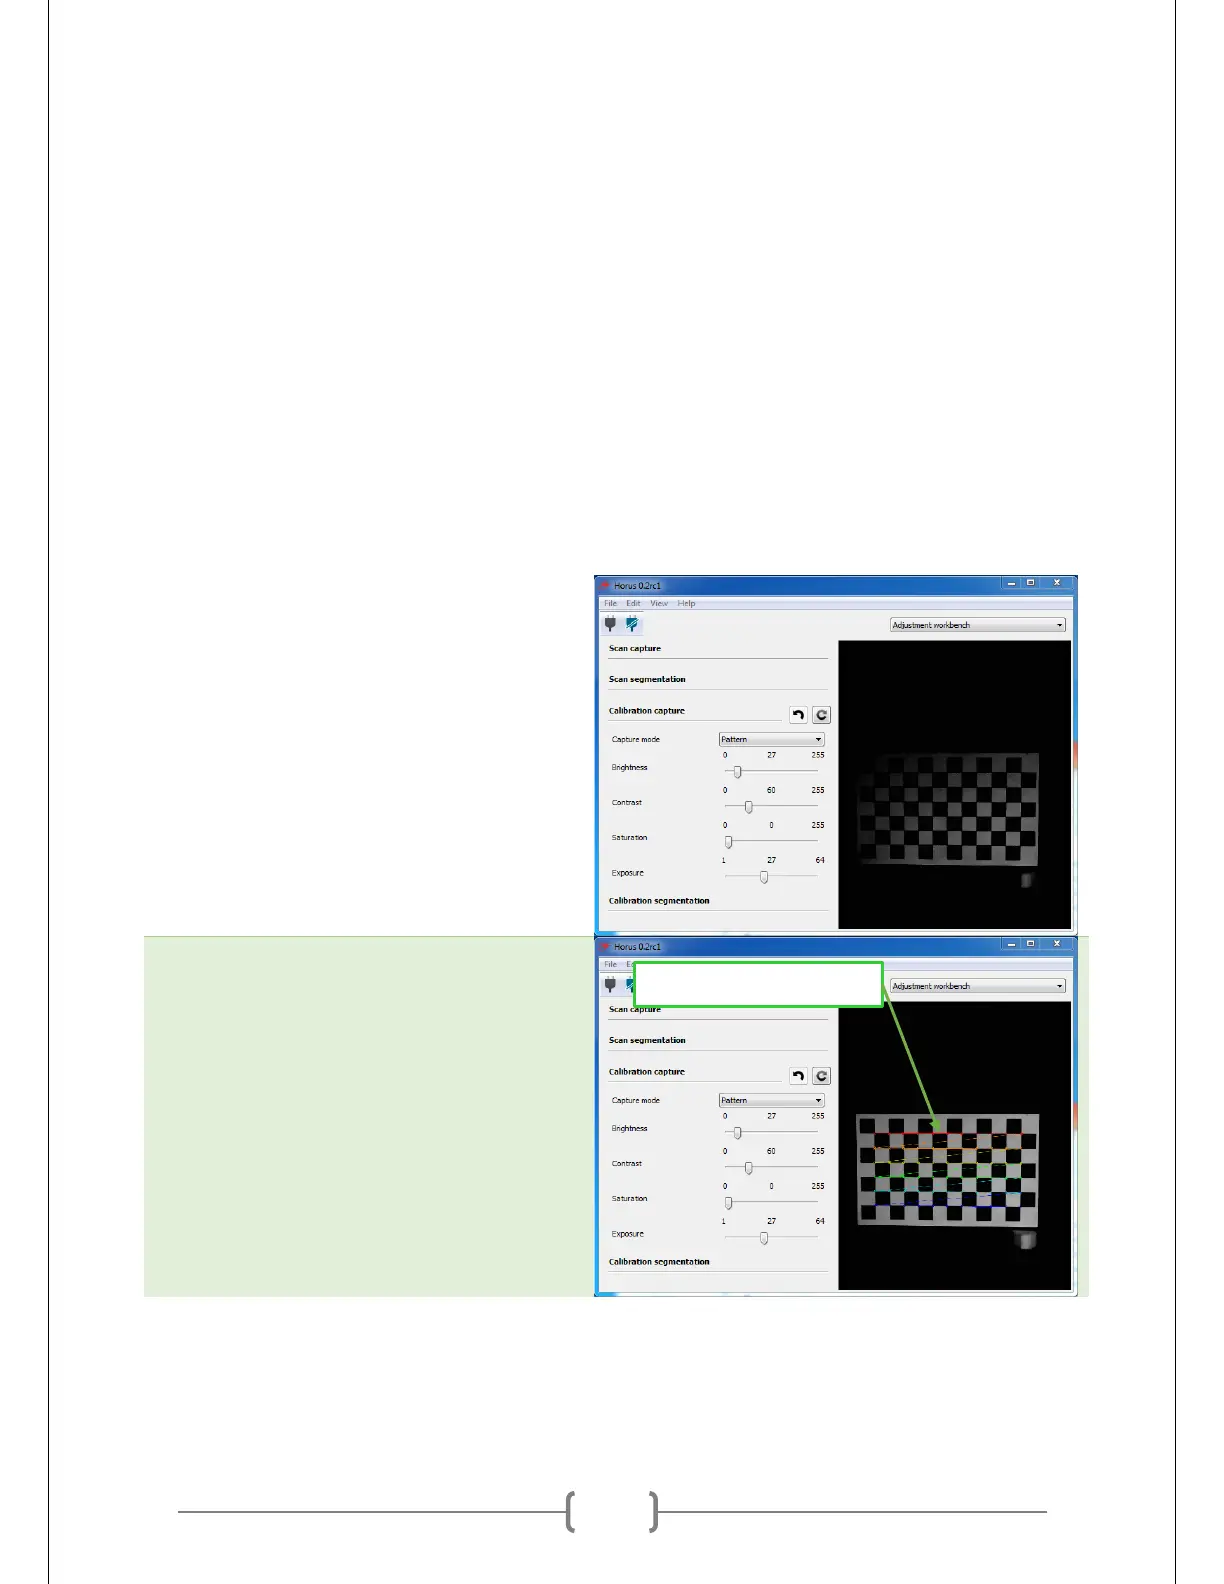
The trick is to get Horus to display these rainbow lines for as wide a range of rotation as possible. Rotating
the table away from the position where it directly faces the camera makes the pattern slanted from the
camera’s perspective. The more slanted the pattern can be while still displaying the rainbow lines, the
better the calibration will be.
Place the calibration pattern on the table.
Adjust the light until you see the rainbow
lines. The picture at right gives you an
example of what the rainbow lines look
like. Horus can get quite picky about
recognizing the pattern, so be prepared to
adjust the settings of the camera and
experiment with a few different light
sources.