CowTech Ciclop 3D Scanning Guide
Saving the Adjustment Profile
The settings you got from the previous steps can be saved and loaded for later. This is
extremely useful as long as you have consistent lighting, as it saves you the trouble of
fiddling with settings each time you’d like to scan. The files are saved with the .json file
extension.
Using the Calibration Workbench
The calibration workbench is how the scanner figures out where its components are in
3D space. This is crucial for making the model geometrically accurate. Once the camera
settings have been worked out in the Adjustment Workbench, the scanner accounts for
distortions caused by the camera’s lens and triangulates the positions of the lasers, and
table.
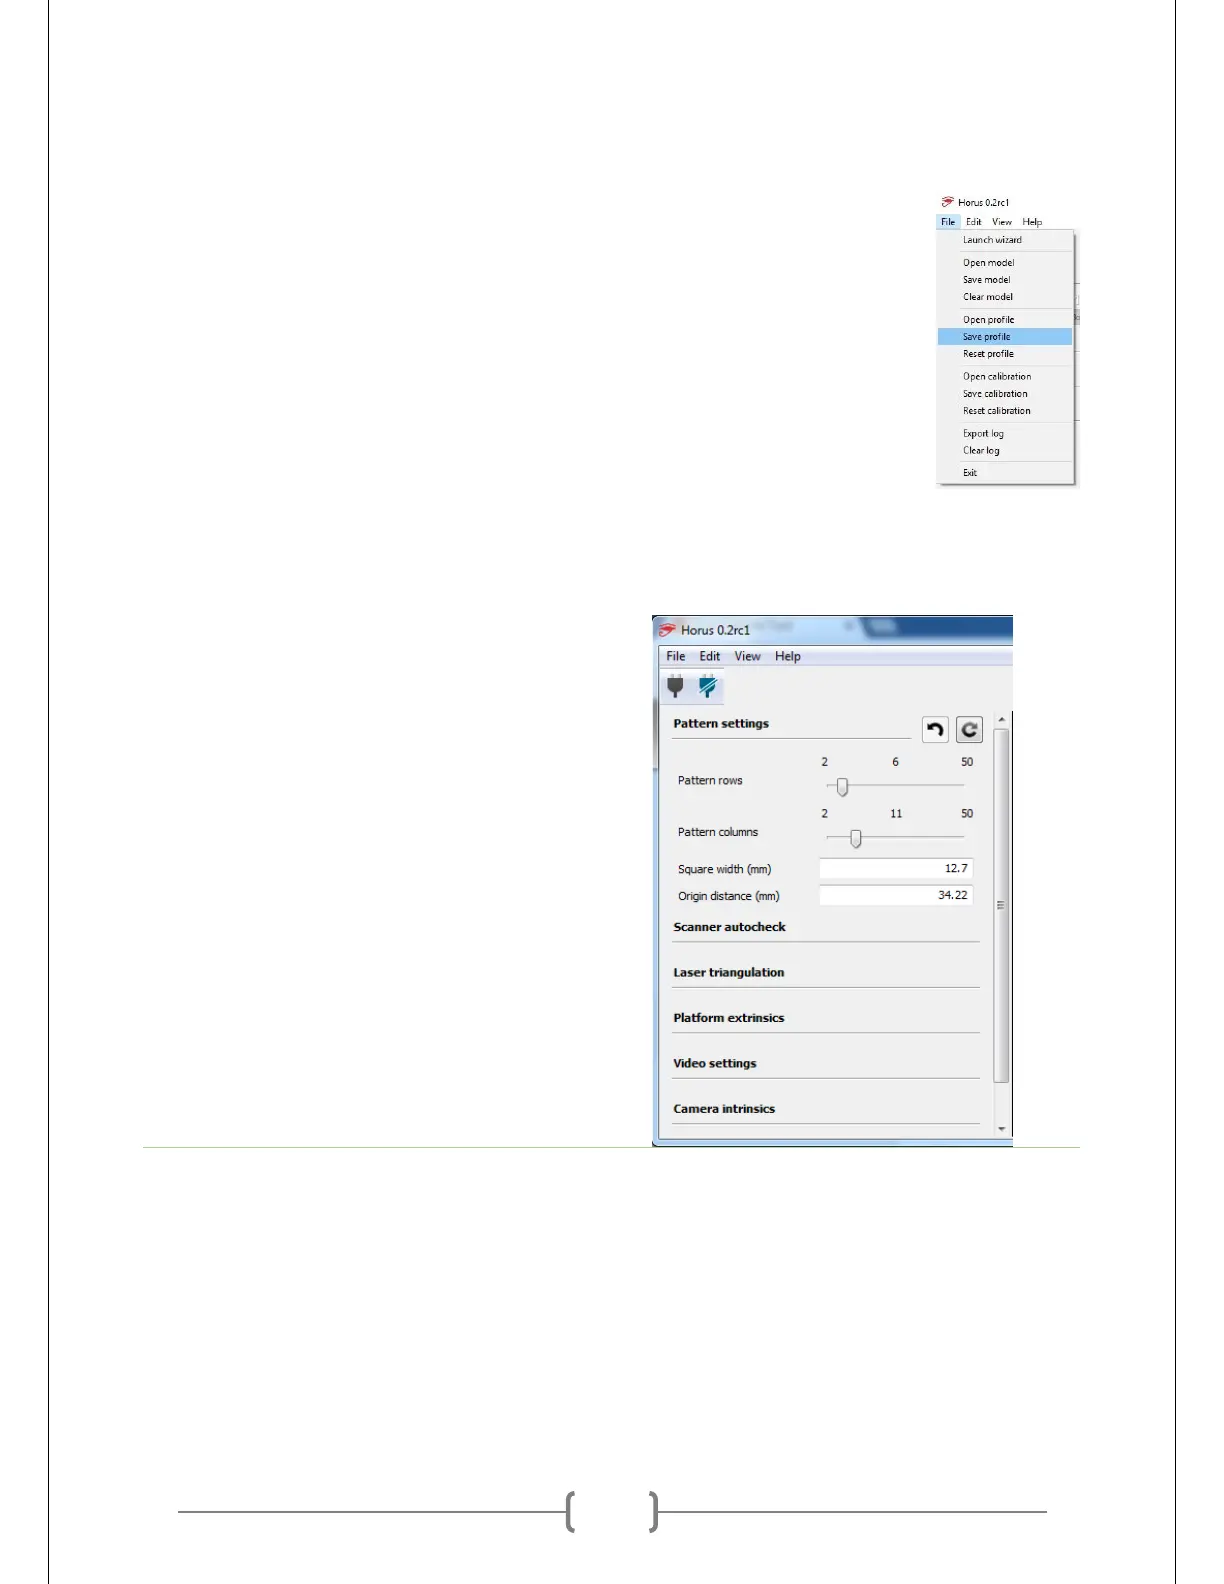
Pattern Settings
Make sure that rows and columns are set at
6 and 11, respectively. If you count them
on the calibration pattern, you might
notice that there are in actually 7 rows and
12 columns. Regardless, if you set these
values to 7 and 12, your scanner will not be
able to recognize the patterns. This may be
patched at some point.
Also set the square width to 12.7 mm.
You’re free to measure them yourself, but
this value works well.