CowTech Ciclop 3D Scanning Guide
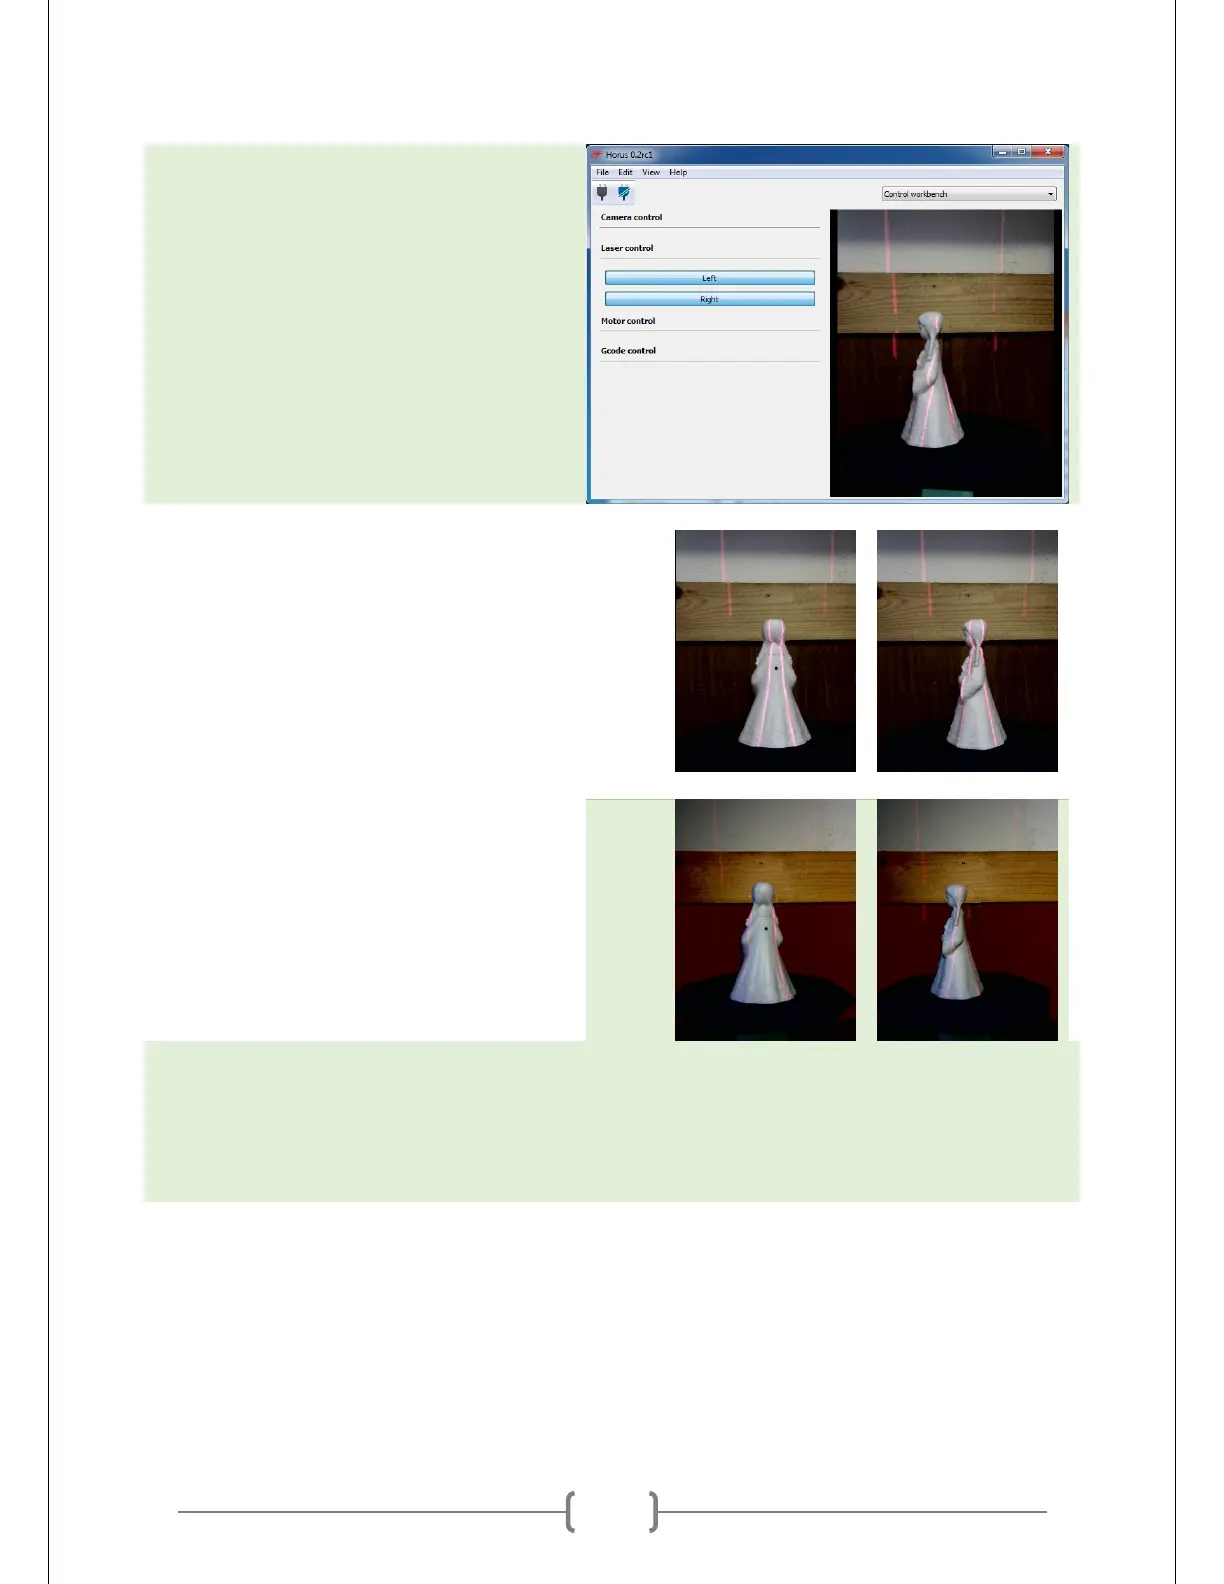
Rotate the table with your hands. You may
notice that the lasers don’t hit as much of
the object at certain angles.
Adjust the position of the lasers or object
to ensure good coverage. Good coverage
means that the lasers are visible along the
entire length of the object. Ensure that
this is true for all angles of the table. It
may take some guess and check work to
get it right. Some examples of good and
bad coverage are given at right.
Mark object’s position on the table. You will want to be able to replicate the objects current
position later. A piece of tape works well to mark the boundaries of the base of the object. If you
adjusted the position of the laser holders, it may also be worth it to make sure the lasers are still
vertical and focused, as it’s easy to accidentally skew them during this step.
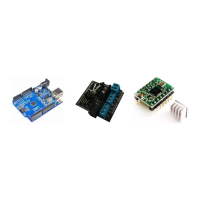
Using the Adjustment Workbench
The adjustment workbench is where you adjust the camera’s settings. The camera’s settings are crucial.
When using the lasers, the camera relies on distinguishing red from other colors to differentiate the
object’s space from empty space. When calibrating, the camera relies on distinguishing white from black