CowTech Ciclop 3D Scanning Guide
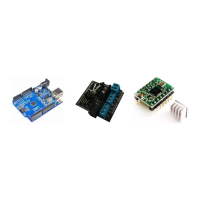
Make sure that your result is similar to the
one at right. There should be many dark
dots along the top right quarter of the
circle inside the 3D graph. If there are
fewer than shown at right, readjust your
Calibration Capture settings and try again.
You want to see as many as possible.
Saving the Calibration Profile
The calibrations you got from the previous steps can be saved and loaded for later. Just
like adjustment profiles, these files are saved with the .json file extension. Please note
that unlike adjustment profiles, we don’t recommend reusing calibration profiles
between scanning sessions. Even the slightest bump of the table can set the lasers or
table slightly out of alignment and compromise scan quality. Adjustment profiles can
be reliably reused as long as your lighting setup remains the same.
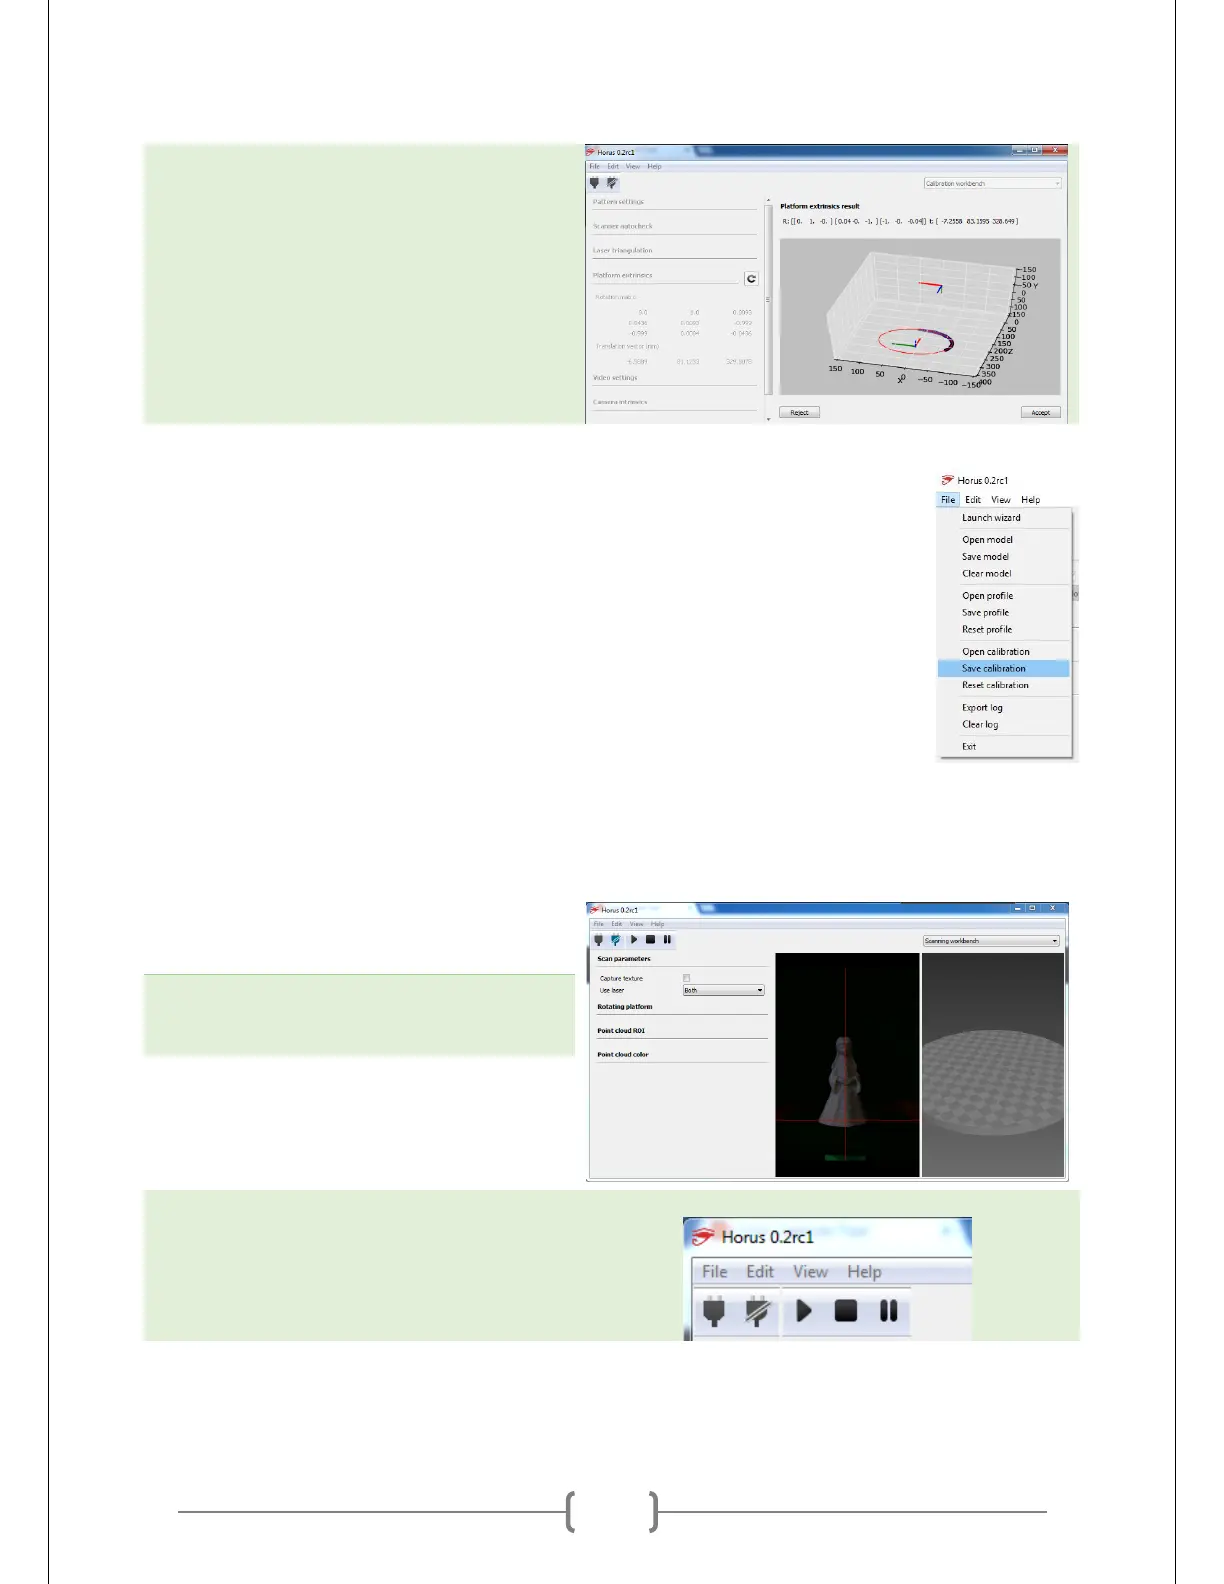
Using the Scanning Workbench
Congratulations, you are now almost ready to scan! The Scanning Workbench is where
you specify whether or not to capture texture, determine the Range Of Interest (ROI), and set the display
color of the points captured. The rightmost pane of the Scanning Workbench will display the 3D model as
it is captured.
Put your object on the table. Make sure
it’s in the position you found earlier that
provides good laser coverage.
Turn the lights off if you’re not capturing
texture. If you are capturing texture, skip
this step.
Set your ROI to the minimum area that will
encompass your object. The ROI ensures
that the scanner will not pick up
erroneous points that are far from your
model but still within the camera’s view.
Press the play button on the top left
corner. The scan will now begin!