Making a zero-clearance fence
1. DISCONNECT THE MACHINE
FROM POWER!
2. Remove the infeed and
outfeed fences from the fence base.
3. Select a piece of straight,
smooth stock that is the same height
and thickness as the infeed/outfeed
fences and approximately 36” in
length.
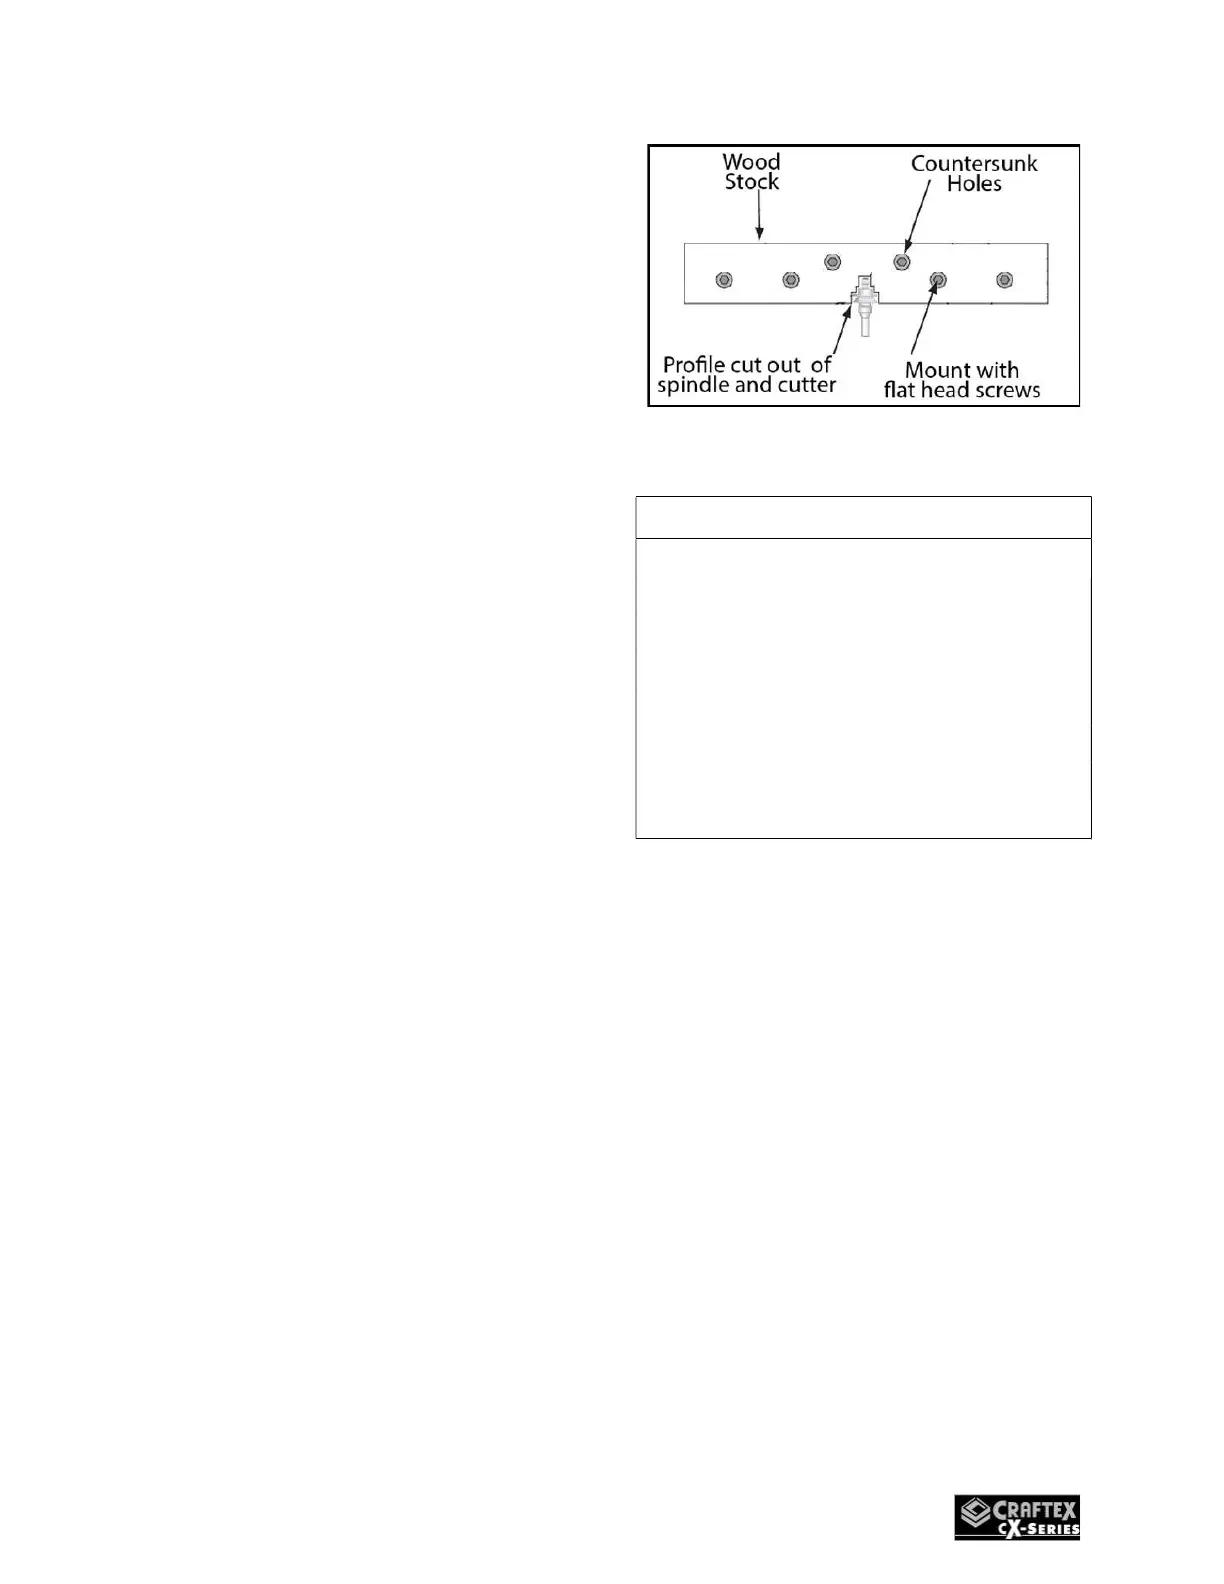
4. Cut the outline of the spindle
and router bit from the center of the
stock in Step 3, as shown in (FIG.54)
Note: Make the outline as close as
possible to the router bit and spindle
without interfering with rotation.
5. Create countersunk mounting
holes in the zero clearance fence
board (Fig.54) to secure the new
fence and router bit guard to the
base.
Figure 54
CAUTION!
ALWAYS use hold downs or
featherboards and push sticks when
shaping small or narrow stock. These
devices keep your hands away from
the spinning router bit and
sufficiently support stock to allow a
safe and effective cut, reducing the
risk of personal injury.
6. Secure the zero-clearance
fence board & router bit guard to the
fence base, then ensure the fence is
parallel with the table T-slot.
7. Check for proper clearance,
reconnect the router to the power
source and make a test cut to verify
the results.
Free-Hand Routing
Free hand routing, done without the
protection or aid of the fence &
 Loading...


