1. Use a consistent feed rate
2. Apply constant pressure
3. Adjust fence correctly
Aligning The Insert Plate
To prevent a workpiece will not catch
on the insert plate and cause kick-
back, it must be aligned evenly with
the table surface. To do this you will
need the following tools: 3mm Hex
Key, 12mm open end wrench and a
48” straightedge.
1. DISCONNECT THE MACHINER
FROM POWER!
2. Remove the fence assembly
from the table.
3. Remove (2) M4-.7 x 16 cap
screws that secure the insert plate to
the table.
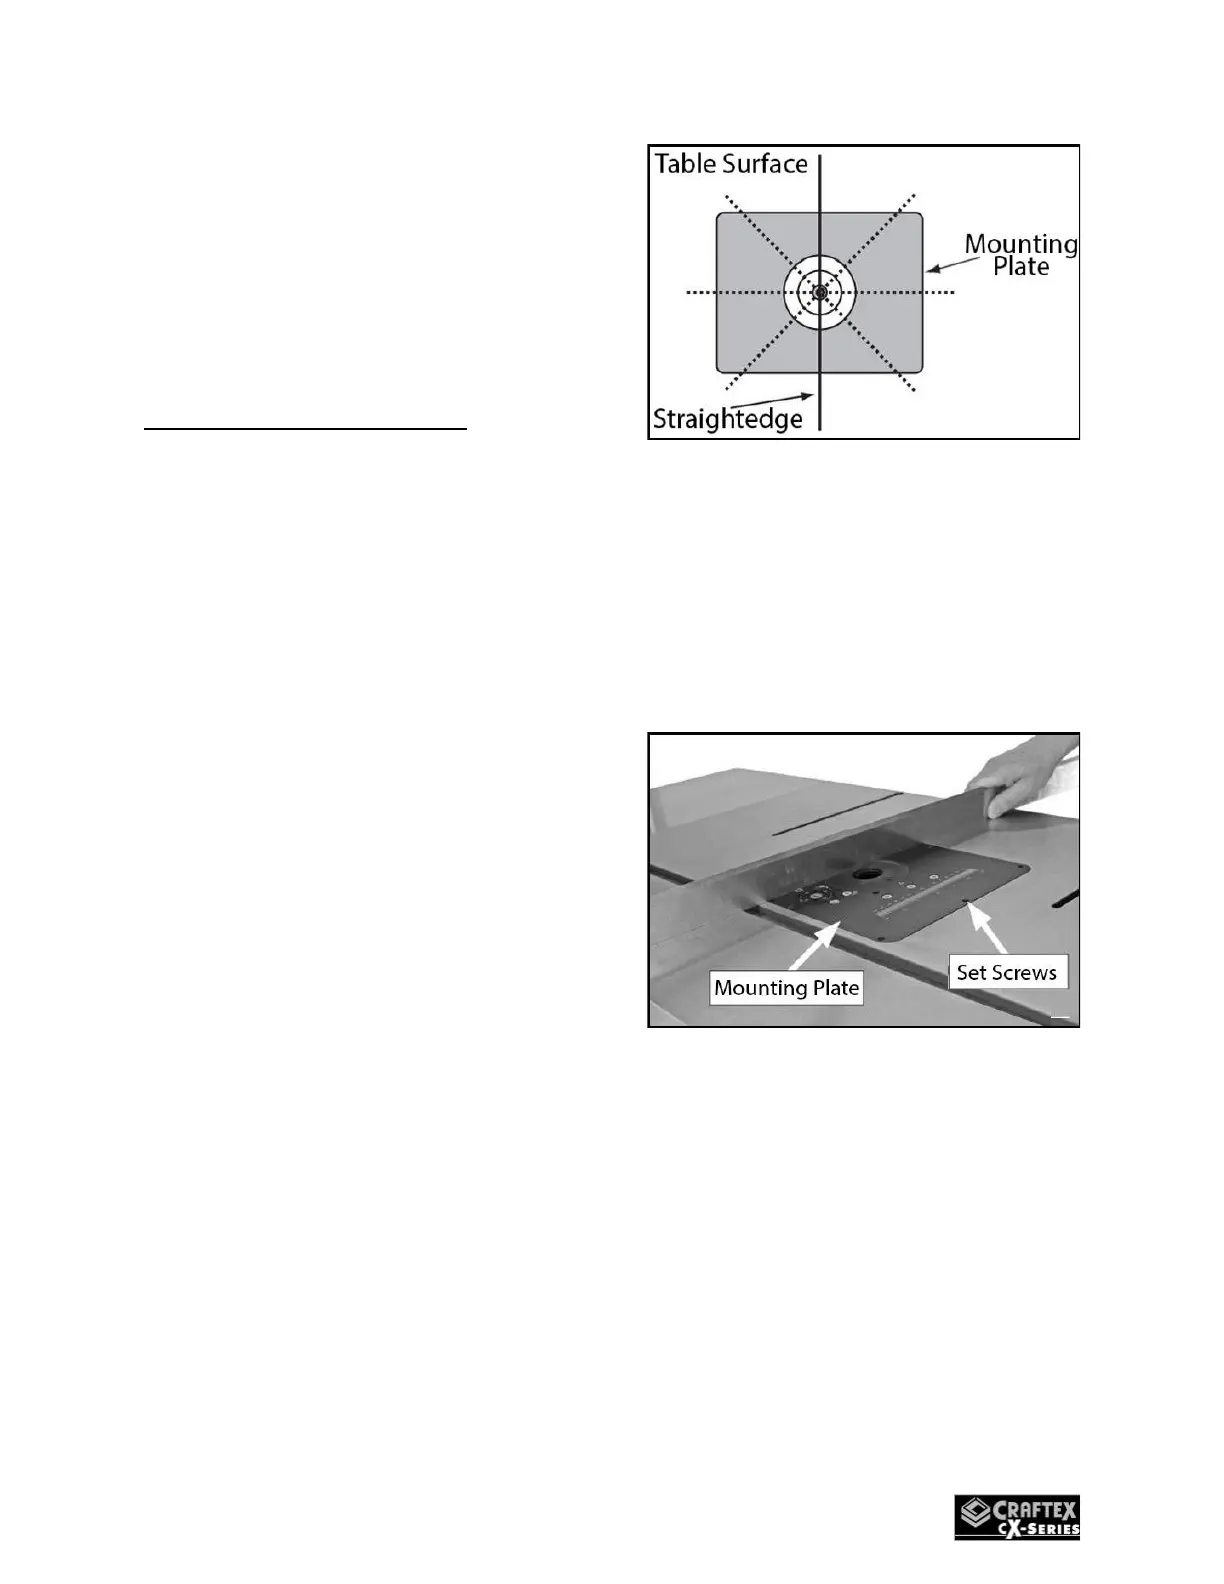
4. Lay the straightedge across the
insert plate, plate rings and table
surfaces in the pattern shown in
(Fig.63)
Figure 63
5. Adjust the set screws (Fig.64) in
the insert plate as necessary so
that the straightedge lies flat on
the table surface at all positions of
the pattern.
Figure 64
6. Repeat steps 4 thru 5 as
needed until the insert plate is
aligned with the table surface.
7. Secure the insert plate to the
table with the cap screws removed in
step 3.
 Loading...


