13
5. Adjust the table so th at the square sits
on the table and touches the drum
correctly along its entire length without
any gap.
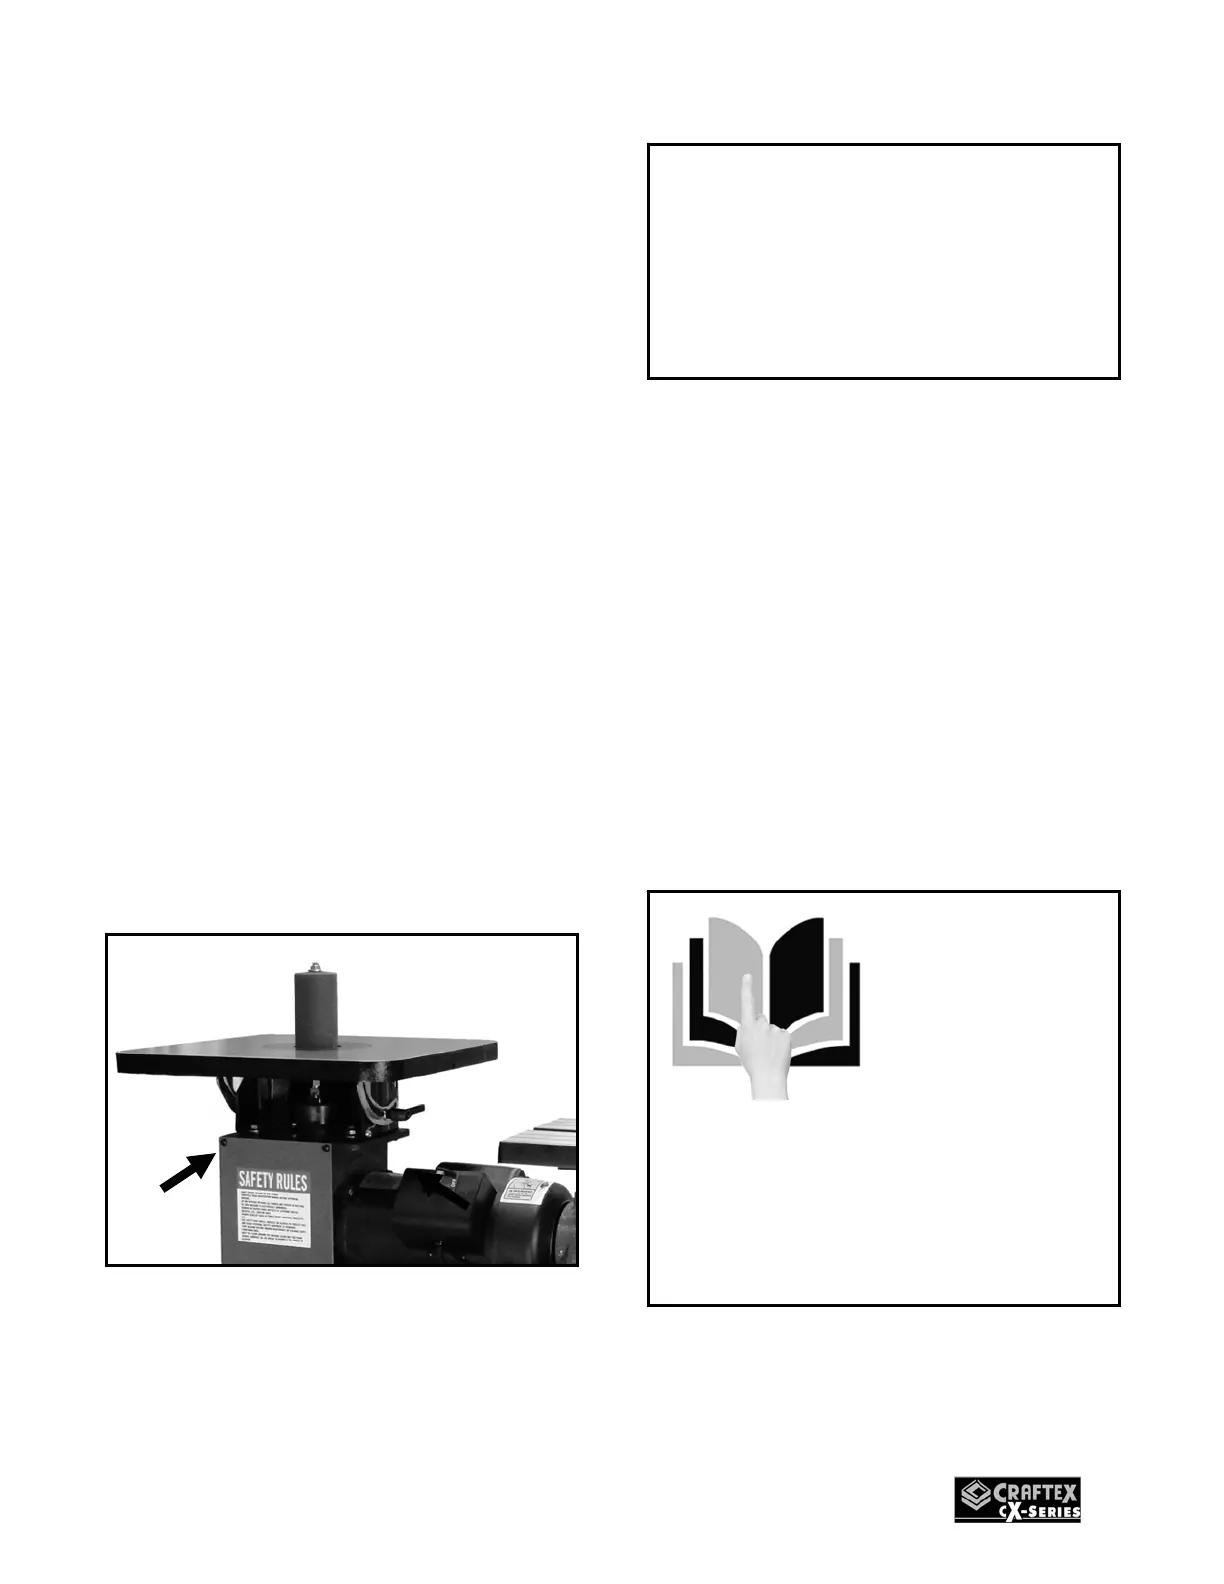
TILTING THE SANDER
TABLE
The spindle sander t able can be tilted t o
front downward from 0° to 45°.
To tilt the table:
5. Turn off the sander and disconnect the
cord from the power source.
6. Loosen the two table lock lev ers located
under the right and left sides of the
table.
7. Tilt the table to t he desired angle. Look
at the graduated scale attached,
indicating the tilting degree of the table.
8. Tighten both the lock levers back.
Figure-15 Graduated scale
TEST RUN
Once you have assembled your machine
completely, it is then ti me for a test run to
make sure that the machine wor ks properly
and is ready for operation.
During the test run if there is any unusual
noise com ing from the machine or the
machine vibrates exce ssively, stop the
machine immediately and disconnect from
the power source and in vestigate if you can
find out the problem with your machine.
IMPORTANT
Make sure you have done the tracking
adjustment and the belt is centered on
both the rollers before you start the
sander for a test run. See page-10 for
details on belt tracking.
Before starting the sander, make sure
that you have read and understood the
manual and you are familiar with the
functions and safety features on this
machine. Failure to do so may cause
serious personal injury.
READ THE
MANUAL