23 • HZ-THSTAT Product Manual — Doc. 8622E
4. Mark the anchor locations.
5. Use a utility knife to cut around the outline of the drawn template.
6. Keep retracing the outline cutting deeper until penetrating the back paper of the drywall. Clear
away the excess drywall.
NOTE: Identify the wall type as Insulated (packed with insulation) or Non-Insulated (hollow).
Assigning the wall type is necessary for Installer Settings configuration.
7. Screw in both self-tapping anchors (included) through the locations marked earlier.
8. Pull the wires through the thermostat backplate, and push the backplate into the mounting hole.
NOTE: Always use the backplate shipped with the thermostat. Do not reuse installed
backplates from older thermostats.
9. Using the mounting screws (included), secure the backplate to the anchors. Do not overtighten.
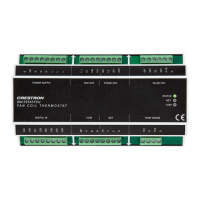
10. Wire the backplate. Refer to System Connections on page 24.
11. Plug the wire hole on the back of the thermostat with the included foam insulation. Refer to
Wiring Diagrams on page 29.
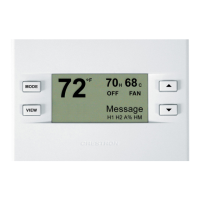
12. Attach the thermostat to the backplate.

 Loading...